background image


8


Setup and Connections


Attaching the Lens


The CCD-1 is focused manually. Adjust the control at the base of the lens to bring 
the object into focus according to the distance between the object and the camera.


1.


Use the CS-mount lens attachment screw to attach the included CS-mount 
lens.


2.


Connect the included CS-mount lens cable to the Auto Iris connector on the 
CCD-1’s rear panel.


Attaching the Camera to a Mic Stand


1.


Attach the upper part of the included bracket to the camera mounting hole on 
the CCD-1 camera housing.


2.


Attach the bottom part of the bracket to the mic stand adaptor.


3.


Attach the mic stand adaptor to the mic stand.


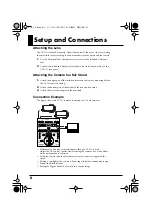
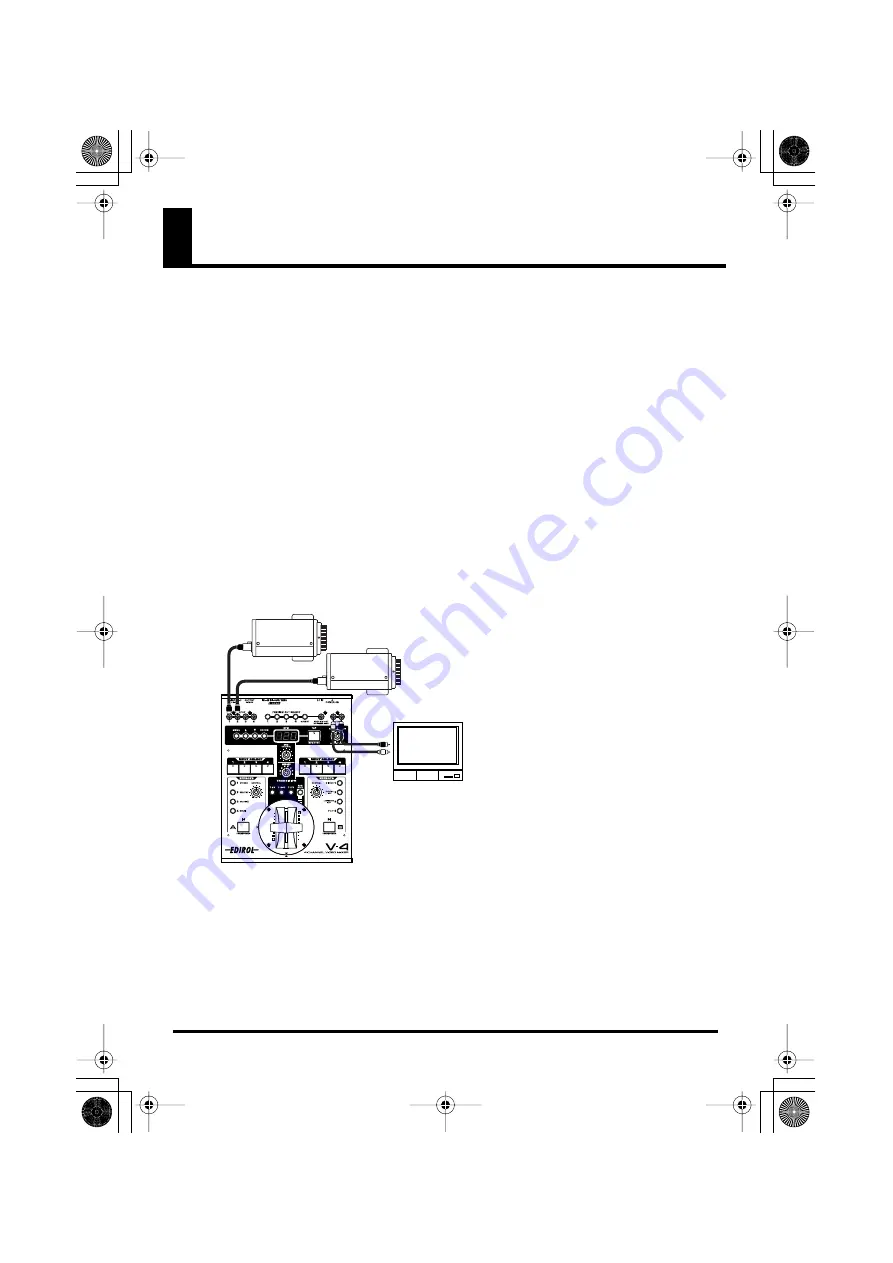
Connection Example


The figure shows two CCD-1 cameras connected to a V-4 video mixer.


fig.V-4


• Differences in hue may result when more than one CCD-1 is used. 

Adjust the DC iris lens control while focusing the cameras on a white object 
until a uniform hue is achieved.

• Using the camera in dark environments may cause noise to appear in the 

screen.

• Shining a spotlight at the camera when using it in darker environments may 

disrupt the white balance.

• Setting the Digital Zoom to x2 results in a coarser image.

CCD-1_e.book 8 ページ 2004年5月31日 月曜日 午後2時2分

Summary of Contents for CCD-1

Page 1: ...ckage Contents CCD 1 Camera CS Mount Lens 8 mm F1 2 AC Adaptor Bracket Mic Stand Adaptor BNC RCA Pin Adaptor Plug Video Power Extension Cord 5 m Owner s Manual Copyright 2004 ROLAND CORPORATION All ri...

Page 2: ...t not be used with any other device 009 Do not excessively twist or bend the power cord nor place heavy objects on it Doing so can damage the cord producing severed elements and short circuits Damaged...

Page 3: ...from an outlet or this unit 103b At regular intervals you should unplug the AC adaptor and clean it by using a dry cloth to wipe all dust and other accumulations away from its prongs Also disconnect...

Page 4: ...conversing Should you experience such problems you should relocate such wireless devices so they are at a greater distance from this unit or switch them off 355b When moved from one location to anothe...

Page 5: ...the lens iris Rotate to the right clockwise to make the image brighter or to the left counterclockwise to make the image darker Differences in hue may occur when more than one CCD 1 is used Adjust th...

Page 6: ...sation Function that compen sates for higher backlight ON Backlight compensation is performed automatically Use this setting when the background of the object is relatively bright OFF The backlight is...

Page 7: ...9 AC Adaptor Jack Connect the included AC adaptor here Be sure to use only the AC adaptor included with this camera 10 BNC Video Signal Output Connector Connect the included BNC RCA phono converter pl...

Page 8: ...era mounting hole on the CCD 1 camera housing 2 Attach the bottom part of the bracket to the mic stand adaptor 3 Attach the mic stand adaptor to the mic stand Connection Example The figure shows two C...

Page 9: ...ion 480 TVL S N Ratio 52 dB MIN 60 dB TYP AGC OFF VIDEO Output Composite 1 0 V 9 9 at 75 ohms Gamma Correction 0 45 Operation Temperature 20 50 C humidity 85 Flickerless ON OFF switchable Gain Control...

Page 10: ...S Nordhavnsvej 7 Postbox 880 DK 2100 Copenhagen DENMARK TEL 3916 6200 FRANCE Roland France SA 4 Rue Paul Henri SPAAK Parc de l Esplanade F 77 462 St Thibault Lagny Cedex FRANCE TEL 01 600 73 500 FINLA...

Reviews: