15
Checking the inputs and outputs
Here’s how to check that connections are correct.
* Before you proceed, check that your video equipment is connected as described in Connections ( p. 12).
1
Set the video fader to “A.”
fig.07-01-01.eps
2
Output an image from your video device.
Power up the connected video device, and get it to output a video signal. If you’re
using a video deck or DVD player, press its Play button.
The image from the connected video device is input to an input channel of the V-1.
3
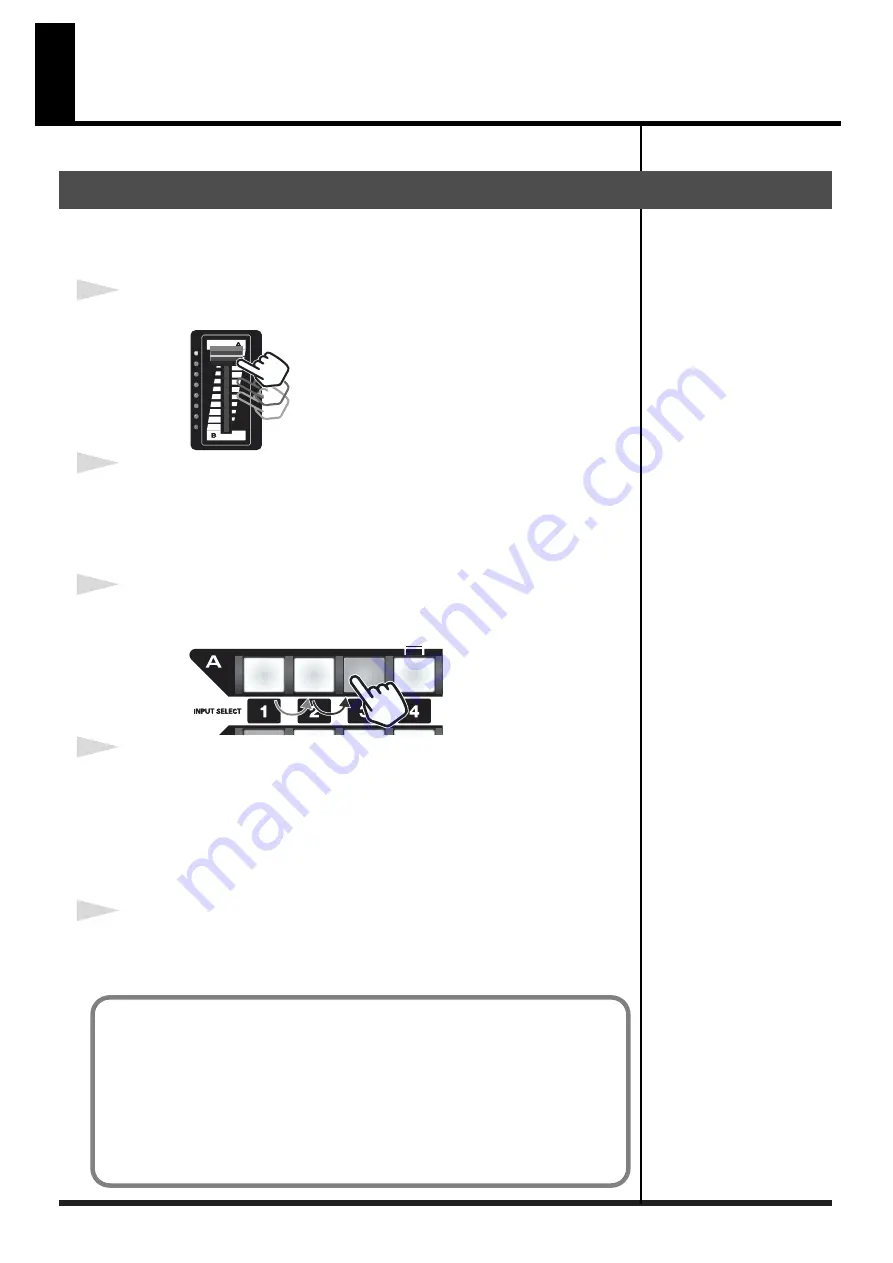
Select the channel to which the video signal is being input.
Press the Input Select “A” button for the channel that’s receiving the video signal.
fig.07-01-02.eps
4
Check the output.
Power up the TV or projector that’s connected to the V-1’s video output connector,
and verify that you see the image being output by the V-1.
If everything is working properly, the image(s) from the device(s) connected to the
V-1 will be output.
* If no video signal is being input, a blue screen will be output.
5
Switch the input channel.
If more than one video source is connected to the V-1, press the Input Select A
buttons to verify that each source is output.
Checking the final output
If you don’t see anything
• Make sure that the output jack of your video device is correctly connected to the V-
• Check that the video device connected to the V-1 is actually outputting an image.
• Make sure that the V-1’s output jack is correctly connected to the input jack of your
TV or projector.
• Make sure that you’ve selected the correct input on your TV or projector.
• Make sure that the video cables you’re using are not broken.
Summary of Contents for V-1
Page 30: ...30 ...
Page 32: ...03560189 04 3 2KS ...


