17
Basic operation
You can use the [1] through [4] buttons to switch the video source for each channel.
1
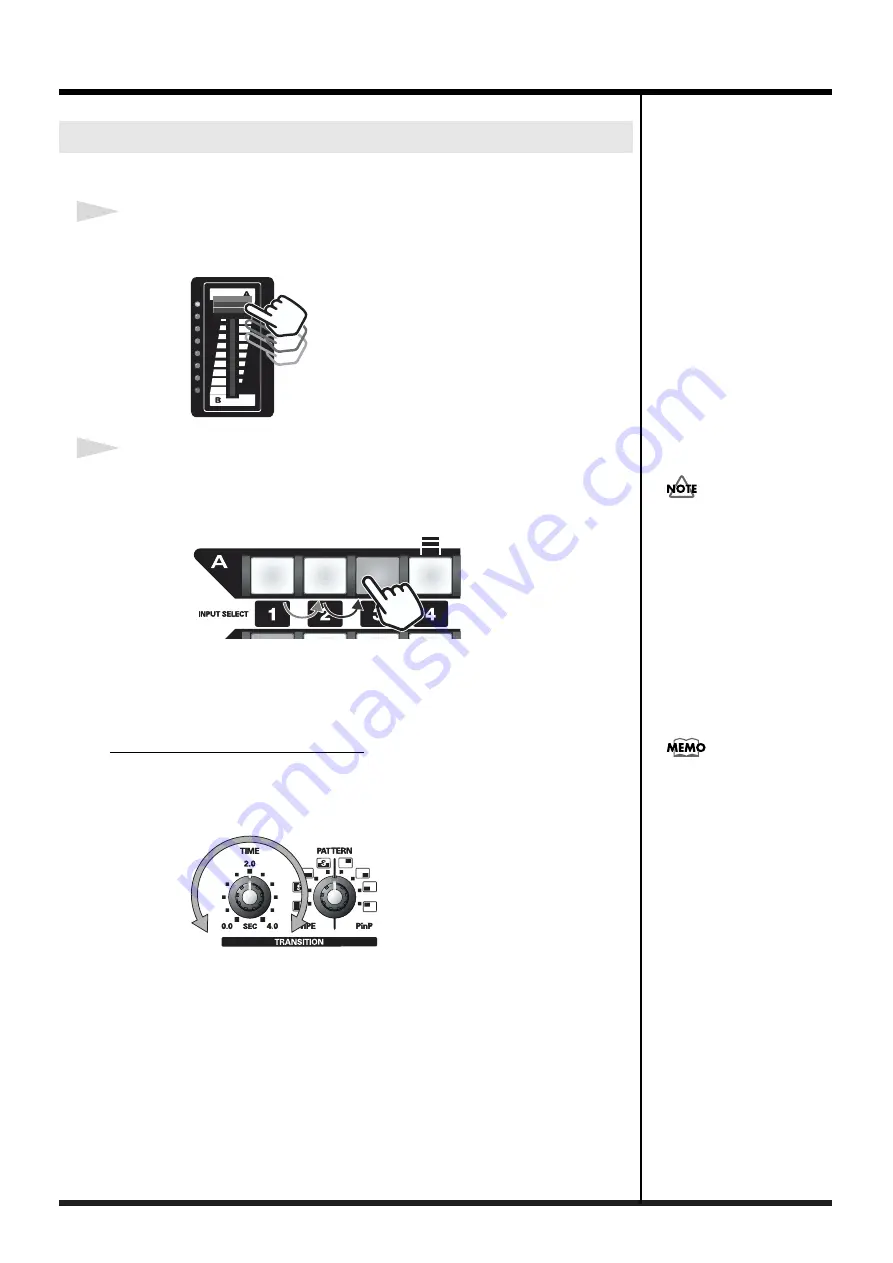
Set the video fader to the “A” position.
The green video fader indicator for “A” will light.
fig.07-02-1.eps
2
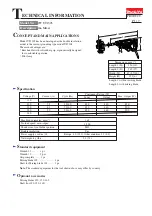
Press one of the “A” Input Select buttons.
Press one of the “A” Input Select buttons to choose the input channel.
The image of the selected channel will be output, and the button will light.
fig.07-02-2.eps
* You can switch the video source for “B” in the same way.
* If you use the input selector to switch images when the video fader is between “A” and “B,”
the image may be garbled for a moment.
Adjusting the Transition Time
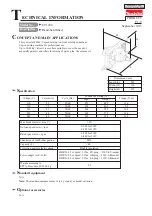
When using a transition effect, you can adjust the time (0–4 seconds) over which
images will change when you use the input selector. The input selector button will
blink while the image transition takes place.
fig.07-03.eps
* The Transition Time knob will work only when the green video fader indicator is lit.
* If you press an unlit Input Select button while turning the Transition Time knob, the
transition effect will end at that point.
* You cannot press the Mix button or Wipe button while using the Transition Time knob to
switch between images.
* This knob is not available when you’re using a compositing function (P in P or Superimpose).
Using the input selector to switch video sources
You cannot use the video fader
while using the input selector
to switch between images.
The input selector buttons
blink in one of two ways
depending on the function
you're using.
Blinking slowly
When using a transition time
knob.The blinking ends after a
fixed time.
Blinking rapidly
When using a compositing
effect (P in P or
Superimpose).The blinking
continues.
Summary of Contents for V-1
Page 30: ...30 ...
Page 32: ...03560189 04 3 2KS ...


