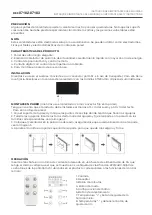
CHILD PROTECTION
Long press the button , THE PADLOCK will be displayed on the screen, so you can not do any opera-
tion, and the same touch to clear the child lock function.
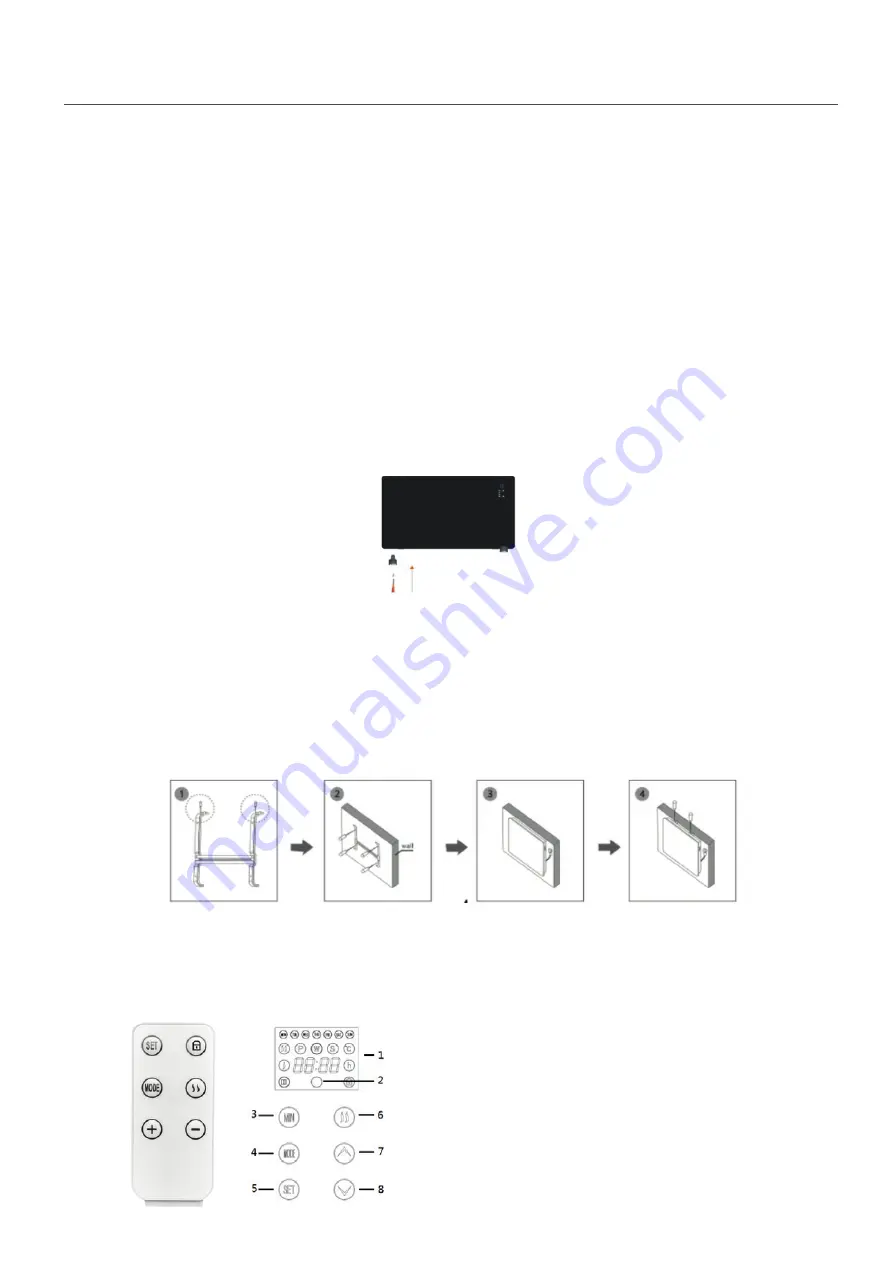
REMOTE CONTROL AND CONTROL PANEL
1. SET, P, W, S: three modes to choose and set the current week.
2. MODE: reservation week.
3. LOCK: set child lock
4. : Adjust power
5. UP: set the open appointment time and increase the temperature.
6. DOWN: Set the appointment CLOSING time and increase the temperature.
TEMPERATURE
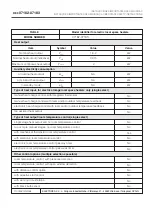
The internal temperature is displayed every time the appliance is turned on. The temperature can be
set when the appliance is on standby or heating up. When the ambient temperature reaches the set
level, the high temperature power stops and the low temperature power remains active. When the
ambient temperature is 2 degrees above the set temperature, the high and low temperature powers
will stop working. The machine will start operating again only when the temperature drops 2 degrees
from the set temperature. The error of the display temperature and the actual ambient temperature ≤
4 degrees.
OPERATING SOUND
The appliance beeps at each operation setting.
CLEANING AND MAINTENANCE
Before cleaning, always remove the plug from the outlet.
Clean the air intake and exhaust grilles frequently.
Never use abrasive or solvent powders.
REF.
07182-07183
INSTRUCCIONES IMPORTANTES DE SEGURIDAD
INSTRUÇÕES IMPORTANTES DE SEGURANÇA / IMPORTANT SAFETY INSTRUCTIONS
CAUTION
Some parts of the heater can get very hot and cause burns. Do not touch hot surfaces. Special atten-
tion should be paid where children and vulnerable people are present.
NOTE
These heaters are intended for household use only. They can be used as portable appliances and
wall-mount appliances.
PRODUCT CHARACTERISTICS
1. Elegant black glass panel.
2. High-quality aluminum heating element: fast heating with higher energy savings.
3. Touch screen control and remote control.
4. Digital display with room temperature control.
5. For wall mounting or floor standing.
INSTALLATION
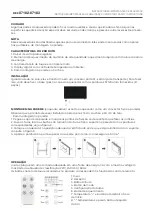
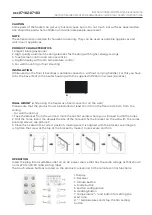
While used on the floor it becomes a portable convector - without carrying handle). For this you have
to fix the base / feet in the heater housing with the supplied ST12X4mm screws (8 pieces).
WALL MOUNT (while using the heater as a fixed convector on the wall)
Please note that the product must be installed at least 15 cm from the floor and 50 cm from the
ceiling.
- For wall mounting:
1. Take the bracket from the wall and mark the anchor points where you will need to drill the holes.
2. Drill the holes, insert the dowels the size of the hole and fix the bracket on the wall with the corres-
ponding screws, see picture 2.
3. Place the heater in the correct position, making sure it is aligned with the bracket, see image 3.
4. Tighten the screw at the top of the bracket to make it more secure and firm.
OPERATION
Insert the plug into a suitable outlet on an AC power source that has the same voltage as that shown
on its 220 / 240V-50 / 60Hz rating label.
The touch screen buttons located on the product correspond to the remote control functions:
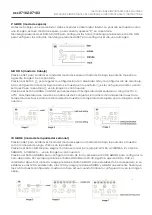
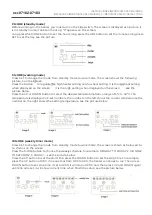
P MODE (standby mode)
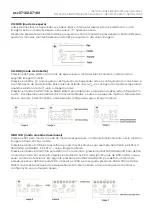
Before working on the heater, you must turn on the side switch. The screen is displayed as a picture, it
is in standby mode, it does not heat up, "P" appears on the screen.
Long press the MODE button to set the hours, long press the MIN button to set the minutes, long press
SET to set the day, see the picture.
S MODE (working mode)
Press SET to change the mode from standby mode to work mode, the screen shows the following
picture, S on the screen.
Press the button to regulate the high heater setting and low heat setting, it is the low heat setting
when displayed on the screen , it is the high setting when displayed on the screen , see the
picture below.
Press the UP or DOWN button to select the desired temperature from a range of 5ºC to 40ºC. The
temperature is displayed in 2-set numbers, the number on the left shows the current temperature, the
number on the right shows the setting temperature, see the picture below.
W MODE (weekly timer mode)
Press SET to change the mode from standby mode to work mode, the screen is shown as below pictu-
re, W shos on the screen.
Press the MODE button to choose the weekly schedule, for example: MONDAY TO FRIDAY, 2. MONDAY
TO SATURDAY, 3. FRIDAY, ..., see the picture below.
Press the UP button to set the start time, press the DOWN button to set the stop time. For example,
press the UP button at 9:00, it means that from 0:00 to 9:00, the heater continues to run. Then press
DOWN button to set stop time, if set to 12:00, it will stop at 12:00, and then press UP and DOWN again
until 24h all is set, it will show current time when finish the setup, see the picture below.
1. Display
2. Receiver
3. Minute button
4. Mode button
5. Button configuration
6. Heating button
7. Temperature "+" and button for setting the
start time.
8. "-" temperatures and stop the tim setting
button.

