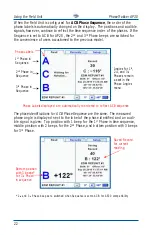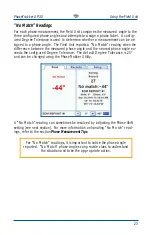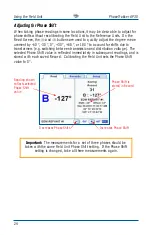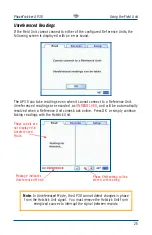
PhaseTrakker Utility
PhaseTrakker
AP30
36
Using the Utility with Reference Unit
Connect a USB cable to the Reference Unit and the PC. Turn on the Reference
Unit and click on the PhaseTrakker Field Unit icon to start the Utility. Once the
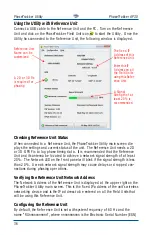
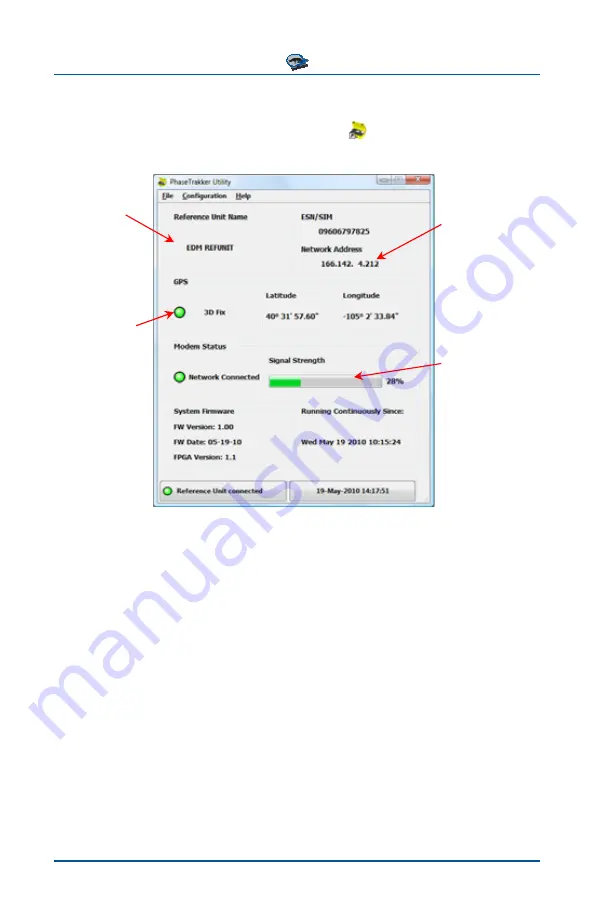
Utility has connected to the Reference Unit, the following window is displayed.
Reference Unit
Name can be
customized
The fixed IP
Address of this
Reference Unit
Enter this IP
Address on all
the Field Units
using this Refer-
ence Unit
A 2D or 3D Fix
is required for
phasing
A Signal
Strength of at
least 20% is
recommended
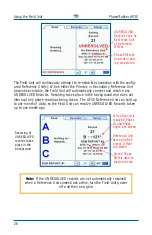
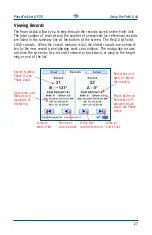
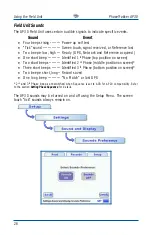
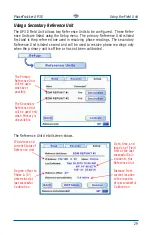
Checking Reference Unit Status
When connected to a Reference Unit, the PhaseTrakker Utility main screen dis-
plays the settings and current status of the unit. The Reference Unit needs a 2D
or 3D GPS Fix to log phase timing data. It is recommended that the Reference
Unit and its antenna be located to achieve a network signal strength of at least
20%. The Network LED on the front panel will blink if the signal strength is less
than 20%. A weak network signal strength may cause delays or dropped con-
nections during phasing operations.
Verifying the Reference Unit Network Address
The Network Address of the Reference Unit is displayed at the upper right on the
PhaseTrakker Utility main screen. This is the fixed IP address of the unit’s wireless
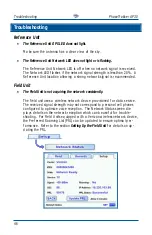
networking device and is the IP address to be entered on all the Field Units that
will be using this Reference Unit.
Configuring the Reference Unit
By default, the Reference Unit is set with system frequency of 60 Hz and the
name “RUnnnnnnnnnnn”, where nnnnnnnnnnn is the Electronic Serial Number (ESN)

