RCX C-Link Series
Configuration and LED Configuration Codes
EDT, Inc.
2011 June 29
10
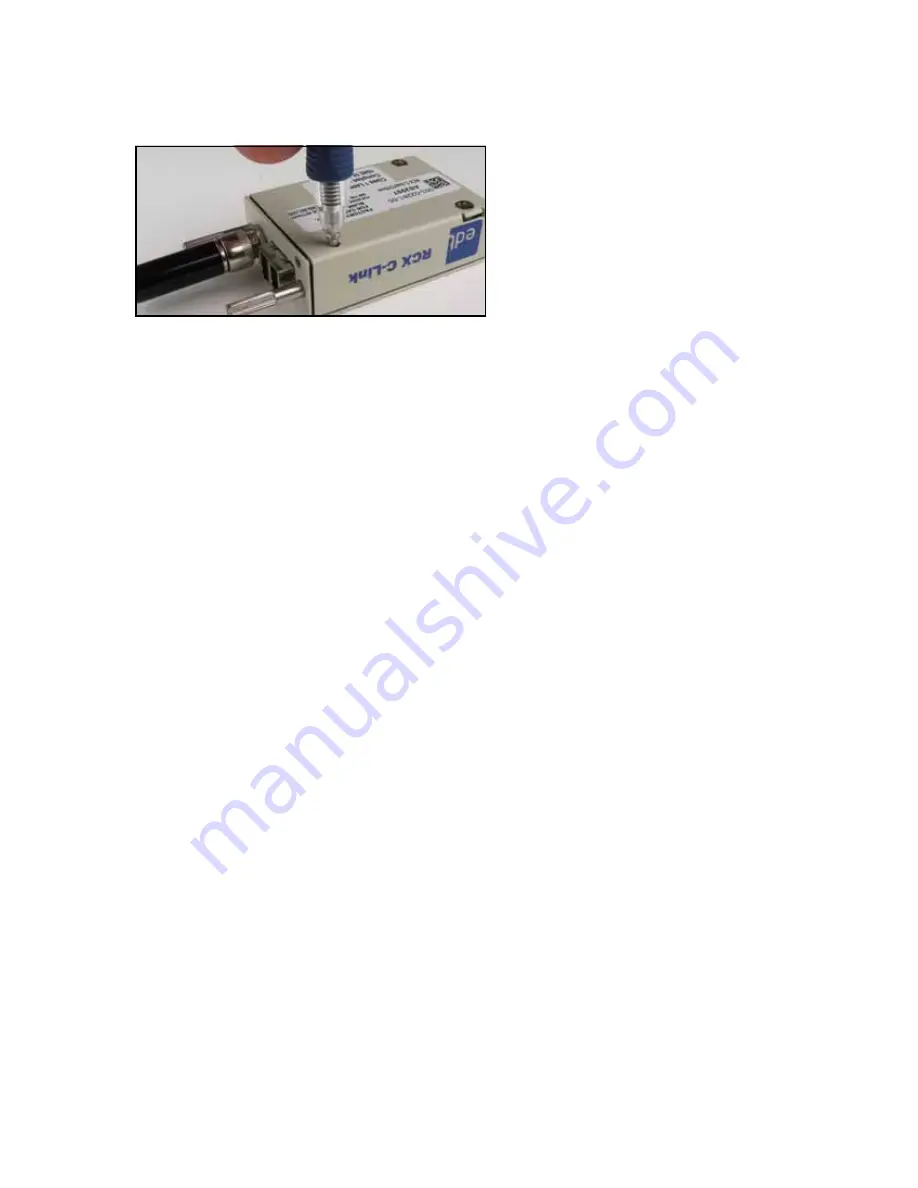
Figure 6. Pressing the recessed button
3.
Still pressing the button, turn on the power; the LED will turn on.
4.
Release the button within two seconds (if you press the button longer than two seconds, the LED will
start blinking diagnostically and you will need to restart the process from step 1).
5.
Release the button; the LED will turn off.
NOTE
Before proceeding, be sure you know which configuration code you want (see
Configuration and LED
Configuration Codes on page 7
), because you’ll need to enter it quickly when the LED starts blinking.
6.
Press the button, let the LED start blinking, and release the button after the correct number of blinks for
the first digit; then repeat for the second digit. For example, for a configuration code of 2-1, press the
button for two blinks, and release; then press the button for one blink, and release.
As soon as you enter the second digit, the extender saves your selection into flash memory and the LED
starts blinking in that pattern. If the pattern is not what you wanted, start over from Step 1.
NOTE
If an unsupported code is entered, the LED will display two fast, two slow, and two fast blinks, indicating
that an error has occurred and the code has not been saved to memory.
7.
Cycle power to the extender without pressing the button.
When the extender is powered on without the button pressed, the LED blinks the configuration code once
and blinks rapidly as the firmware loads; then it continuously displays the extender’s status (see
Status and
LED Status Codes on page 11
).
Backward Compatibility
For details on backward compatibility, see
Firmware on page 12
.


