I. MOUNTING THE UNIT
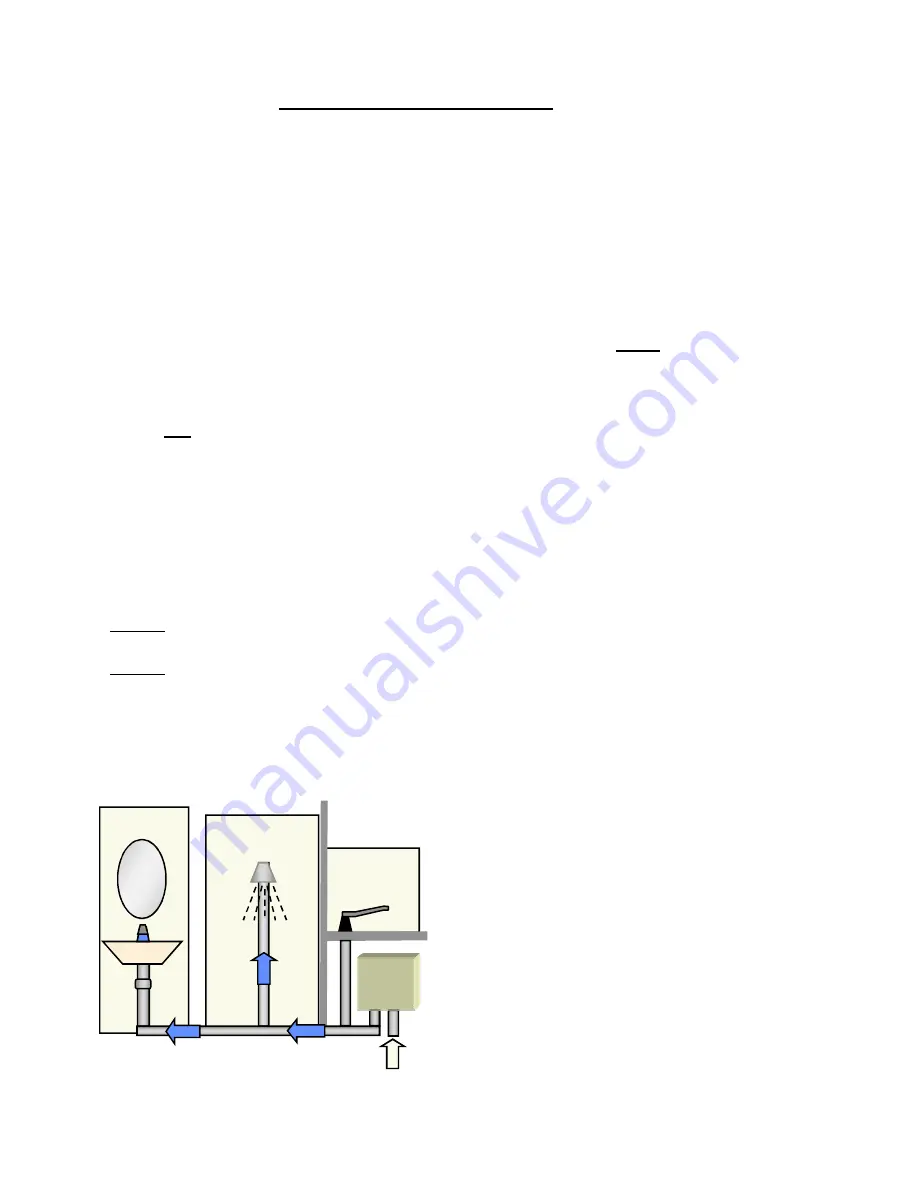
1) The unit should be mounted as close to the point of use as possible.
Do not
install the heater above a faucet or “point of use” because the siphoning effect may
drain the heater which can cause premature element burn out. If the unit must be installed at
a higher elevation, you must install spring loaded check valves on both the inlet and outlet of
the water heater.
2) This unit must only be mounted in a vertical position with the
water fittings located at the
bottom of the unit
. Mounting other than in the vertical position
WILL
cause element burn
out and cause permanent damage to the water heater.
3) The cold water inlet is on the right hand side and the hot water outlet is on the left hand side.
Under
NO
circumstances can these be reversed.
4) Leave a minimum of 8” above the unit for easy replacement of the element.
5) The heater should be fixed to the wall using
all
four mounting holes of the backplate. Unit
weight is approximately 12lbs. Use an appropriate fastener for this weight. For the unit to
be mounted against hollow walls, suggest using steel wall anchors, with the correct grip
range and #10-32 screw size minimum.
NOTE: The heater should be installed below the level of all hot water outlets serviced by this
heater. Otherwise install spring loaded check valves on both the inlet and outlet.
NOTE: PRESSURE AND TEMPERATURE RELIEF VALVE
These units are not required by UL to have a Pressure and Temperature Relief
Valve (PTRV). You should check with local codes to find out if one is required in your
area. If local codes require the use of a temperature and pressure relief valve it
should be installed on the outlet hot water pipe before the outlet ball valve.
3
About 0.70-3.0 GPM at showering temperature.
Best used when operating one or two outlets
at a time.
Showers and the whole house, cabin or condo
MODELS:
Eemax
Lavatory
Shower
Kitchen
Hot outlet
Cold inlet
SS015240TC 208-240V
SS019240TC 208-240V


