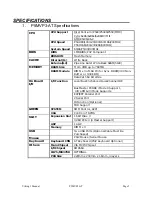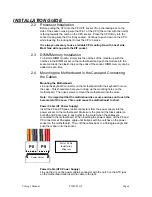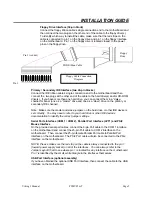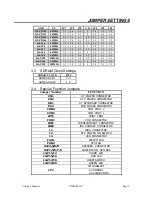
Viking 3 Manual
P5MVP3-AT
Page 3
1
1
2
5
6
1
3
1
3
INSTALLATION GUIDE
2. Installation Guide
Please follow these steps for proper installation of your high quality EFA motherboard
into your system:
A. Set the jumpers on the motherboard of the type of CPU you will be
installing.
B. Install the Central Processing Unit (CPU or processor).
C. Install the DIMM (Dual Inline Memory Modules).
D. Mount the motherboard in the case.
E. Connect all cables and wires to the motherboard.
F. Install the expansion cards.
Warning
: The motherboard and other components contain many IC (Integrated
Circuit) chips. To protect them against damage from static electricity, please pay
attention to the following precautions whenever you are working with computer
components:
1. Unplug the power connector whenever you are working on the interior of the
computer.
2. Hold the motherboard, peripherals, and components by the edges and try not to
touch the IC chips, leads and circuitry.
3. If possible, use a grounded wrist strap when handling the components and place
them on a grounded anti-static pad or anti-static bag when they are pulled from the
computer.
2.1 Jumper Description
Many hardware settings are made through the use of jumper caps connecting the
jumper pins (see the following figures). There are various jumper pins on the
motherboard such as two, three six and eight pin jumpers.
Please refer to the “Table of Jumper Settings“ in the manual. For jumper
examples, see below:
Note: Pin # 1 and the last pin for all the jumpers are silk-screened on the
motherboard.
You should now set the jumpers for the voltage, clock ratio, system clock and
CPU type. Please refer to the Jumper Settings section of this manual.
Pin 1-2 Closed
Pin 2–3 Closed
Jumper Cap
2-pin Jumper
6-pin Jumper
Open Jumper
Closed Jumper


