20
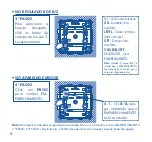
CONNECT THE ELECTRONIC DIMMER TO THE NETWORK -
ONLINE
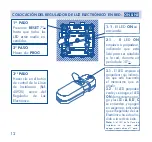
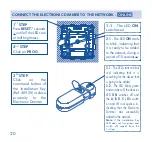
1
ST
STEP
Press
RESET
7 seconds
until all the LEDs are
at half brightness.
2
ND
STEP
Click on
PROG
.
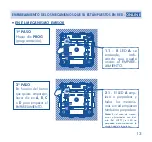
2.1
- The LED
ON
starts
to blink, indicating that
it is ready to be added
to the network, during a
period of 10 seconds .
1.1
- The LED
ON
switches on.
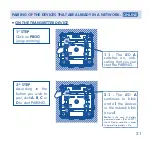
3
RD
STEP
Click on the
command button of
the Installation Key
(Ref. 40925) in close
proximity to the
Electronic Dimmer.
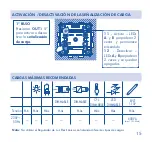
3.1
- The LED starts to blink
red, indicating that it is
searching for the device that
is going to be added.
3.2
- The LED blinks green
and switches off, the device’s
LED
ON
switches off and
the
A
,
B
,
D
,
C
LEDs switch
on and off in sequence, in-
dicating that the Electronic
Dimmer was successfully
added to the network.
Note:
If the Installation Key
LED does not turn green and
switch off, repeat from the
1st step.

