1.
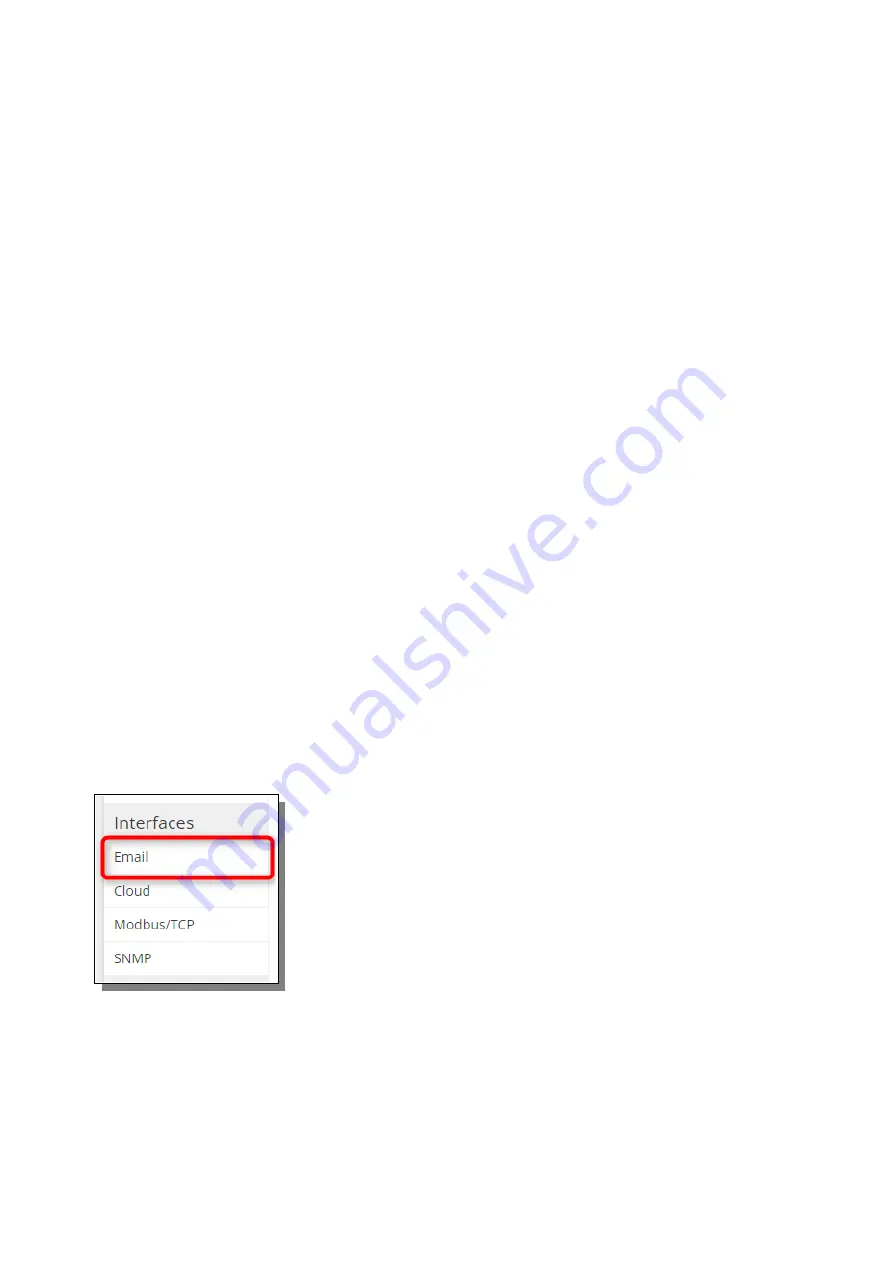
In the configuration interface, open the page
Interfaces /
Email.
2.
In the section
Email accounts
, click on Edit next to the
account, which you want to change.
3.
On the following page, make your changes.
4.
Click on the
Test
button to check your settings. If
everything is fine, the button will turn green. If you have
made a mistake, the corresponding field will be
highlighted with a red border. In this case, change the
field and click on
Test
again.
5.
Click on
Save
to apply your changes.
1.
In the configuration interface, open the page
Interfaces /
Email.
2.
In the section
Email accounts
click on the action
Del
next to
the account, which you want to remove.
3.
Confirm the removal by clicking
Yes
on the following page
.
5.2.2 Manage email recipients
Querx TH supports up to 4 email recipients, each of whom
you can assign the mail server over which emails are sent.
Also, you can choose the events on which notifications are
sent for each recipient.
1.
In the configuration interface open the page
Interfaces /
Email.
2.
In the section
Recipients
, click on the action
Add
next to
one of the free slots.
3.
On the next page enter the email address for the recipient
in the field
and choose the account from which you
want emails to be sent to this address.
a.
If you want to use a second mail server as fallback,
choose both accounts.
b.
If you want to send emails over different mail servers,
for example if internal emails are send over a local
Data access and configuration of interfaces
26
Edit email account
Remove email account


