34
USER MANUAL
MAGIC 500 PLUS ULTRASOUND UNIT
T +49 7461 96 580 0 | F + 49 7461 96 580 90 | export@eickemeyer.com | www.eickemeyer.com
Explanation:
1. The stored obstetric lists are saved to your phone or pad folder.
View or delete the path: open Files / Local / Internal storage / kxStation “ob” folder on your phone or pad.
For example: Local/Internal Storage / kxStation / ob / 2017-10-28 15: 46.db
2. The stored obstetric lists fi les (suffi x .db) need to be viewed using ultrasound workstation software.
•
Inquire obstetric list
1. The saved obstetric list can be queried. Tap “inquire”, the query dialog box appears, according to the provide search
fi eld to query the required obstetric list, the query method is as follows:
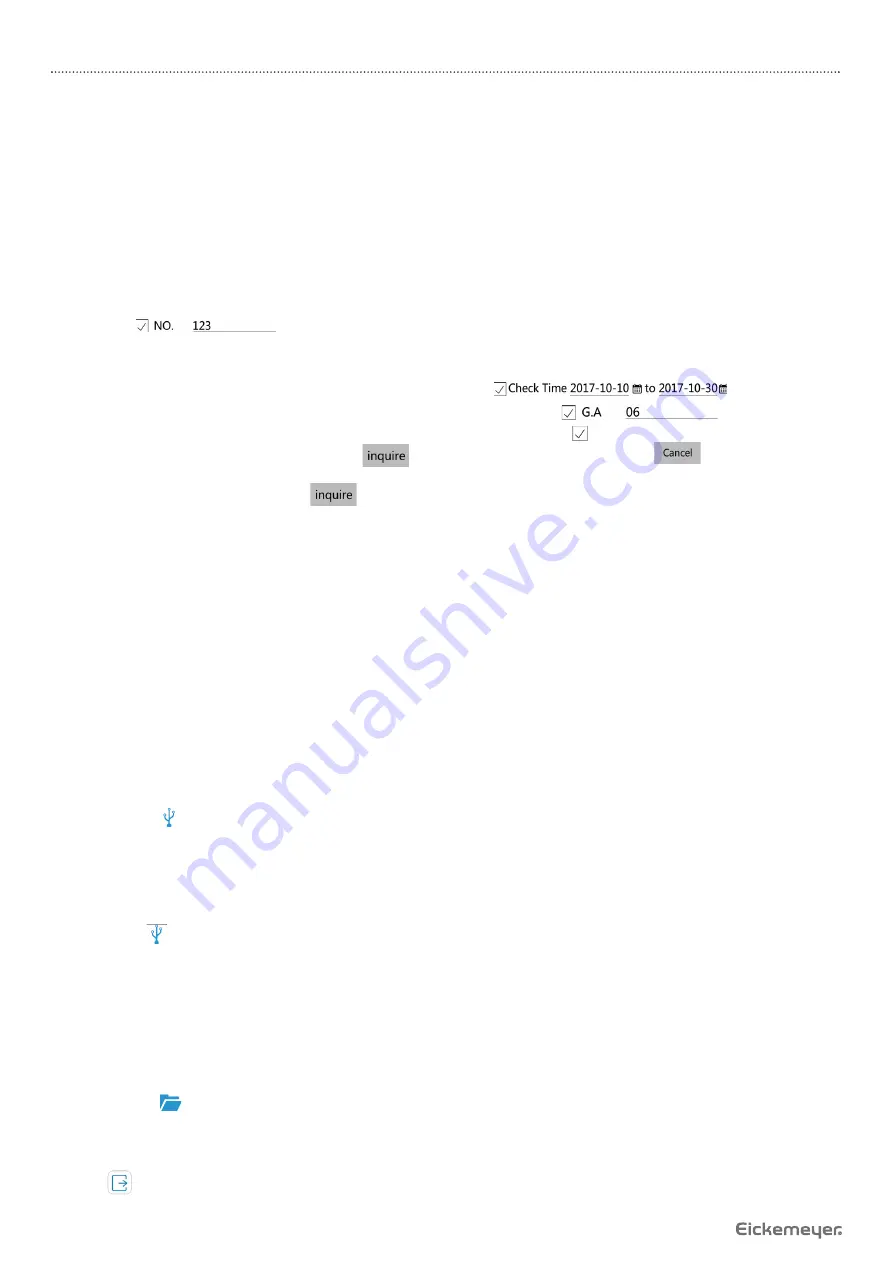
• In the query dialog, the search fi elds provided are: Check Time, NO, animal, OB Formula, G.A and EDC.
• Query according to the search fi eld. For example, select the checkbox and enter the exact number:
.
• Query according to an established combined conditions. Query the check time or gestational age (G.A), you can
select the check date or G.A directly, you can also manually enter according to the date format; the check date
is entered in the order from front to back. For example,
.
• Fuzzy matching query, as long as the word can query. For example,
.
Note: Whether which methods to inquire, you must select the checkbox in front of the search fi eld.
2. After setting the search conditions, tap
to get the obstetric list of queries; tap
to give up the inquire.
3. According to the query conditions to get the desired result, then tap “inquire” to enter the query dialog box, the
checkbox is not selected, click
, default display all lists.
•
Import obstetric list
In the obstetric list interface, click “import”, click the database to import the saved database into the current obstetric
list.
•
Generate report
In the obstetric list interface, click “report”, the obstetric list is generated as a report.
•
Empty the obstetric list
In the obstetric list interface, click “empty” to delete all obstetric lists.
10.3.2.4 Images and Data on the Workstation Transfer to U Disk
1. Open the workstation software.
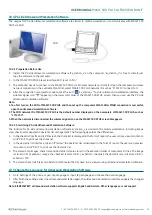
2. Insert the U disk into the USB port of the mobile phone, the mobile phone prompts “Allow the app kx_station_v to access
the USB device?”, choose “OK”, the workstation software prompts “U disk has been identifi ed!”.
3. Tap the icon
in the lower right corner of the Image View interface of workstation software, the workstation software
prompts “U disk is storing data, please wait patiently …”, after the prompt disappears, all images and data of the
workstation will be transferred to U disk by one-key.
Explanation:
1. When transferring to U disk by one-key, you must fi rst open the workstation software and then insert U disk, to ensure that
the workstation can identify the U disk.
2. Tap the icon
, all the images, the saved checklists and obstetric lists, the generated reports on the workstation software
will transfer to U disk by one-key.
3. The images, checklists, obstetric lists and reports saved in the kxStation folder of U disk.
The image is stored in U: \ kxSation \ image; the checklist is stored in U: \ kxSation \ checklist; the obstetric record is
stored in U: \ kxSation \ OB; the generated report is stored in U: \ kxSation \ report.
10.3.2.5 Mobile album view images and reports of workstation
1. Open the workstation software.
2. Tap the icon
in the lower right corner of the Image View interface of workstation software, open the mobile album,
fi nd the “image” and “report”, you can view the saved images and the generated reports.
10.3.2.6 Quit workstation software
Tap quit
to quit mobile ultrasound workstation software.


