Make sure that off-cuts do not catch on the saw
blade crown. Risk of catapulting!
Never remove loose splinters, chips or jammed
pieces of wood when the saw blade is running.
To rectify faults or remove jammed pieces of
wood, always switch off the machine first. - Pull
out the power plug!
If the sawing gap is worn, replace the table
insert (6). - Pull out the power plug!
Carry out conversions, adjustments,
measurements and cleaning jobs only when the
motor is switched off. - Pull out the power plug!
Before switching on, make sure that all keys and
wrenches have been removed from the tool.
Switch off the motor and pull out the power plug
before you leave the workplace.
Refit all guards and safety devices immediately
after you have completed any repairs or
maintenance work.
Be sure to observe the safety information and
operating and maintenance instructions issued
by the manufacturer, as well as the dimensions
listed in the Technical Data.
It is imperative to observe the accident
prevention regulations in force in your area as
well as all other generally recognized rules of
safety.
Note the information published by your
professional associations.
Connect up the dust extraction system on all
jobs. Circular saws have to be connected to a
dust collecting device when used to saw wood.
The operator has to be informed about the
conditions with an influence on dust
development, e.g. the type of material being
processed (source and collection of the dust),
the significance of local separation
arrangements, and the correct setting of hoods,
baffle plates and guides.
To prevent injuries from flying debris from the
workpiece, operate the saw only with a suitable
extraction system or a standard industrial
vacuum cleaner.
The bench-type saw has to be connected to a
230 V socket-outlet with earthing contact and
minimum fusing of 10 A.
Do not use any low-powered machines for heavy
duty work.
Do not mis-use the cable
Make sure you stand squarely and keep your
balance at all times.
Check the tool for damage
Each time before re-using the tool, carefully
check that the guards or any slightly damaged
parts are working as intended.
Check that the moving parts are in good working
order, that they do not jam, and that no parts are
damaged. Make sure that all parts are fitted
correctly and that all other operating conditions
are properly fulfilled.
Unless otherwise stated in the operating
instructions, damaged safety devices and parts
have to be repaired or replaced by an authorized
service center.
Have damaged switches replaced by a customer
service workshop.
This electric tool complies with the pertinent
safety regulations. Repairs are to be carried out
only by a qualified electrician using original
replacement parts or the user may suffer an
accident.
If necessary, wear suitable personal protection
equipment. This could consist of:
- Ear-muffs to prevent the risk of damaging your
hearing
- A breathing mask to prevent the risk of inhaling
hazardous dust
Always wear gloves when handling saw blades
and rough materials. Whenever practicable, saw
blades must be carried in a container.
The operator has to be informed about the
conditions with an influence on noise
development (e.g. blades designed to reduce
noise emission, caring for blades and saws).
Faults on the machine or its guards, safety
devices and blade have to be reported to the
person in charge as soon as they are
discovered.
Use only the transport devices to move the
machine. Never use the guards for handling and
moving the machine.
While you are moving the machine it is best to
cover the top part of the blade, e.g. with the
guard.
Do not cut rebates or grooves without fitting a
suitable guard, e.g. a tunnel-type guard, over the
saw table.
Circular saws must not be used for slotting jobs
(cutting grooves which end in the workpiece).
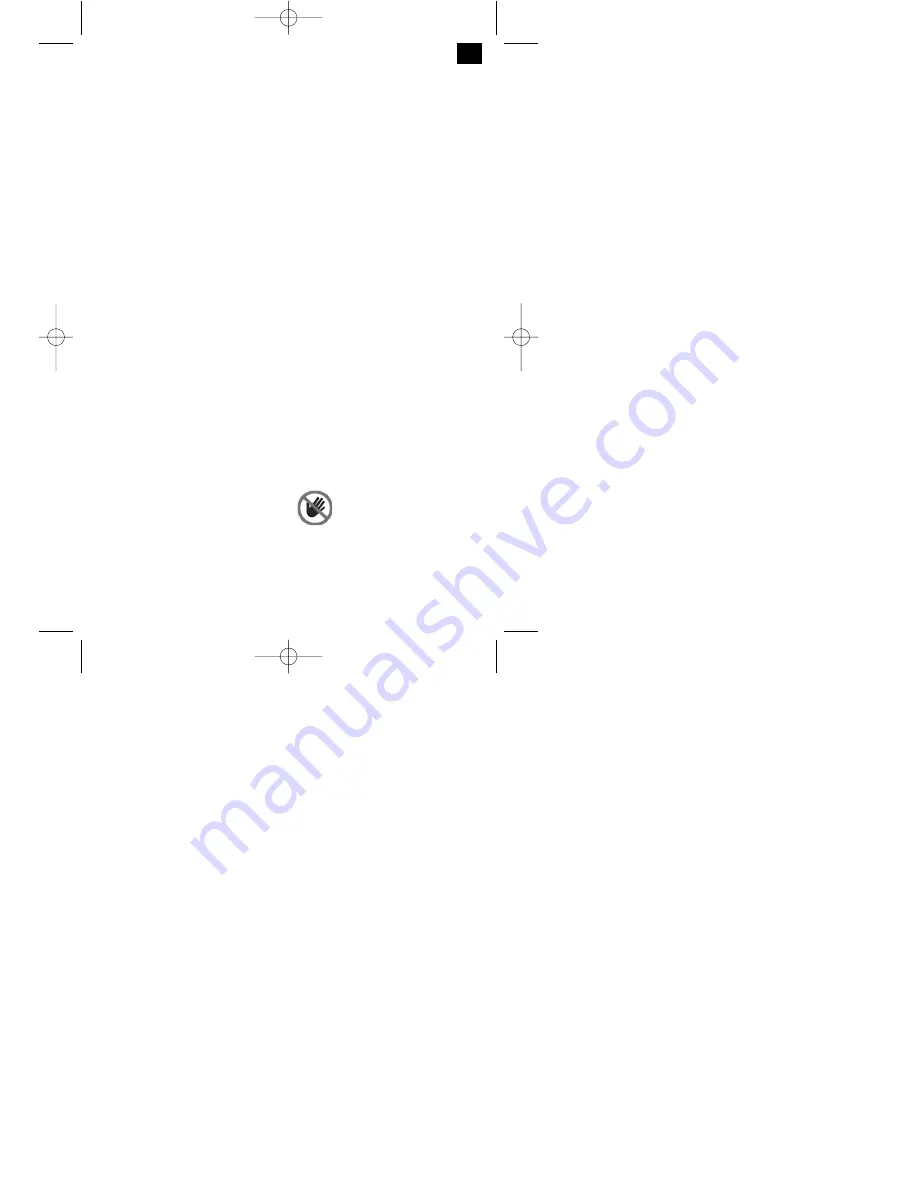
Important:
Risk of injury!
Never reach into the running
saw blade.
Wear goggles
GB
19
Anleitung TKS 18-250 UV SPK7 13.11.2006 15:25 Uhr Seite 19
Summary of Contents for 43.406.40
Page 4: ...4 5 6 8 7 6 34 23 20 44 Anleitung TKS 18 250 UV SPK7 13 11 2006 15 25 Uhr Seite 4...
Page 5: ...5 9 10 32 49 49 14 39 11 25 45 12 25 Anleitung TKS 18 250 UV SPK7 13 11 2006 15 25 Uhr Seite 5...
Page 6: ...6 16 14 15 13 25 26 24 14 Anleitung TKS 18 250 UV SPK7 13 11 2006 15 25 Uhr Seite 6...
Page 8: ...8 25 26 27 23 24 3 Anleitung TKS 18 250 UV SPK7 13 11 2006 15 25 Uhr Seite 8...

