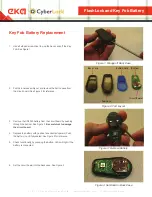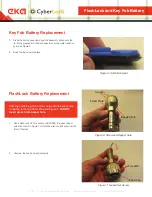
Key Fob Battery Replacement
FlashLock Battery Replacement
FlashLock and Key Fob Battery
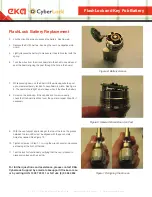
Note the positioning of the screw hole and the beeper hole
in relation to the two LEDs shown in Figure 6. DO NOT
insert wrench into beeper hole.
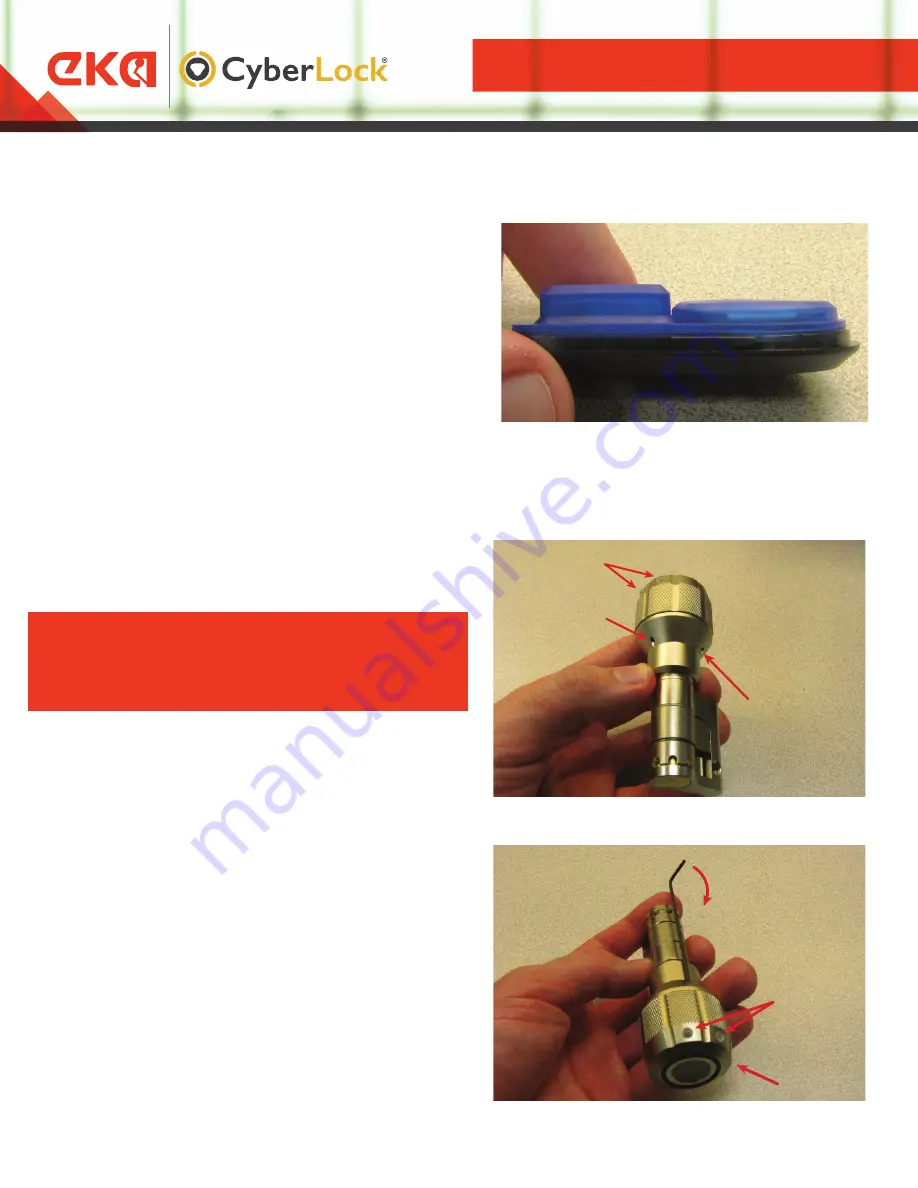
Figure 5: Set Button Seal
Figure 6: Screw and Beeper Hole
Figure 7: Loosen Set Screw
7. Press the button case down over the assembly. Make sure the
lip is fully pressed into the back case to ensure a water-resistive
seal. See Figure 5.
8. Snap the top case into place.
1. Use a FlashLock T6 Torx wrench (HDM1893) to loosen the set
screw as shown in Figure 7. Rotate the wrench clockwise from the
front of the lock.
2. Unscrew the knob cap and set aside.
Screw Hole
Beeper Hole
Two LEDs
Knob Cap
Two LEDs
V1.0_8101 | Division of Davcor Group Pty Ltd | www.ekacyberlock.com.au | www.ekacyberlock.co.nz


