5.
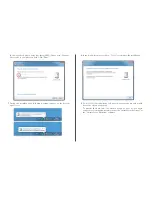
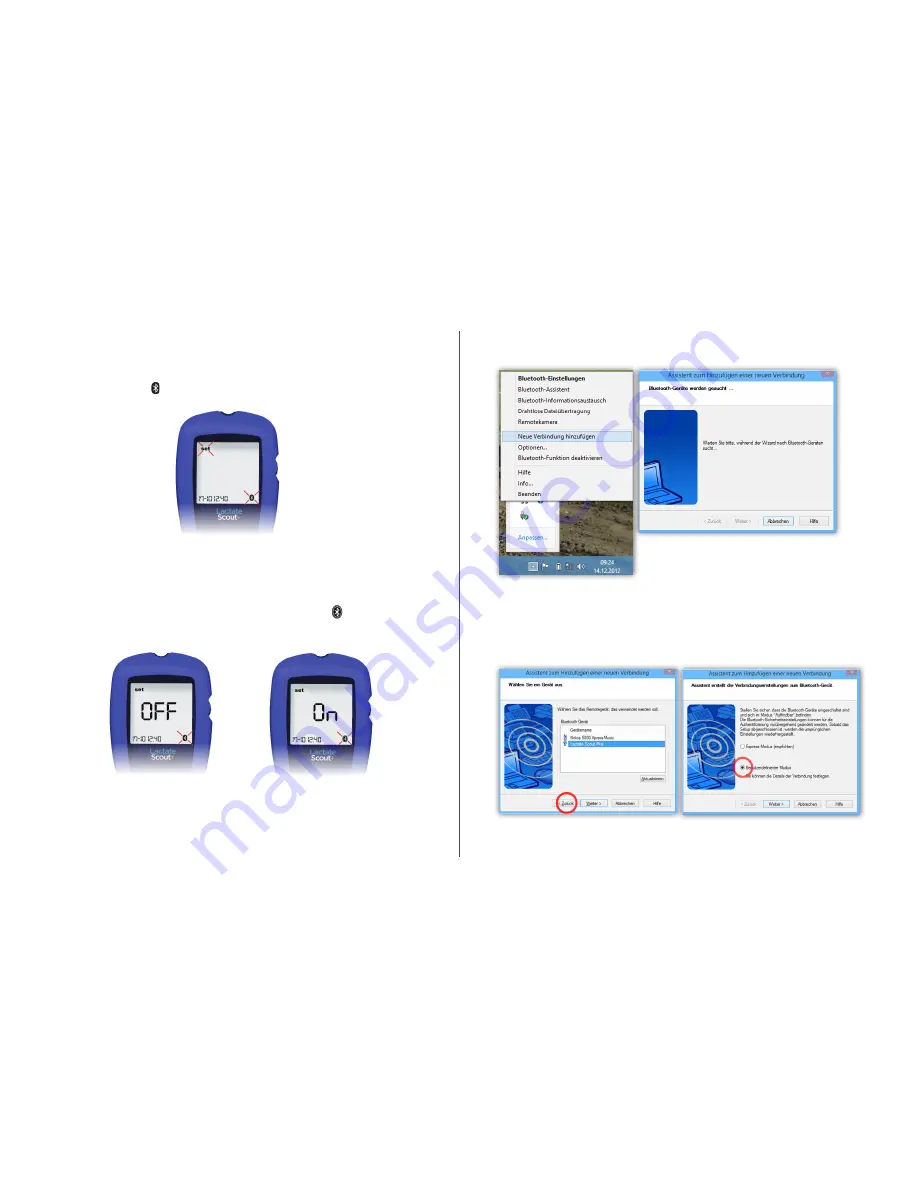
Now the computer is searching for the Lactate Scout Plus
device and displays it in a corresponding list. In the next step
the connection is added using the „user defined mode“.
At first you have to click on the button „back“ and in the next dialog
window select “User defined mode”. Please click on „Next“:
4.
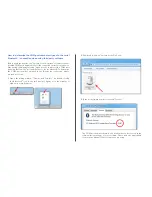
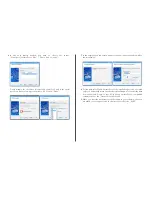
To add a new Bluetooth
®
connection, please click on the Bluetooth
®
icon
in the taskbar and on the menu item „Add new connection“:
3.
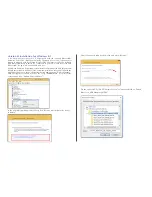
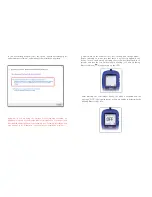
Next, switch on the Lactate Scout+ in “Setting and Storage Mode“:
Before it is switched on, make sure that there is no sensor plugged
into the device. Turn on the device by pressing the scroll wheel for two
seconds and turn the scroll wheel until a blinking “set“ and a blinking
Bluetooth
®
icon „ “ appear on the LCD screen:
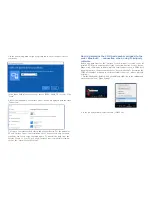
After pressing the scroll wheel
briefly, the menu is activated and
the message “OFF” is displayed on
the main display together with the
blinking Bluetooth
®
icon:
By turning the scroll wheel by
one click, the message “On” is
appearing on the LCD screen
together with an outlined
Bluetooth
®
icon „ “:
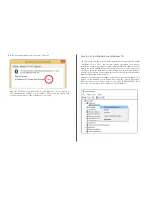
After pressing the scroll wheel briefly, the Bluetooth
®
module is
activated. Please note: The device will turn off automatically after
five minutes if no user input is detected. However, you can turn on
the device again as already described above and continue working.
(See Lactate Scout+ manual).


