Section 3 -
Page 3 of 6
3121-9001-0167_EN.03.00_QT_Manual
04/2016
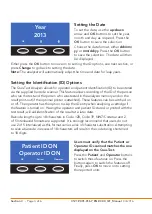
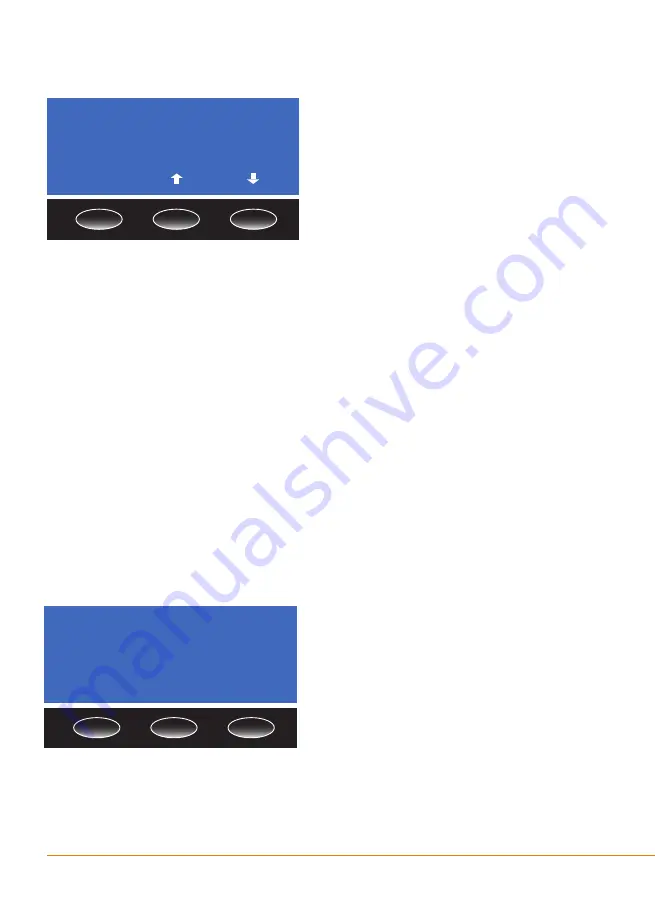
Setting the Date
To set the date, use the
up
/
down
arrow and
OK
buttons to set the year,
month and day as required. Press the
OK
button to save the selection.
Choose the date format, either
dd/mm/
yy
or
mm/dd/yy
. Press the
OK
button
to save the selection. The date will then
be displayed.
Either press the
OK
button to move on to setting the ID options, see next section, or
press
Change
to go back to setting the date.
Note:
The analyzer will automatically adjust the time and date for leap years.
Setting the Identification (ID) Options
The Quo-Test Analyzer allows for operator and patient identification (ID) to be entered
via the supplied barcode scanner. This feature allows recording of the ID of the person
who ran the test and the person who was tested in the analyzer memory and on the
result print-out (if the optional printer is attached). These features can be switched on
or off. The operator has the option to skip the ID entry when analysing a cartridge if
the feature is turned on. Having the operator and patient ID stored or printed with the
test result, will aid identification of the result at a later date.
Barcode lengths up to 18 characters in Code 128, Code 39, NW7/Codabar and 2
of 5 Interleaved formats are supported. It is strongly recommend that users do not
use 2 of 5 interleaved as this format carries a risk of character substitution. Attempting
to scan a barcode in excess of 18 characters will result in the code being shortened
to 18 digits.
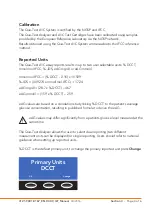
Users must verify that the Patient or
Operator ID scanned matches the one
displayed on the Quo-Test.
Press the
Patient
and
Operator
buttons
to switch these features on. Press the
buttons again to switch the features off.
Finally, press
OK
to move on to setting
the reported units.
Year
2013
OK
Patient ID ON
Operator ID ON
OK
Operator
Patient
Summary of Contents for Quo-Test
Page 1: ...User Manual Quo Test Diagnostics for life ...
Page 32: ...3121 9001 0167 ...


