background image

Summary of Contents for 212

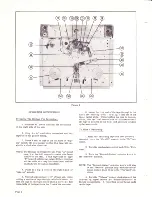
Page 1: ...ddition to those made directly from the microphone The Model 2t2 has two tape speeds 3 3 4 and 7 112 per second Using both tracks of the taperrecording time is as follows MIKE INPUT RECORD tISTEN CONTROT ON OFF swlTcr l SPEAKER ON OFF SWITCH J ol lll p ce 3 5H rg Ex H9 Fi o I lll t Size Reel 5tt 7 3 3 4 Speed t hour 2 hours 1 2 Speed 1 2 hour t hour Thisunitisdesignedto operate on 60 cycle 115 vol...

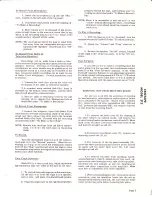
Page 2: ...olding a section of tape straight with both hands in sert the tape in the tape slot making sure the dull coated side of the tape faces the front of the recorder Page 2 6 Insert the free end of the tape through to the hub of the take up reel f orcing it into one of the three radial slots While holding the tape in this po sition turn the reel several turns clockwise until the tape is secured to the ...

Page 3: ... full reel from the right hand spindle turn it over and place itonthelefthandspindle 2 Place the empty reel on the right hand spindle properly thread the tape and continue your re cording as describedunder To MakeARecord ing NOTE Since it is impossible to edit and splice one track without affecting the other recordings which are to be edited should be limited to one track only To Play A Recording ...

Page 4: ...ording head is subject to an of approximately 45 volts accumulation of tape coating residue which is worn off the tape as it passes the head 3 Defective erase coil in head This should be periodically removed since it a Check erase head continuity may cause faint recordings and poor playback Wipe off the record and erase head contact 4 Pressurepadsworn ornot properlyadjusted surfaces carefully with...

Page 5: ... up support plate spring 61 broken a Replace Tape Overruns From Fast Forward To Forward Position 1 Supply reel brakes not functioning properly worn or out of adjustment a Replace or readjust See Adjusting Brake Lever Assembly 2 Pinch roller 18 damaged or out of adjust ment tx H9 Fi H 1 1 Open coil in play record head a Replace head 2 Open input circuit a Check circuit Howl Or Ringing Sound 1 Micro...

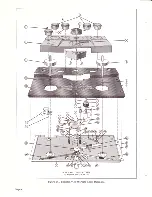
Page 6: ...dl I I I A PHOTOFACT EXPLODED VIEW Howard W Sams Co lnc 1955 Page 6 Figure 5A Exploded View Of Parts Above Baseplate ...

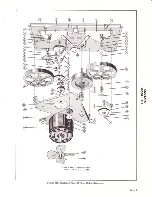
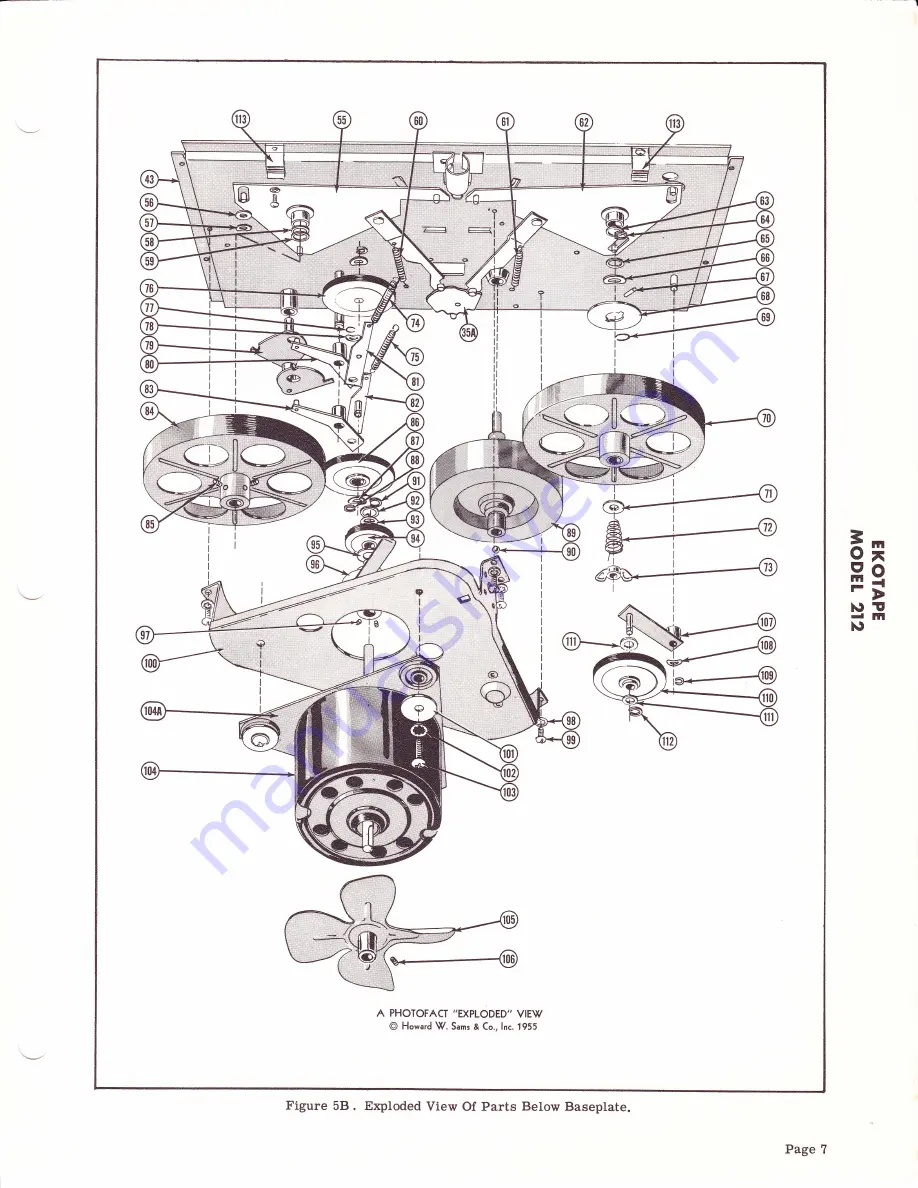
Page 7: ... l A PHOTOFACT EXPLODED VIE Howard W Sams Co lnc 1955 Figure 58 E rploded View Of Parts Below Baseplate Ex H9 Ft hr dm N Page 7 ...

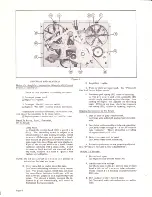
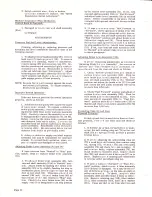
Page 8: ...mblies 22 and 23 out of adjustment or damaged Page 8 Figure 6 a Repair or replace See Pinch Roller a Adjust or replace See Pinch Roller Adjustment Mechanism Control Knob 2 Inoperative 1 Loose set screw in knob a Tighten 2 Loose set screws in pinch roller cam assem a Adjust and tighten Speed Selector Not Functioning 1 Broken springs 74 and 75 on drive idler assemblies a Replace Speed Equalization S...

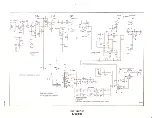
Page 9: ...xt 3 EI Es iEslaE i i O Oi c U n6 E bs PsEPEl9 6Eo 5oc ABEIEgs oc iots E iou l oo oo SeE i a J c 5t Y9ri 9 o e L E 885 g i ciai3d F EUJ 5 H o U ro sg r l t l td cr U e tRE E o o E 8 rq l t 6tr o v JHI F t o o g a E tE e Ld o J J P r 6 o F N z an i E A o G o c d E G t J k e 3 ko Ee 6 a N s o U e 5 I ex H9 Ft dm N Page 9 ...

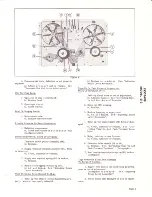
Page 10: ...ot turn camand shaftassembly 35A to FastForward andadjust brake lever assembly 54 as outlined above Before reassembly of top panel thread recorder with tape and checkunit for any further trouble 2 If tape overruns from Fast Forward to Forward check operation of brake lever 54 as explained in above paragraph with this ex ception turn cam and shaft assembly 35A to Fast Forward position and adjust br...

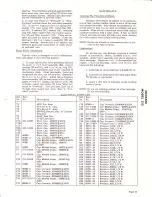
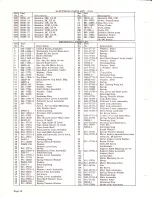
Page 11: ...l oilite bearings withSAE 20 oil 2 Lubricate all cams and levers with Liqui Moly NV Grease or equivalent 3 Appty a thin film of lubricant on the working areas of parts NOTE Do notuse cleaning solvent on oilite bearings Do not overlubricate Ex H9 Fi t rl l 19 EL AL PARTS LIST Ref No Part No Description Ref No Part No Description v1 v2 v3 V4 v5 v6 c1A c1B clc c2A c2B c2c c3 C4 c5 c6 c7 CB c9 c10 c11...

Page 12: ...rase Head Assy Screw 2 Used Top Tape Guide 2 Used Tape Guide Spacer 2 Used Tape Guide Shelf Pinch Roller Cam Assembly Cam and Shaft Assembly Index and Interlock Lever Assy Spring Retaining Ring Spring Tension Washer Washer Remote Lever Arm Spring Mechanism Plate Assembly Retaining Ring Brake Lever Assembly Spring Spring Tension Washer Washer Retaining Ring Spring Remote Lever Assembly Switch Cam A...

Reviews: