background image

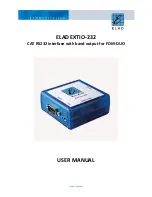
ELAD EXTIO-232 


User Manual Rev 4   10/2019 


© 2019 ELAD S.r.l. All rights reserved. No part of this document may be reproduced, published, used, disclosed or disseminated  

in any form or by any means, electronic, photocopying or otherwise, without prior written permission of ELAD S.r.l.


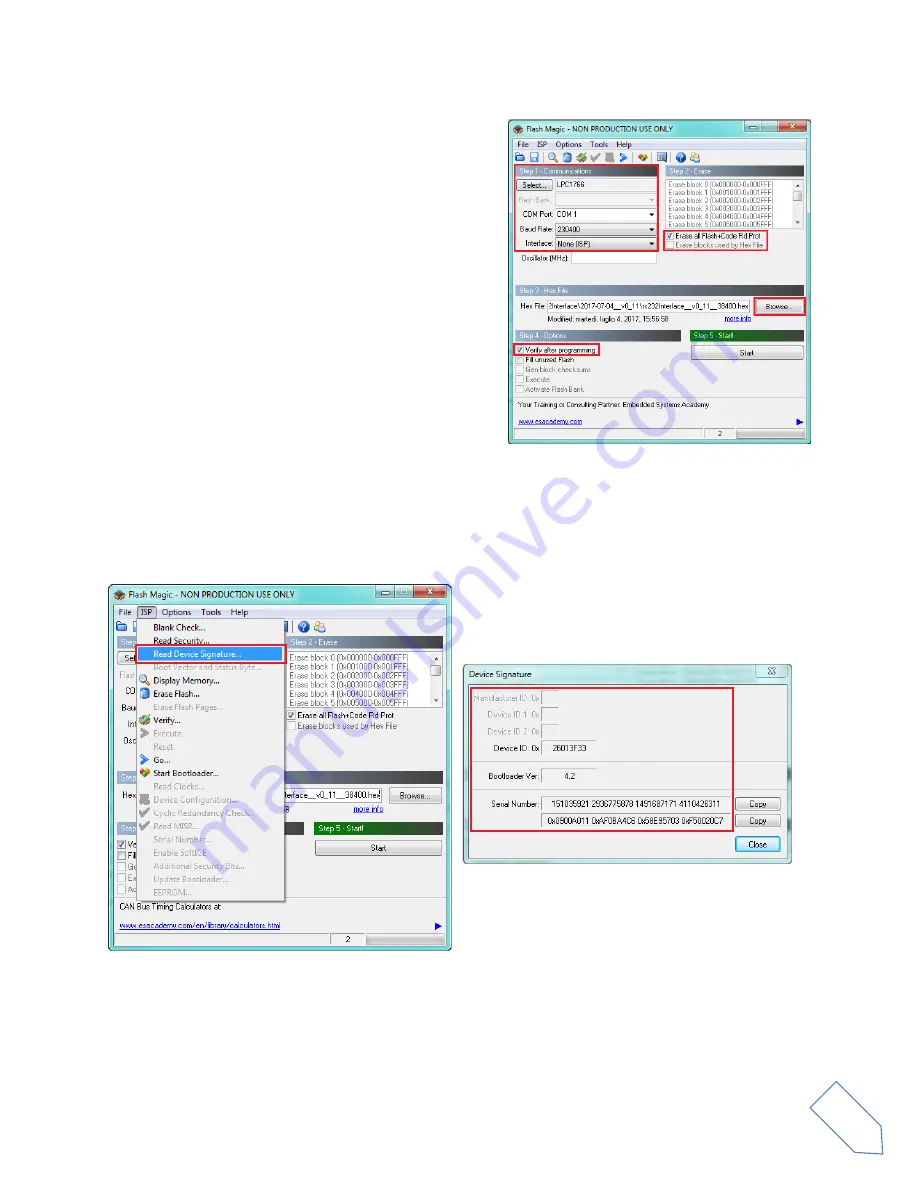
Now, run Flash Magic and set the following parameters. 
 
In the “Step 1 – Communication” section: 


Select LPC1766, 


COM Port: the EXTIO-232 COM port, 


Baud Rate: 230400, 


Interface: None  (ISP). 

 
In the “Step 2 – Erase” section: 


Check “Erase all Flash+Code Rd Prot”. 

 
In the “Step 3 – Hex File” section: 


Click on Browse and select the “.hex” file. 

 
In the “Step 4 – Options” section: 


Check “Verify after programming. 


Check  the  communication  with  the  EXTIO-232  interface  clicking  on  “ISP”  and  then  on  “Read  Device 
Signature”.  If  the  communication  with  the  EXTIO-232  interface  is  working,  a  new  window  with  some 
device information is opened. 


If  the  communication  is  working  it  is  possible  to  proceed  with  the  firmware  programming.  Click  on 
“close” on the “Device Signature” window.  


Summary of Contents for EXTIO-232

Page 1: ...www eladit com ELAD EXTIO 232 CAT RS232 interface with band output for FDM DUO USER MANUAL...

Page 2: ...ans electronic photocopying or otherwise without prior written permission of ELAD S r l 2 Contents Revision History 2 1 Overview 3 2 CAT Commands 3 3 Band Select Output 4 4 Firmware Upgrade 5 Revision...

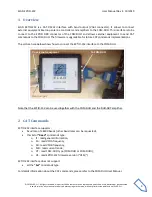
Page 3: ...CAT commands to the FDM DUO The firmware is upgradable for future CAT commands implementations The picture here below shows how to connect the EXTIO 232 interface to the FDM DUO Note that the EXTIO 23...

Page 4: ...l 4 3 Band Select Output The EXTIO 232 interface selects automatically the correct voltage according to the current tuning frequency The voltages generated are listed below Band Frequencies Output Vol...

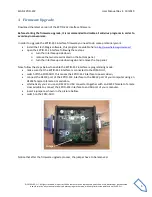
Page 5: ...interface following these steps turn the interface upside down remove the two screws located on the bottom panel turn the interface upside down again and remove the top panel Now follow the steps belo...

Page 6: ...electronic photocopying or otherwise without prior written permission of ELAD S r l 6 Then you need to identify the COM port number Open the windows Device Manager and expand the Ports COM LPT node T...

Page 7: ...O 232 COM port Baud Rate 230400 Interface None ISP In the Step 2 Erase section Check Erase all Flash Code Rd Prot In the Step 3 Hex File section Click on Browse and select the hex file In the Step 4 O...

Page 8: ...sh Magic main window click on Start to begin the programming Flash Magic will now proceed to program the firmware and perform the programming verification Wait until the end of the process It should r...

Reviews: