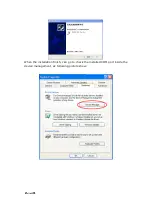
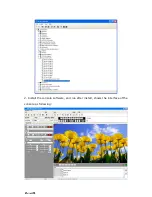
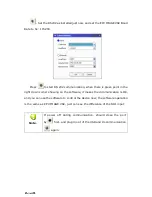
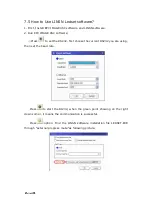
Elation EPV IMAGE VSC, User Manual
The Elation EPV IMAGE VSC User Manual is a comprehensive guide designed to help users easily navigate and utilize the advanced features of this cutting-edge product. With a simple and intuitive interface, this manual is available for free download exclusively from our website, ensuring easy access for all.
Share
Download


Reviews:
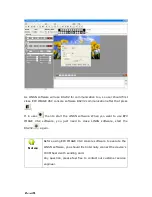
No comments
Related manuals for EPV IMAGE VSC

System x3630 M4
Brand: IBM Pages: 7

3163
Brand: Paradyne Pages: 16

KINO-KBN-i2
Brand: IEI Technology Pages: 21

XStend XS40
Brand: XESS Pages: 23

OfficeConnect WX2200
Brand: 3Com Pages: 204

EK-FC
Brand: ekwb Pages: 2

OVP800
Brand: IFM Electronic Pages: 14

PCI-AC48
Brand: OPTO 22 Pages: 28

I-87K Series
Brand: ICP DAS USA Pages: 31

CNPS20X
Brand: ZALMAN Pages: 20

71M6533
Brand: Teridian Pages: 2

Imagestore Intuition+
Brand: Miranda Pages: 60

G6950
Brand: Intel Pages: 51

VS-M1
Brand: Me Pages: 28

PXE-R600
Brand: Alpine Pages: 17

1677
Brand: Alcatel-Lucent Pages: 8

DAQ X NI 634 Series
Brand: National Instruments Pages: 278

Network Video Recorder
Brand: IC Realtime Pages: 118


