ENG man E1-MIA 00
E1-MIA Radio Remote Control
- Page 15 -
ENGLISH
6.1 BATTERY CHARGER USAGE
The transmitter must be recharged in an environment in which the temperature ranges between 0°C and 40°C. this will
obtain maximum performance in terms of charging capacity and useful life of the battery.
Check that the electrical connection poles are clean and dry before connecting the charging system.
Indicator lights:
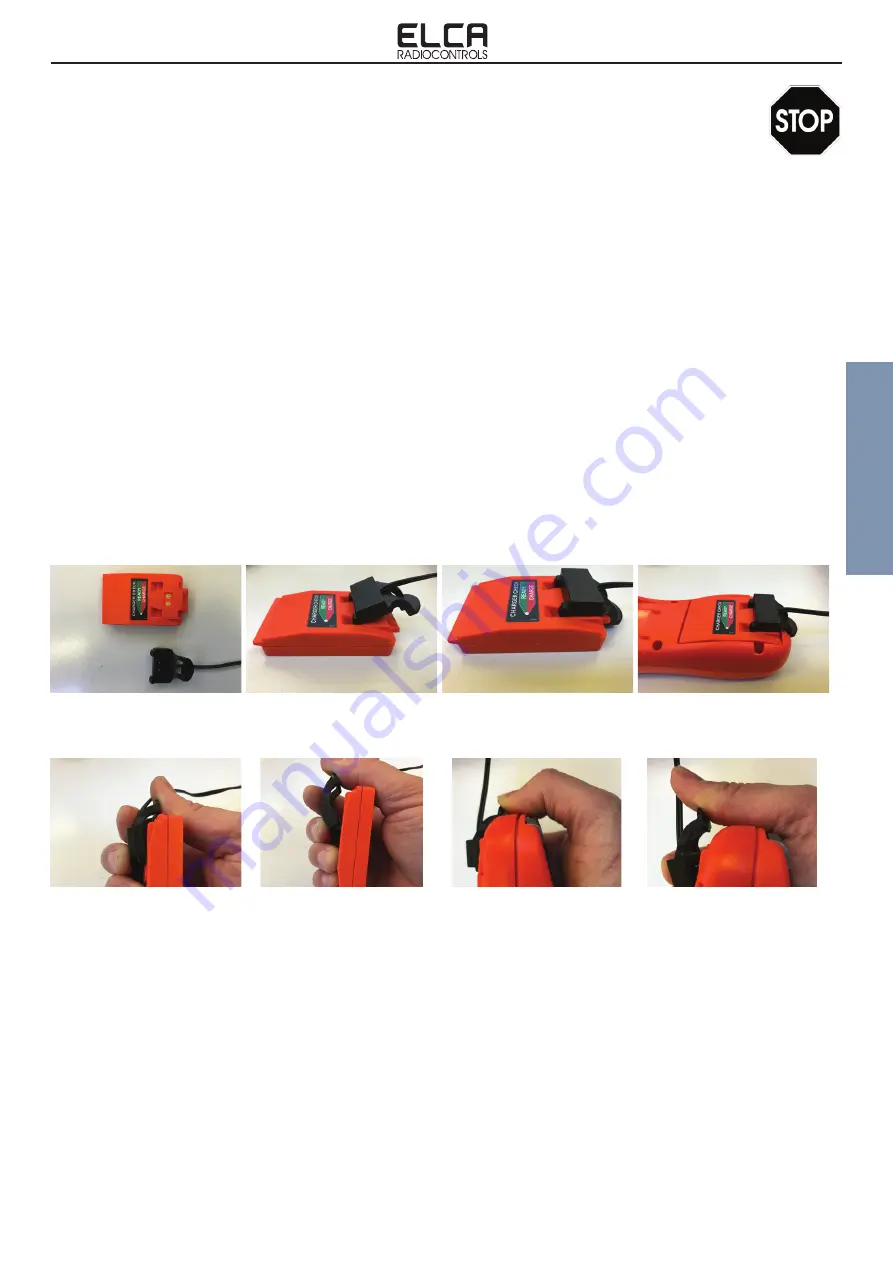
When the charging system is connected, the Charger Check indicator, on the battery, is red to indicate that charging has
started.
If the battery is connect on the transmitting unit when the unit is Off pressing and holding the START and K0 button, the
white LEDs 1, 2 and 3 will light progressively depending on the charge status of the battery; only LED 3 lit indicates that
the battery is low, LED 1, 2 and 3 lit indicate that the battery is fully charged.
When the battery is fully charged, the Charger Check indicator turns green.
The full charging process lasts about 4 hours.
The lithium polymer batteries allow a rapid charging process in the initial part of charging. The graph below shows that
75% of the useful charge is obtained in two hours of charging, equivalent to about 15 hours of run time.
A charge of just 20 minutes can ensure approximately 3 hours of run time.
It is advisable to always keep the batteries fully charged to be able to ensure full effectiveness.
Avoid leaving the batteries discharged for long periods.
Charge the batteries at least once a year.
6. BATTERY CHARGER
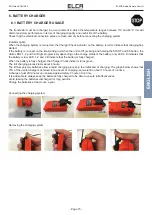
Connecting the charging system
Removing the charging system
Click
Click

