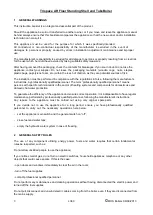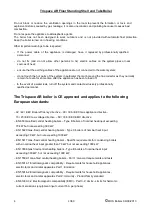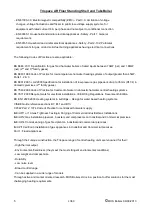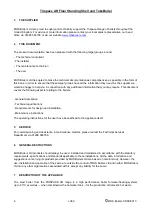
Trispace AR Floor Standing Shell and TubeBoiler
17 L360
©
MHS Boilers 06/09/2013
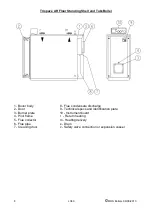
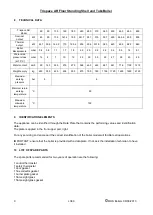
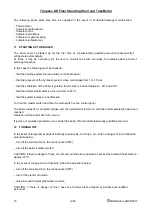
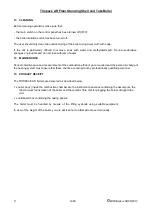
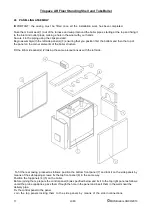
24 PANELLING ASSEMBLY
IMPORTANT: the casing must be fitted once all the installation work has been completed.
Take the mineral wool (1) out of the furnace and wrap it around the boiler pipes, starting at the top and fixing it
to the inlet and outlet pipes, making a hole in the wool with your hands.
Secure it to the piping using the clips provided.
Begin assembly with the left side panel(s) (3) ensuring that you position first the bottom and then the top of
the panel on the corner elements of the boiler structure.
Fit the right side panel(s) (2) taking the same precautions as with the left side.
To fit the rear casing, proceed as follows: position the bottom front panel (7) and lock it on the side panels by
means of the self-tapping screws; fix the top front panel (8) in the same way.
Position the top panels (4) (5) on the boiler.
Before joining them, prepare the control panel (6) as specified below and fix it to the top right panel as follows:
uncoil the probe capillaries, pass them through the hole in the panel and insert them in the wells near the
delivery pipe.
Fix the control panel to the panel.
Join the top panels locking them to the side panels by means of the slot-in connections.

