R
24
F
OILS
(
SHIMS
):
These are coating thickness
standards which have been measured using
techniques independent of the gauge. They are
ideal for calibration because they provide a known
value of thickness on the actual substrate to be
measured. Calibration certificates for foils are
available upon request.
When using foils care must be taken to keep the
foils clean and free from dust and to avoid damage
by creasing particularly the thinner foils. Always
remove a foil from its storage wallet before use.
When calibrating a High Temperature PINIP™
Probe use the special thickness standards supplied
with the probe - see “Calibrating High Temperature
PINIP™ Probes” on page 29.
Note
: To calibrate 5 mm (200 mils) and 13 mm
(500 mils) range gauges it will be necessary to
stack the foils (Figure 23). Care must be taken to
avoid errors due to placing the foil labels between
the foils.
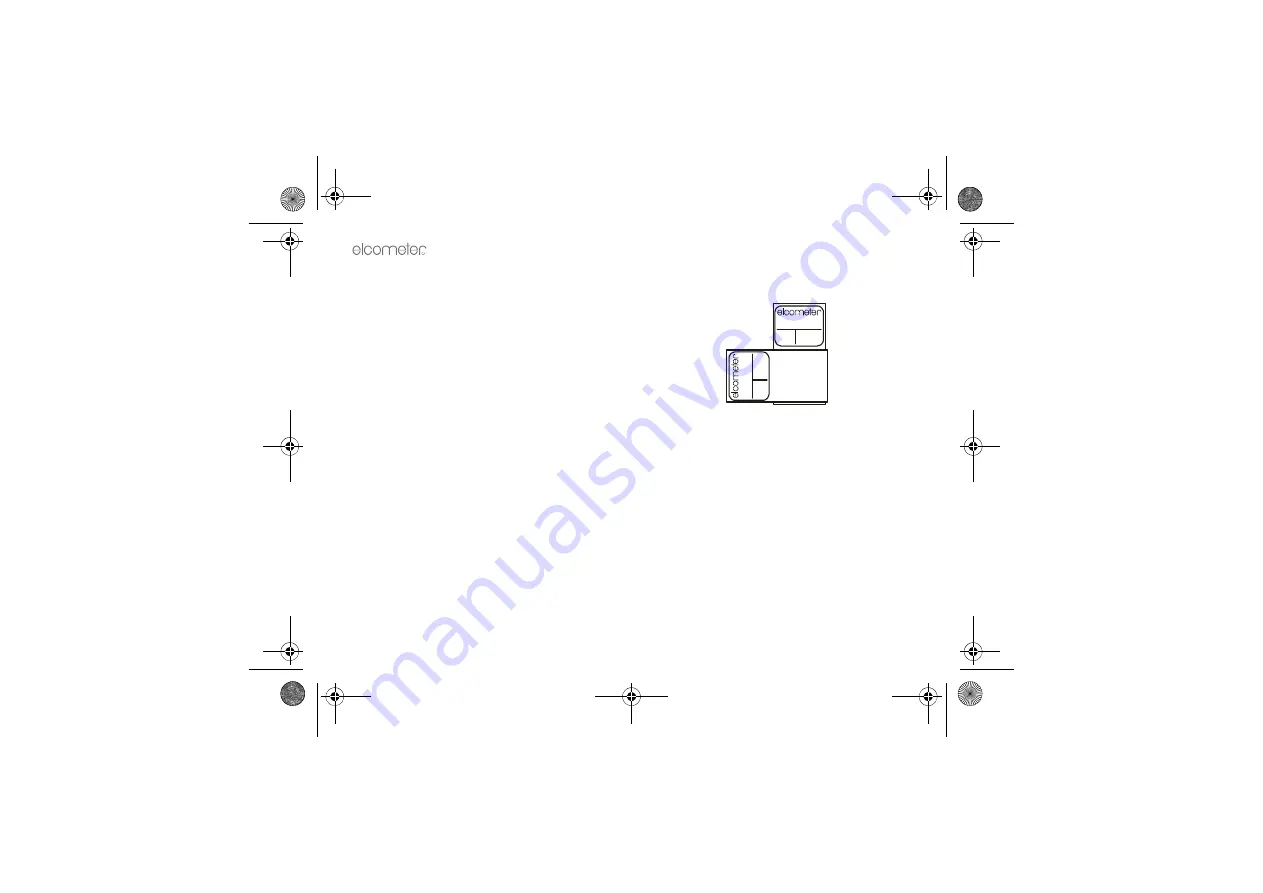
Figure 23. Stacking foils to increase thickness
C
OATED
STANDARDS
:
Thickness standards using
typical substrate materials coated with hardwearing
materials and measured using techniques
independent of the gauge.
Coated standards are most often used to confirm
that the gauge meets its specifications if it is not
possible to use foils (shims).
5.3 CALIBRATION ADJUSTMENT PROCEDURE
Calibration adjustment can be carried out at any
time by pressing
CAL
softkey from the reading
screen. To prevent inadvertent calibration
Serial no.
Inspected by
micron
mils/thou
502
19.75
TK1009
Se
ri
a
l n
o
.
In
s
p
e
ct
ed by
mi
c
ro
n
mi
ls
/t
h
o
u
176
.1
6.
93
T
K
1010
Op_456_3_English.book Page 24 Thursday, January 22, 2009 7:58 PM


