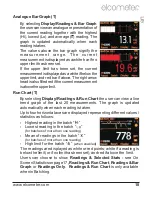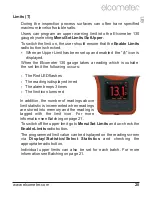
4 MEASURING CONDUCTIVITY (T)
1. Press and hold the ON/OFF button to switch the gauge on.
2. Select
Menu/Setup/Measurement Mode/Conductivity
.
3. Press
Menu/Setup/Units
to set the measurement units.
4
Only the measurement units applicable to conductivity will be available for
selection, see page 7. If set to an alternative measurement unit prior to
selecting the measurement mode “Conductivity”, the gauge will
automatically default to µS/cm.
4. Put on a pair of clean disposable gloves.
5. Using tweezers, remove a filter paper from the pack and place on to the
measurement electrodes.
6. Fill a syringe with precisely 1.6ml of the contaminated liquid / liquid
under test.
7. Eject the test liquid from the syringe onto the filter paper, ensuring even
distribution.
8. Close the lid ensuring that the magnetic catch is fully engaged.
9. The reading will automatically be displayed on screen and stored into
memory.
10. Lift the lid and remove the filter paper.
11. Place the filter paper in a resealable bag (supplied), if required for
further chemical analysis.
12. Clean the electrodes between tests using pure water and a sensor
wipe (supplied).
13. Clean the syringe between tests using pure water or alternatively
discard and use a new syringe for each test.
Failure to thoroughly clean the measurement electrodes and syringe between
tests may contaminate subsequent tests and result in inaccurate readings.
The Elcometer 130 measurement electrodes are gold plated to prevent corrosion
and oxidisation, prolonging the life and accuracy of the gauge. They should only
be cleaned using pure water and the sensor wipes supplied. DO NOT use
abrasive materials or chemicals as this will damage the electrodes.
R
en
www.elcometer.com
10


