9
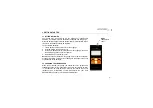
To achieve the most accurate measurements possible, it is generally advisable to calibrate the gauge to a
sample piece of known thickness. Material composition (and thus, its sound-velocity) sometimes varies from
lot to lot and from manufacturer to manufacturer. Calibration to a sample of known thickness will ensure that
the gauge is set as closely as possible to the sound-velocity of the material to be measured.
5.2.1 Known Thickness Calibration
If the sound velocity of a material is unknown, a sample of known thicknesses can be used to determine the
sound velocity.
Note: Known thickness calibration must be performed on material with the paint or coating removed. Failure
to remove the paint or coating prior to calibration will result in a multi-material velocity calculation that may
be different from the actual material velocity intended to be measured.
One-point Thickness Calibration:
You should always calibrate on the high side of the intended range of
material thicknesses you will be measuring. For example, if you are measuring material ranging from
2.54 mm to 25.4 mm (.100" to 1.0"), you should calibrate on a known thickness sample close to 25.4 mm
(1.0").
Note: Before you start this calibration procedure, perform a probe zero.
1.
Physically measure an exact sample of the material or a location directly on the material to be meas-
ured using a set of calipers or a digital micrometer.
2.
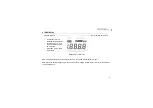
Apply a drop of couplant on the transducer and place the transducer in steady contact with the sample
or the material being tested. Be sure that the reading is stable and the repeatability indicator, in the top
left corner of the display, is fully lit and stable.
3.
Having achieved a stable reading, remove the transducer. If the displayed value changes from the
value shown while the transducer was coupled, repeat the previous step.


