9-29
HOW TO USE YOUR CAMPERVAN’S EQUIPMENT
SMOKE ALARM
Operation
Normal Condition
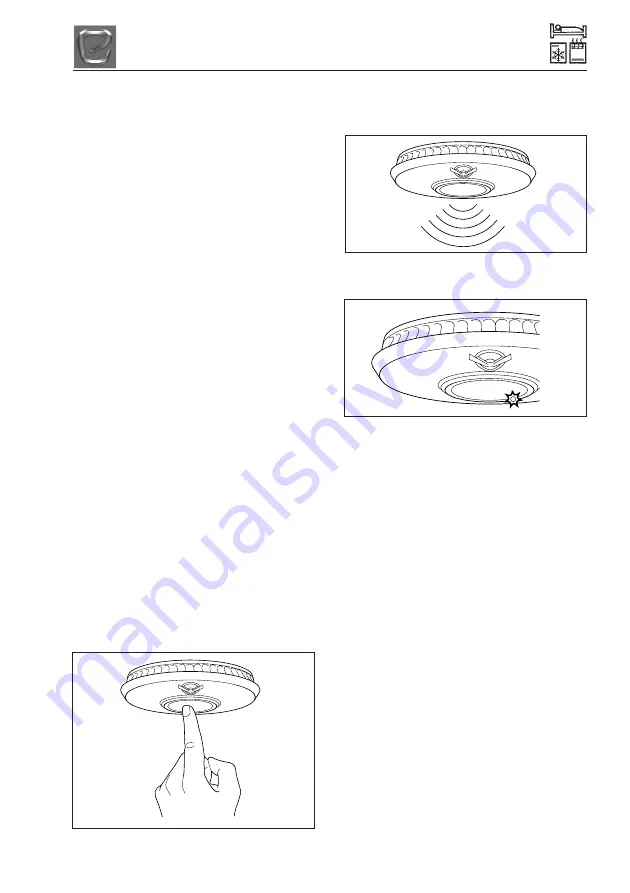
The red LED on the front should flash every
40 seconds to show that the alarm is active.
Lower Power Pack Condition
IMPORTANT:
Your smoke alarm requires the
power pack to have sufficient capacity of
power to operate correctly.
Should your smoke alarm enter a low power
pack condition, the unit will emit an audible
‘chirp’ once every 40 seconds. When this
occurs, we recommend you replace the
alarm immediately. Your smoke alarm will
continue to warn of this low power pack for at
least 7 days, however, failure to change the
alarm after this time would mean your smoke
alarm may have insufficient power to alert
you in a real fire situation. When the alarm is
removed from the base plate the power pack
will automatically deactivate and the low
power warning chirp should stop, allowing
you to dispose of the alarm.
Low Battery Warning Silence
This feature can temporarily silence the low
battery chirp for 8 hours which is particularly
useful if the warning begins during the night.
This feature may be repeated up to 10 times,
but is not a substitute for replacing the smoke
alarm.
Alarm Test
The alarm must be properly attached to the
base plate before it can be tested.
•
Press the test button in the centre and
release.
•
The unit will give an audible alarm
consisting of 2 cycles of 3 loud beeps,
then stop automatically.
•
The red LED on your alarm will flash
rapidly during the audible signal.
Note:
The test button accurately tests the
alarm’s smoke sensing circuit, there is no
need to test your alarm with smoke. If your
smoke alarm fails to give an audible test
signal, please refer immediately to the trouble
shooting guide at the end of this manual.
WARNING: You should test your smoke
alarm every week.
Summary of Contents for Autoquest 2021
Page 10: ...4 2 MOTORWAY HANDLING ...
Page 12: ...5 2 ARRIVING ON SITE ...
Page 20: ...7 4 GAS SAFETY ADVICE ...
Page 24: ...8 4 ELECTRICAL SYSTEM MAINS UNIT CAMPERVAN ...
Page 67: ...9 43 HOW TO USE YOUR CAMPERVAN S EQUIPMENT ...
Page 72: ...9 48 HOW TO USE YOUR CAMPERVAN S EQUIPMENT HOW TO MAKE UP YOUR BEDS Campervan Day and Night ...
Page 76: ...10 2 SECURITY ...
Page 82: ...12 2 STORAGE ...
Page 86: ...13 4 WARRANTY ...
Page 88: ...14 2 CAMPERVAN CONSTRUCTION ...
Page 89: ...15 1 ELECTRICAL DRAWINGS ELECTRICAL DRAWINGS CAMPERVAN ...
Page 90: ...15 2 ELECTRICAL DRAWINGS ...
Page 96: ...17 4 GLOSSARY ...
Page 104: ...19 2 CHANGE OF OWNERSHIP ...
Page 106: ...20 2 CHANGE OF ADDRESS ...


