background image


TROUBLESHOOTING 

Do not repair or disassemble the unit by yourself, unauthorized repair attempts will 
invalidate the warranty and may cause bodily harm. 
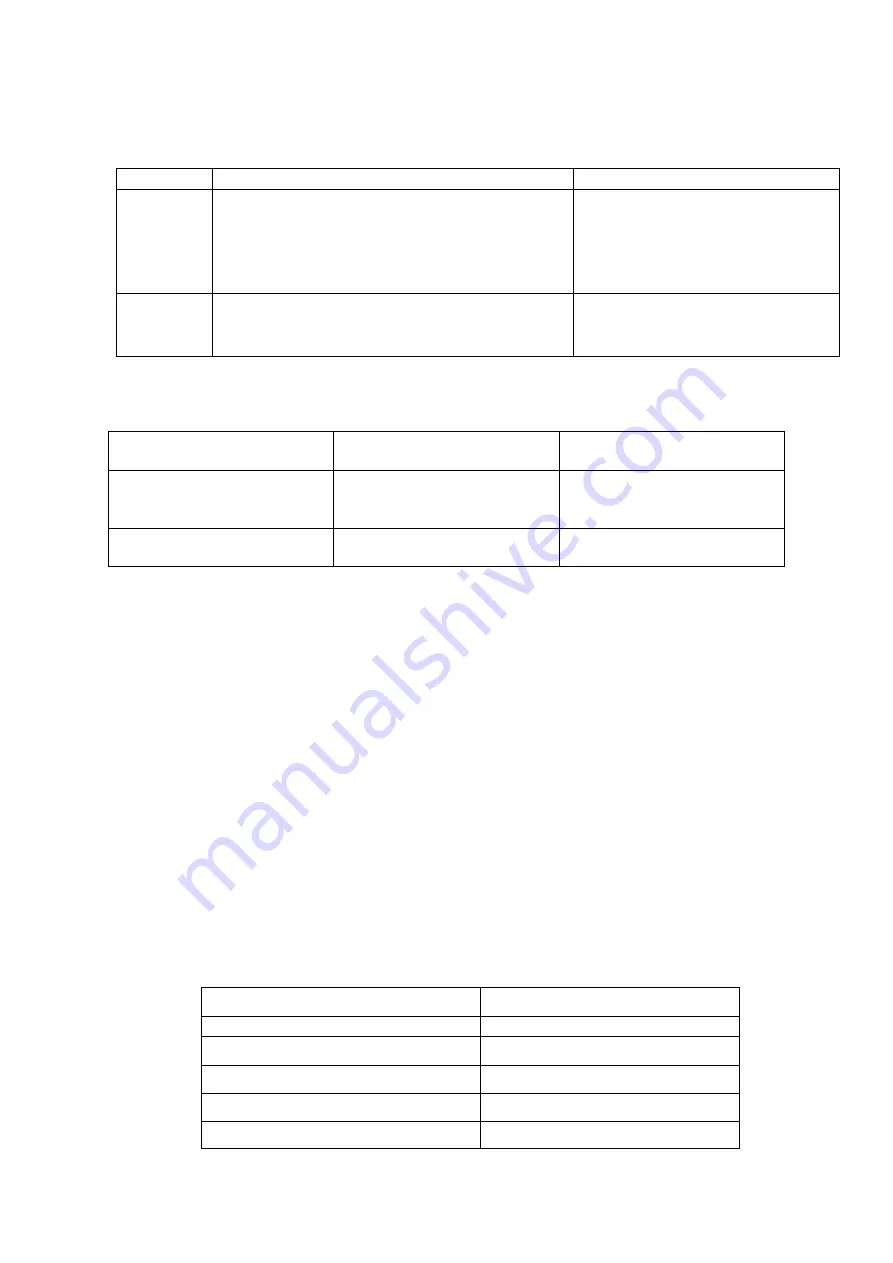
 

Issue 

Possible Reason 

Solution 

No power  1. Power cord is unconnected 

2. There is no power from socket 
3. The power switch on the rear of the unit 
is turned off. 

1. Connect the power cord 
2. Check socket is turned on 
3. Ensure the power switch on 
the rear of the unit is in the on 
position 

Odour 
emission 
from unit 

1. New unit. When the unit is used for the 
first time the heater may produce and odour 
which will dissipate within a week of use 

1. No action required 


ERROR CODES 

E1 

Control unit overheat


Check installation 

clearances


E2 

Tip over function 

Ensure the heater is less 

than 60°working angle and 

restart heater. 

L1,2,3,4 

Shows in display, but no 

heat 

Bulb is damaged. Contact 

the supplier. 


CLEANING AND MAINTENANCE  

 
ATTENTION: 

Please turn off the unit and unplug from the mains and allow to 

fully cool before cleaning or performing any maintenance.


CLEANING THE SURFACE 


Clean the heater with a duster or a soft wet cloth.  


Do not use chemical solvents (such as benzene, alcohol or gasoline) as they 
may cause irreversible damage. Make sure no water enters the control panel or 
gaps in the casing. 


Do not run the unit until completely dry.


Place the heater in its original box or cover to protect it from dust when not in 
use. 


TECHNICAL SPECIFICATIONS  

Model 

eiQSTAR 

Voltage(V) 

220-240V AC 

Wattage(W) 

1500/2000/2500 

Hertz (Hz) 

50/60 

Dimensions W×H×D(mm) 

900×130×89.5 

Weight (KG) 

3.0 

Summary of Contents for 1572945

Page 1: ...USER MANUAL OUTDOOR WALL AND CEILING HANGING HEATER eiQSTAR Thank you for choosing electriQ Please read the manual before using this heater and keep it safe for future reference...

Page 2: ...or our entire product range CONTENTS SAFETY INSTRUCTIONS 3 PARTS LIST 5 ASSEMBLY 5 INSTALLATION 6 OPERATION 8 REMOTE CONTROL 8 CHANGING THE ORIENTATION 10 TROUBLESHOOTING 9 CLEANING AND MAINTENANCE 9...

Page 3: ...se of the appliance in a safe way and understand the hazards involved Children aged from 3 years and less than 8 years shall not plug in regulate or clean the appliance or perform user maintenance Chi...

Page 4: ...dry location when not in use Minimum distances should always be complied with from top 60 cm from sides 150 cm The heater should not face flammable substances or surfaces Heaters should not be install...

Page 5: ...eiling mounting the lowest part of the heater must be located at or above a minimum height of 2 4m from ground level so that the heater cannot be touched when in operation 3 When installed to the ceil...

Page 6: ...6 WALL MOUNTED INSTALLATION CEILING MOUNTED INSTALLATION...

Page 7: ...7 CORRECT WALL AND CEILING POSITION INSTALLATION WITH TRIPOD STAND optional...

Page 8: ...es with the same type batteries Otherwise your heater may not function well 2 Pull out the batteries in case of long terms of disuse to prevent leakage which may impair your remote control 3 Do not al...

Page 9: ...allation clearances E2 Tip over function Ensure the heater is less than 60 working angle and restart heater L1 2 3 4 Shows in display but no heat Bulb is damaged Contact the supplier CLEANING AND MAIN...

Page 10: ...elds Way Elland West Yorkshire HX5 9DA Disposal Do not dispose this product as unsorted municipal waste Collection of such waste must be handled separately as special treatment is necessary Recycling...

Reviews: