ENGLISH
17
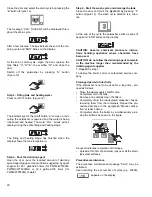
CAUTION:
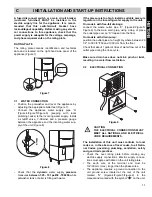
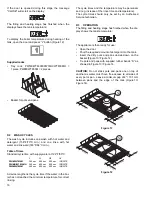
Do not allow handles to protrude through
bottom of rack, they may block wash and rinse arms
rotation (Figure 15).
Figure 15
Increase / decrease the wash force
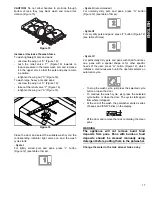
To wash lightweight pots and pans:
-
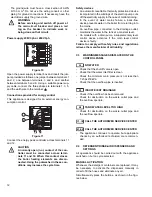
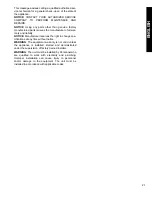
unscrew the wing nut “X” (Figure 16);
-
push the relief valve “Y” (Figure 16) inwards to
reduce pressure in the lower wash arm and increase
it in the upper arm, so that the pots and pans remain
in position;
-
retighten the wing nut “X” (Figure 16).
To wash large, heavy pots and pans:
-
unscrew the wing nut “X” (Figure 16);
-
take out the relief valve “Y” (Figure 16);
-
retighten the wing nut “X” (Figure 16).
Figure 16
Close the door and select the suitable wash cycle; the
corresponding indicator light comes on and the wash
cycle starts:
-
Cycle I
For lightly soiled pots and pans: press “J” button
(Figure 12) (see table of times).
- Cycle II
(recommended)
For normally dirty pots and pans: press “H” button
(Figure 12) (see table of times).
- Cycle III
For very dirty pots and pans: press “F” button (Figure 12)
(see table of times).
- Cycle IV
For particularly dirty pots and pans with dried food resi-
due, pans with a special shape or for other specific
needs of the user: press “G” button (Figure 12), which
initiates a continuous wash until the operator selects an
automatic cycle.
•
To stop the wash cycle, just press the selected cycle
button or open the door.
•
To continue the wash cycle, just press the selected
cycle button or close the door. The cycle starts again
from where it stopped.
•
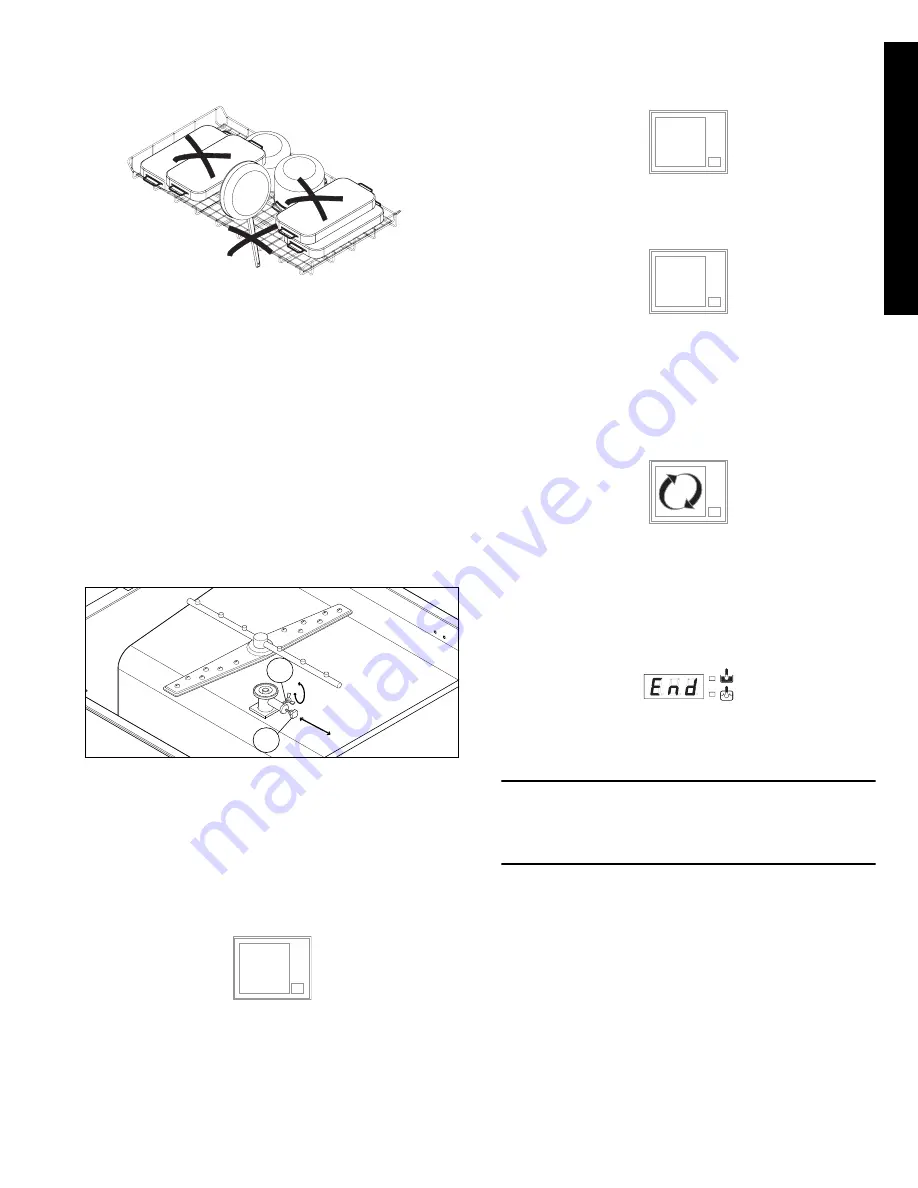
At the end of the wash, the potwasher emits a series
of beeps and “END” blinks on the display:
lift the door and remove the rack containing the clean
pans.
WARNING
The appliance will not remove burnt food
deposits from pans. Pans with burnt-on food
deposits should be cleaned manually using
detergent before putting them in the potwasher.
Change the water in the tank at least twice a day.
Y
X
1
2
3

