SOI 02.10 FV
136/142
599 70 59-01
4 - ELECTRONIC GAS OVENS
To remove the oven from its built-in compartment and disconnect it from the power supply, please
refer to chapters 2.1 and 2.2.
4.1 - REMOVING THE CONTROL PANEL
In order to remove the control panel (front panel), firstly remove the upper panel (see chapter 2.6):
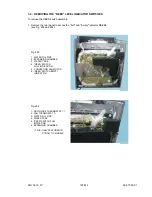
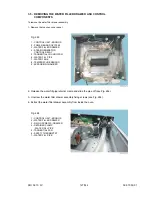
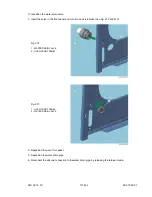
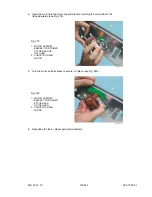
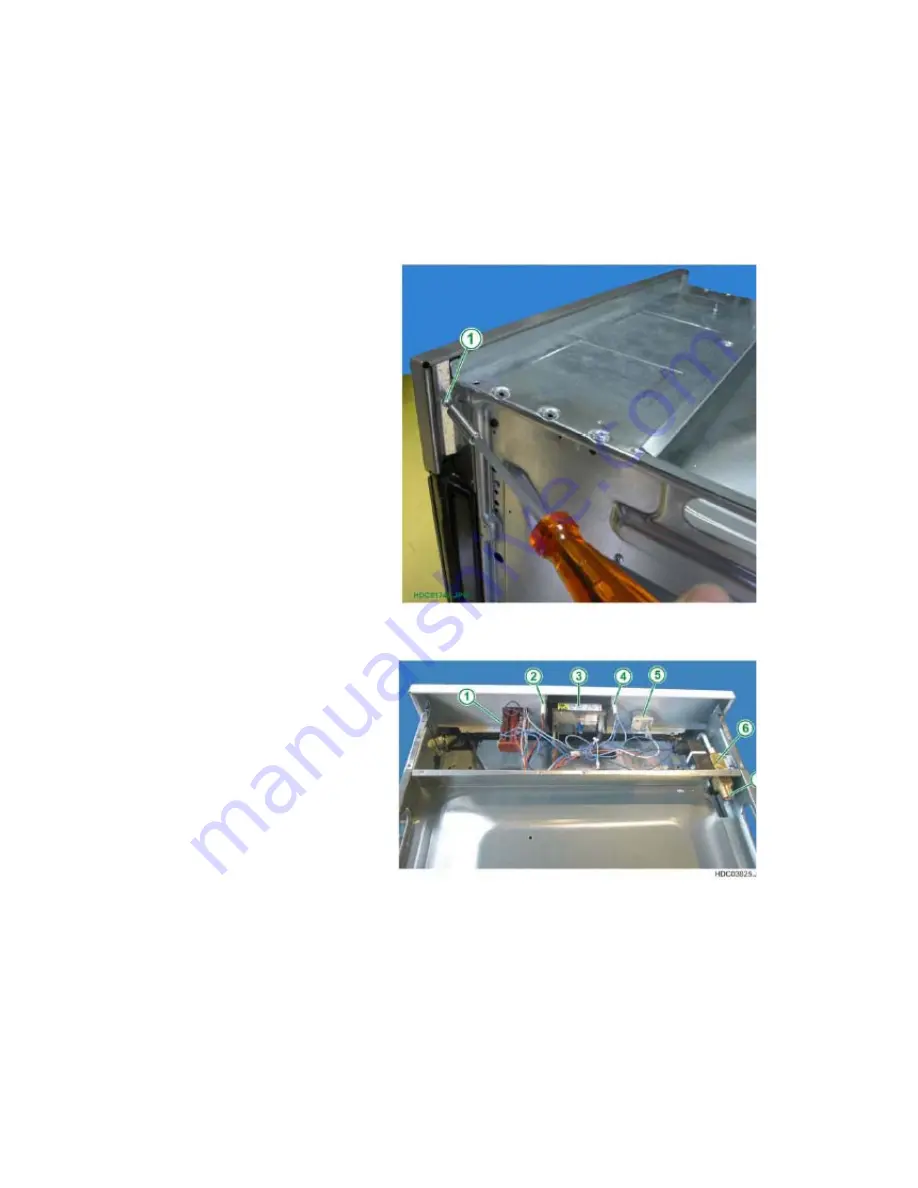
1. Remove the two screws which secure the control panel assembly in place (see Fig. 281).
Fig. 281
1 - FIXING SCREW
FOR FRONT PANEL
(ONE ON EACH
SIDE).
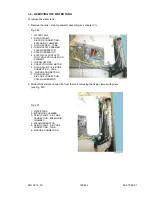
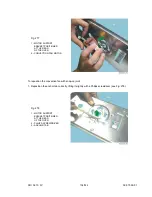
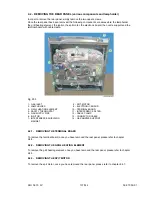
Fig. 282
1 - FUNCTION
SELECTOR
2 - ON-OFF INDICATOR
LIGHT
3 - ELECTRONIC
PROGRAMMER
4 - THERMOSTAT INDICATOR
LIGHT
5 - OVEN THERMOSTAT
6 - SOLENOID VALVE
ASSEMBLY
7 - GAS INLET
N.B.:
From January 2010 (serial number
001….
) access to the top of the oven
has improved thanks to the progressive introduction of a new one-piece top oven
cover (see chapter 2.6.1).

