Page 32
To service or replace the door components remove
the door as previously described and place the door
on a protected work surface with the handle side
down.
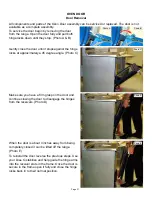
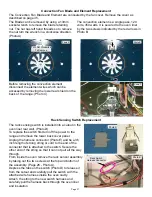
Photo A
REMOVE
SCREWS
Begin disassembly by removing the two screws
at the top of the porcelain door liner (Photo A),
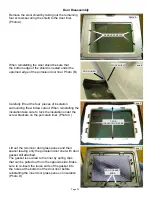
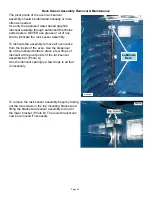
Carefully turn the door over so that the handle side
is facing up. Remove the four screws located along
the bottom edge of the door. (Photo B )
Lift off the outer glass panel with door handle and
top trim cap attached.
Photo B
REMOVE
SCREWS
Door Disassembly
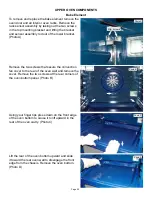
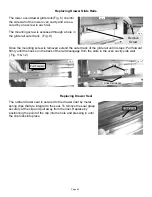
To remove and replace the door handle or top trim
cap remove the two screws on the back side of the
trim cap that secure the cap and door handle to the
door panel outer glass . (Photo C)
Photo C
REMOVE SCREWS
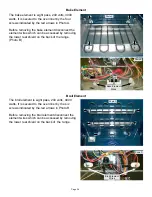
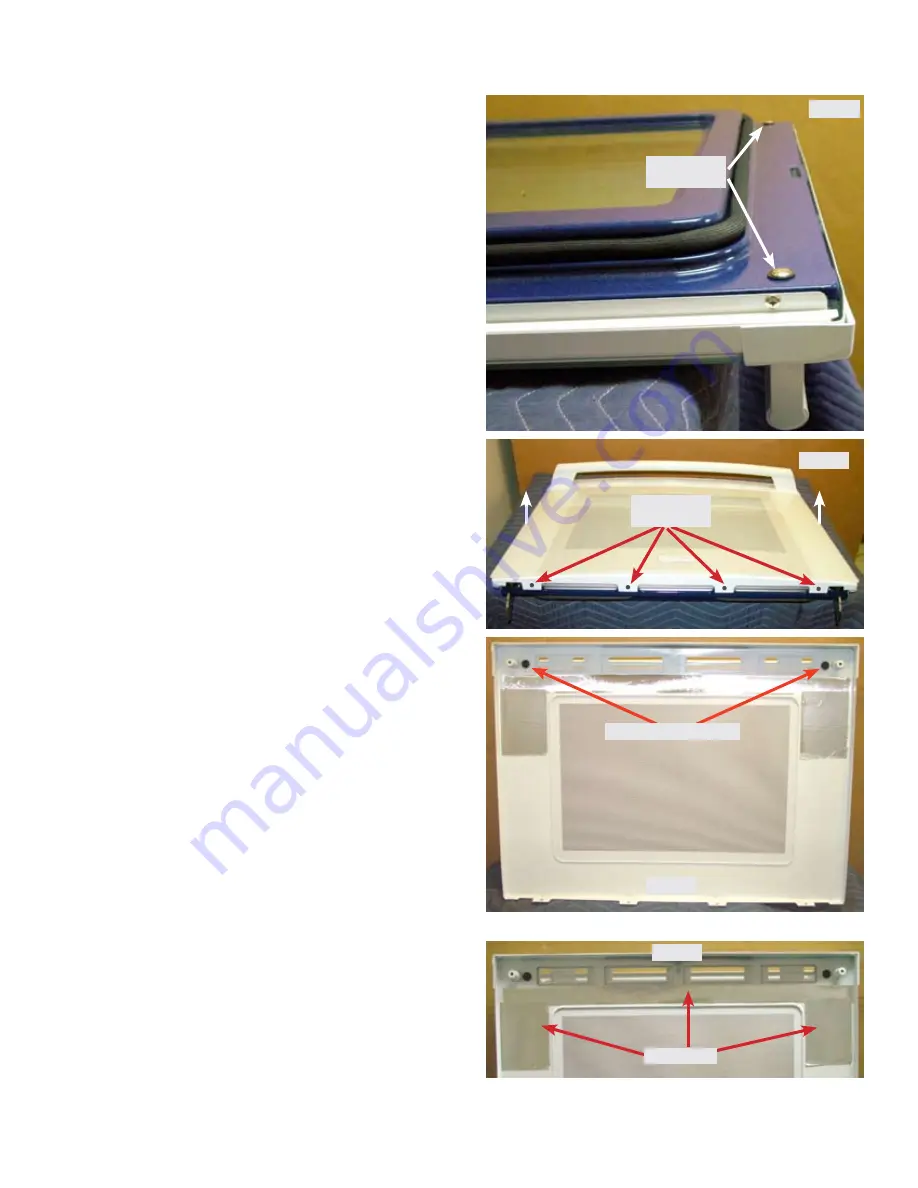
Photo D
FOIL TAPE
The outer door panel is replaced as an assembly
which includes the metal frame with outer glass, foil
tape and name badge already attached.
If the foil tape is not already attached install it
around the window opening as seen in Photo D.
Summary of Contents for CEI30EF5GB
Page 11: ...Page 11 Wiring Diagram Electric Wave Touch Models with Lower Oven ...
Page 12: ...Page 12 Schematic Diagram Electric WaveTouch Models with Lower Oven ...
Page 13: ...Page 13 Wiring Diagram Electric IQ Touch Models with Warming Drawer ...
Page 14: ...Page 14 Schematic Diagram Electric IQ Touch Models with Warming Drawer ...
Page 46: ...Page 46 ...
Page 47: ...Page 47 NOTES ...


