Troubleshooting and Testing
3-10
Procedure
Letter
K
L
M
Component Test
8. Disconnect the power supply cord, and then remove outer case.
9. Open the door and block it open.
10. Discharge high voltage capacitor.
11. Reconnect all leads removed from components during testing.
12. Re-install the outer case (cabinet).
13. Reconnect the power supply cord after the outer case is installed.
14. Run the oven and check all functions.
SOLID-STATE RELAY TEST
1. Place one cup of water in the center of the turntable tray in the oven cavity.
2. Close the door.
3. Touch the “ DEFROST “ pad, then number 2.
4. The oven is in Defrost Center cooking condition.
5. The oven will operate as follows
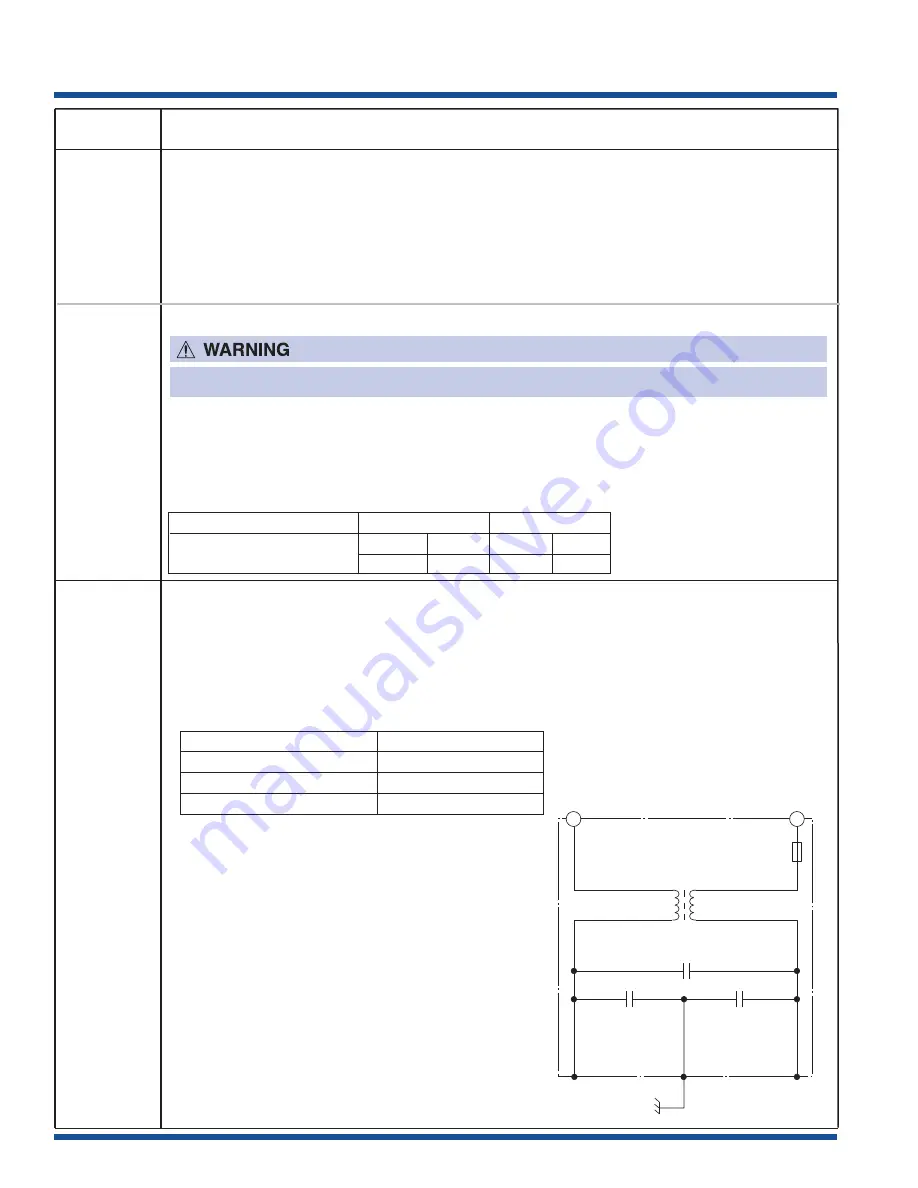
NOISE FILTER TEST
1. Disconnect the power supply cord, and then remove outer case.
2. Open the door and block it open.
3. Discharge high voltage capacitor.
4. Disconnect the leads to the primary of the power transformer.
5. Using an ohm-meter, check between the terminals as described in the following table:
If incorrect readings are obtained, replace the
noise
filter.
6. Reconnect all leads removed from components
during testing.
7. Re-install the outer case (cabinet).
8. Reconnect the power supply cord after the outer
case is installed.
9. Run the oven and check all functions.
MENU
1ST STAGE 2ND STAGE
STEAKS/CHOPS/FISH
LEVEL
TIME
LEVEL
TIME
0.5lb
60%
57sec.
40%
22sec.
The oven should be fully assembled before following procedure.
FUSE 20A
NOISE FILTER
NOISE SUPPRESSION COIL
LINE CROSS CAPACITOR
0.22µF / AC 250V
LINE BYPASS
CAPACITOR
0.0033µF / AC 125V
LINE BYPASS
CAPACITOR
0.0033µF / AC 125V
H
RED
GRY
N
Measuring Point
Indication Of Ohmmeter
Between N and H
Open circuit.
Between terminal N and GRAY Short circuit.
Between terminal H and RED
Short circuit.
Summary of Contents for EI24MO45IBA
Page 2: ......
Page 18: ...Operation 2 6 Notes ...
Page 38: ...Component Teardown and Testing 4 10 Notes ...
Page 39: ...Wiring Diagrams 5 1 Wiring Diagram ...
Page 40: ...Wiring Diagrams 5 2 Oven Wiring Schematic Off Condition ...
Page 41: ...Parts List 6 1 Key Unit And Door Assembly ...
Page 42: ...Parts List 6 2 ...


