


2. Turn on the cooking zone for about 10
minutes to the maximum position, to
make water boiling
3. Turn off the cooking zone
During this time, the cooking zone may
smoked and an unpleasant odour may
be emitted. This is quite normal.
Helpful hints and tips
Using the ceramic glass hob
The glass is hard, and has been tempered to
withstand heat, cold and temperature
shocks. But like all glass it is sensitive to im-
pact. Do not stand on the ceramic glass sur-
face.
Warning!
If scratches or cracks are
noticed, disconnect the cooker from the
electrical supply to avoid the possibility
of electric shock and call you nearest
Service Force Centre.
Warning!
Keep all objects and materials
which can melt away from the cooking
surface, e.g. plastics, aluminium foil.
To save energy
• use only cooking and frying utensils with
smooth, flat bases
• place pots and pans in position before
switching on the cooking zone
• wherever possible, cover pots and pans
with a lid
• switch off the cooking zone a few minutes
before the end of the cooking time, in order
to make use of the residual heat
• use the residual heat of the cooking zones
for keeping food warm or for melting
• always place pots and pans centrally on
the cooking zones
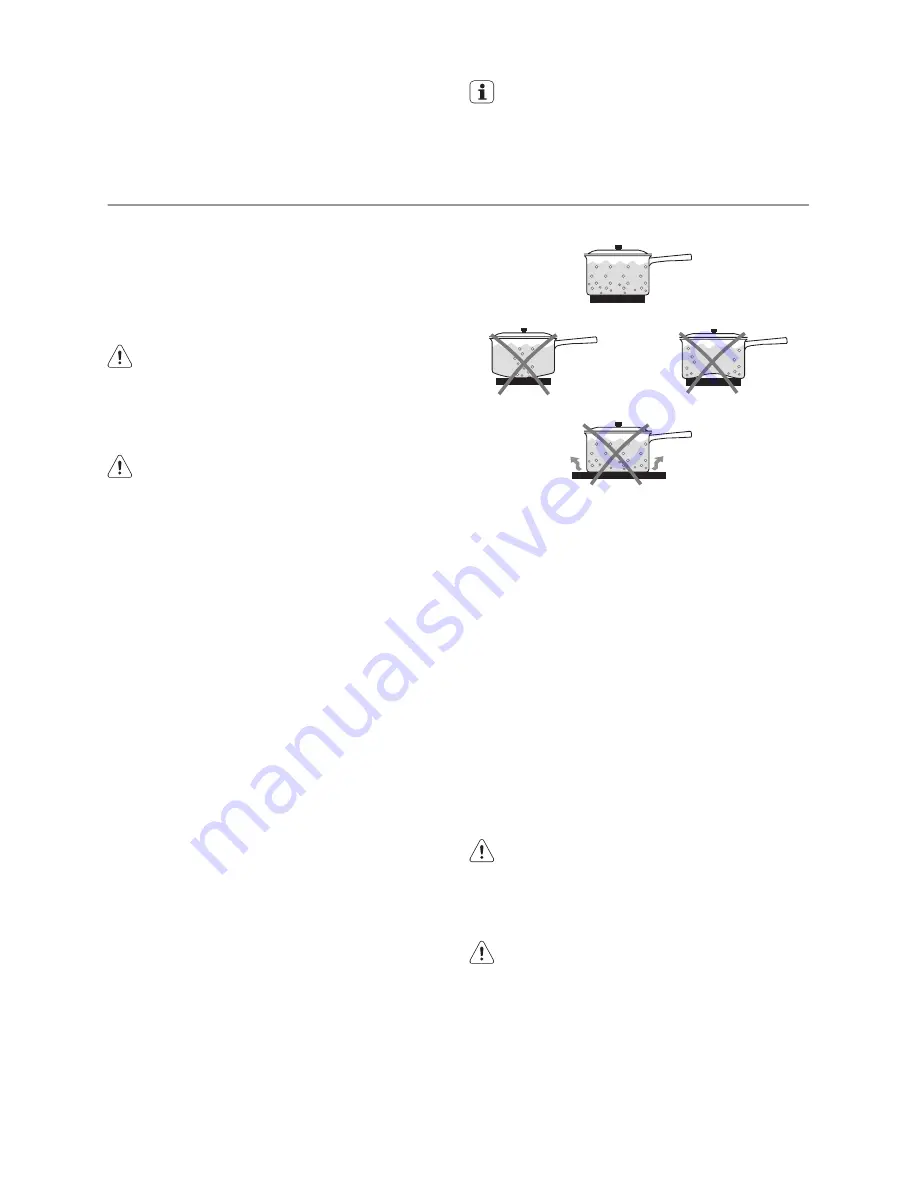
Saucepans and frying pans
Saucepans and frying pans should not be
smaller than the cooking zone, and prefera-
bly not more than 10-15 mm larger than the
diameter of the cooking zone.
Important!
Always use cooking and frying
utensils with smooth, flat bases.
The bases should always be clean and dry.
Cook with a lid in place.
Check that the bases of utensils are smooth
and undamaged. Bases with burrs and sharp
edges will scratch the ceramic glass surface.
To avoid scratching or damaging the ceramic
cooking surface, pots and pans should be
moved on the plate by lifting them, and not
by sliding.
Utensils with aluminium and copper bases
can leave behind metallic discolourations
which can only be removed with difficulty or
sometimes not at all.
Warning!
Take care when frying food in
hot oil or fat, as the overheated splashes
could easily ignite.
Using the oven
Warning!
Always cook with the oven
door closed. Stand clear when opening
the drop down oven door. Do not allow
it to fall open - support the door using
the door handle, until it is fully open.
8
electrolux


