
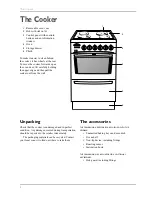
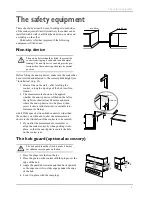
The safety equipment
6
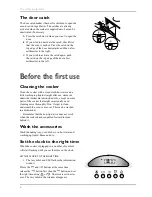
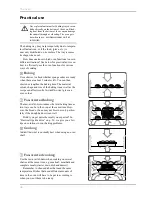
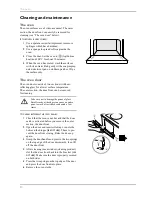
The door catch
The door catch makes it harder for children to open the
oven door/storage drawer. The catches are already
activated when the cooker is supplied new, but can be
deactivated if necessary.
A
Press the catch down when you want to open the
door.
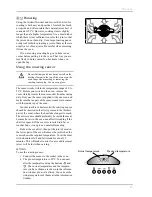
B
If you wish to deactivate the catch, check first
that the oven is not hot. Press the catch on the
top edge of the door downwards and then a few
millimetres to the right.
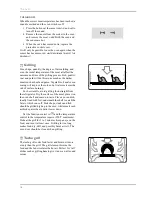
C
If you wish to activate the catch again, push
the catch on the top edge of the door a few
millimetres to the left.
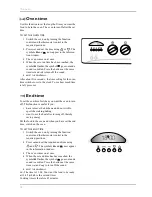
Before the first use
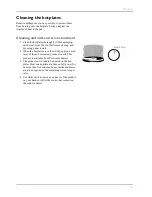
Cleaning the cooker
Clean the cooker with a clean cloth, hot water and a
little washing-up liquid straight after use.
NEVER
USE
ABRASIVE
CLEANERS
OR
SCOURING
AGENTS
, except on some
parts of the cooker that might occasionally need
cleaning more thoroughly. Don’t forget to clean
underneath the oven vent cover. This can be washed
in a dishwasher.
Remember that the non-tip device does not work
when the cooker has been pulled forward to clean
behind it.
Wash the accessories
Wash the baking tray, oven dish etc. in hot water and
washing-up liquid. Rinse and dry.
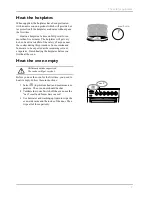
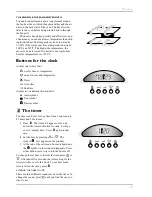
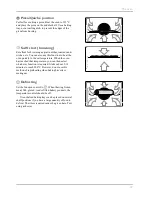
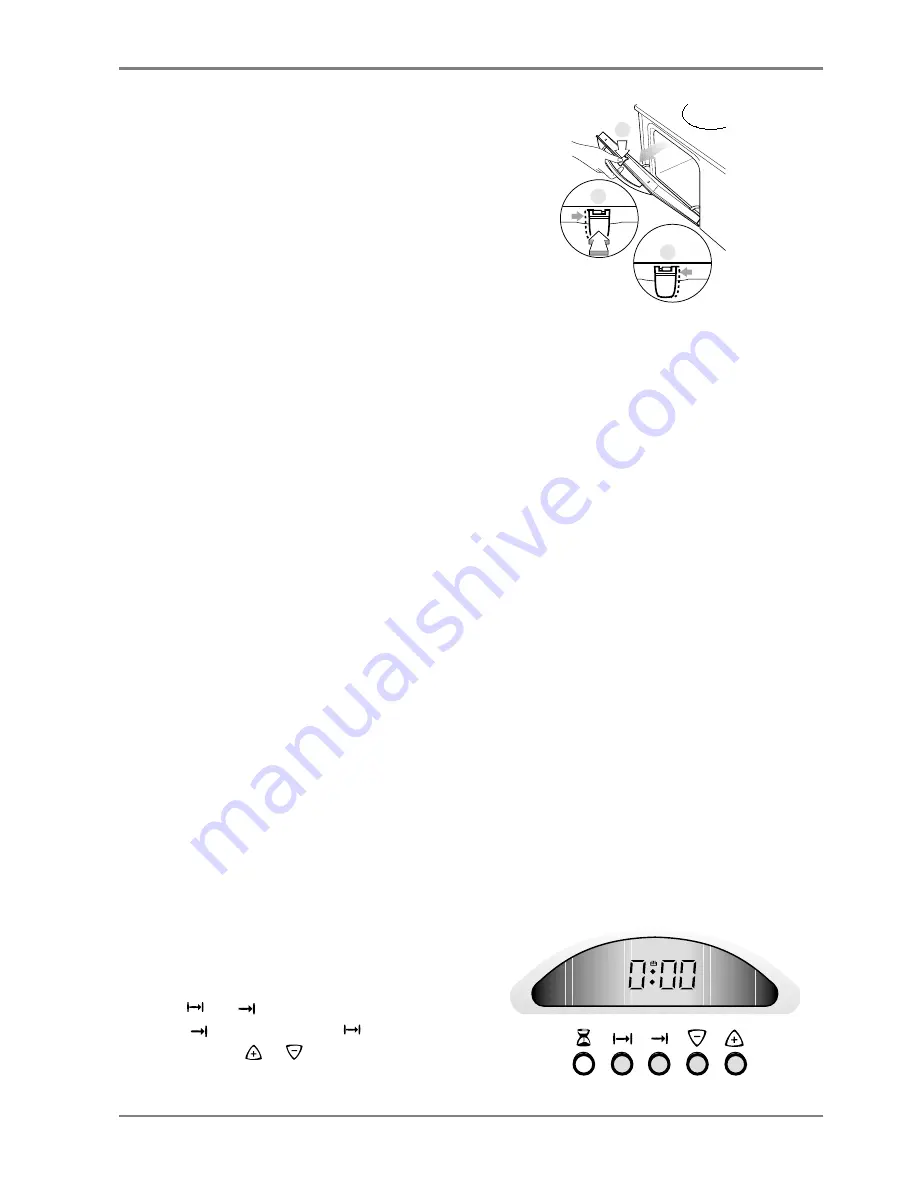
Set the clock to the right time
When the cooker is plugged in, a number of symbols
will start flashing until you set the time on the clock.
SET
THE
CLOCK
TO
THE
RIGHT
TIME
:
1
The
A
symbol and 0:00 flash in the information
window.
2
Press the
and
, buttons at the same time,
release the
button first, then the
button, and set
the right time using
or
. The time is set in min-
utes. The
A
symbol in the window disappears.
A
C
B
A