


The first time the oven is used, it may give off
smells, these are caused by residues left by the
production processes and is quite normal. Ensure
there is adequate ventilation in the room before
performing this action.
(It is necessary to heat
up the oven at the maximum temperature for
about 30-40 minutes in order to burn off these
residues).
It is perfectly normal for the oven to
smoke when first used; wait for the smoke to stop
before placing food into the oven.
USING THE GAS BURNERS
The following symbols are found on the control
panel next to each knob:
- Circle
gas off
- Large flame
maximum setting
- Small flame
minimum setting
The minimum position is at the end of the anti-
clockwise rotation of the knob. Knob positions must
be set between max. and min.; never set the knobs
between max. and off.
MANUAL IGNITION
(during mains power failure)
To ignite the burner, press the knob of the selected
burner and turn it anticlockwise to the maximum
position then light with a match.
AUTOMATIC ELECTRIC IGNITION
To ignite the burner, press the knob of the selected
burner and turn it anticlockwise to the maximum
position. Keeping the knob pressed in, the automatic
ignition of the burner will operate.
In case of power failure, the burner can also be lit
using a match.
ENERGY SAVING TIPS
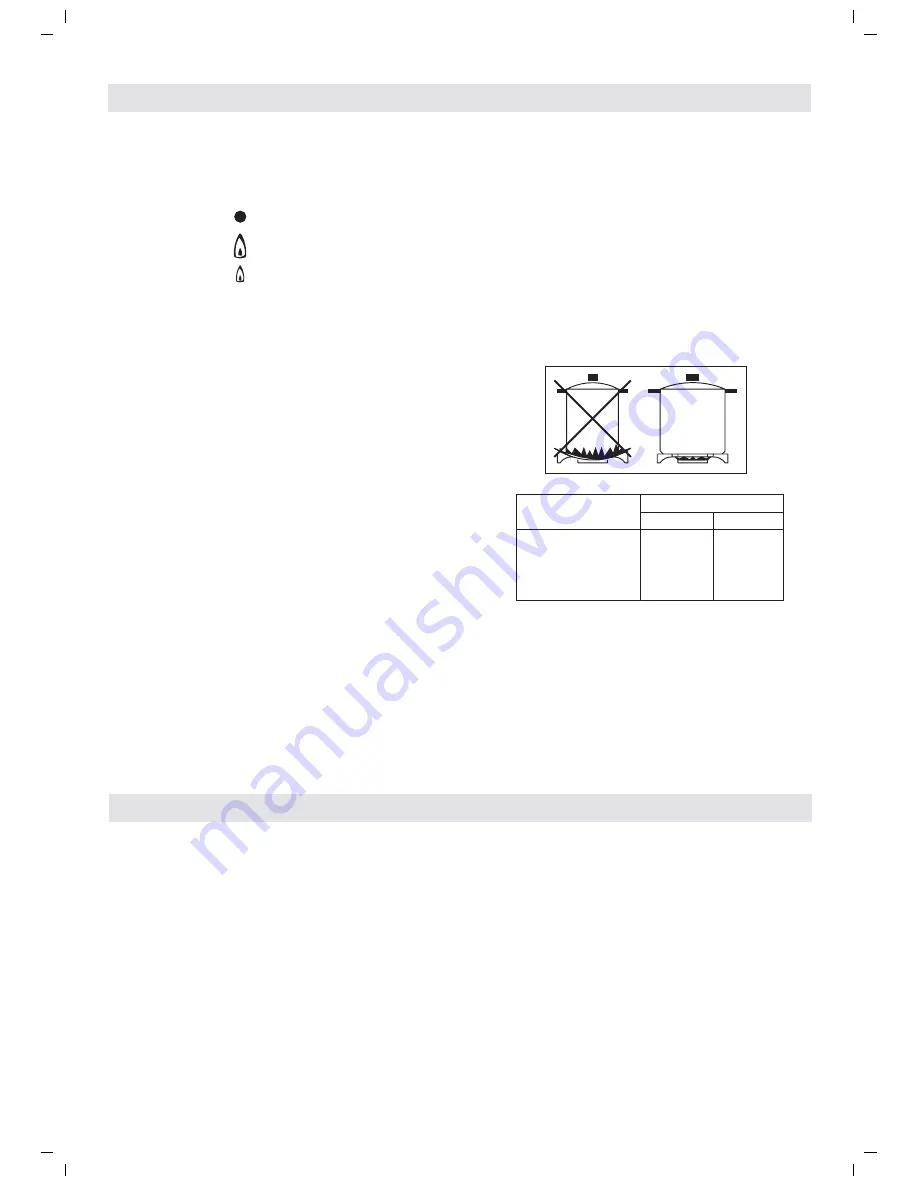
The diameter of the pan bottom should be the
same as that of the burner. The burner flame
must never exceed the pans diameter.
Use flat-bottomed pans only.
Whenever possible, keep a lid on the pan while
cooking.
This allows you cook using less heat.
Cook vegetables, potatoes, etc. with as little
water as possible to reduce cooking times.
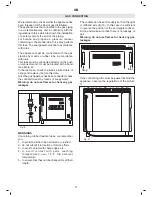
ATTENTION: Always use the oven with the oven
door closed.
The oven is fitted with: a grill shelf for cooking food
in oven dishes or for placing directly on the grill
shelf itself, a drip-tray for cooking sweets, biscuits,
pizzas, etc., or for collecting juices and fats from
food cooked directly on the grill shelf.
Note:
The following tables provide a guide for
cooking some of the most popular dishes. The
cooking times recommended in these tables are
approximate. After a few attemps, we are sure that
you will be able to adjust the times to get the results
you want.
APPLIANCES WITH SAFETY VALVE
Follow the same procedure described above to
ignite the burners.
In this case, however, once you have turned the
knob to the open setting, hold it pressed in for 10
seconds.
If for any reason the burner flame goes out, the
safety valve automatically shuts off the gas supply
to the burner in question.
GB
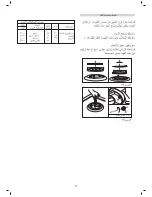
BURNERS
PANS
Ø min.
Ø max
RAPID
180 mm
220 mm
SEMIRAPID
120 mm
200 mm
AUXILIARY
80 mm
160 mm
TRIPLE CROWN
220 mm
260 mm
Before the first use of the oven
COOK-TOP USE
USING THE ELECTRIC OVEN
4
Summary of Contents for EKM 101199 X
Page 1: ...Instructions booklet mod EKM 101199 X ...
Page 15: ...L 2 1 3 4 5 N A H05 RR F H05 RN F 10 ...
Page 16: ...C C C 9 ...
Page 17: ...8 A ...
Page 18: ...1000 600 960 900 min 100cm2 C 7 REG MAX 15mm C ...
Page 19: ...B A C 6 10 2 0 3 0 4 0 5 0 6 0 7 0 8 0 9 0 1 0 0 11 0 1 2 0 0 stop ...
Page 20: ...MAX 5 6 0 80 1 0 0 1 2 5 1 5 0 1 7 5 2 0 0 2 2 5 M A X 0 0 ...
Page 21: ...4 ...
Page 22: ...Ø Ø Ø Ø 3 1 1 2 2 4 4 5 5 6 6 7 7 8 8 9 9 3 3 ...
Page 23: ... C 2 ...
Page 24: ...Tip Montagnani Italy Cod 538515 0310 MADE IN ITALY ...


