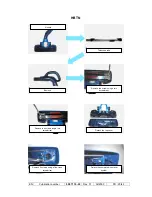
3.4 Nozzle
power supply interface
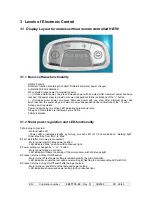
For vacuum cleaners with AUTO mode function:
4
button 1
turns on or off the cleaner
button 2
turns on or off the nozzle motor (handled by the
Aeropro
PCB)
3
button 3
turns on the cleaner into AUTO mode
button 4
turns on the cleaner into manual mode and toggles
the manual 5 power steps
2
1
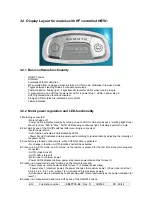
For vacuum cleaners without AUTO mode function:
button 1
turns on or off the cleaner
4
button 2
turns on or off the nozzle motor (handled by the
Aeropro
PCB)
3
button 3
increases the cleaner power in up to 5 power steps
button 4
decreases the cleaner power in up to 5 power steps
1
2
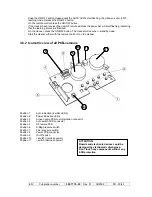
3.5 Brush nozzle PCB 230V/110V active remote
The remote control for the Aeropro 230V/110V active system are a two wire connected PCB
assembled in the cleaners bent end. From the remote control it is possible to control the cleaner functions.
Note: PCB working with live voltage – 230/110V.
3.6 Standby indication (for both RF and active versions)
When the main is connected, and the cleaner is in standby mode. This is indicated by “walking light”
on the power bar, which is also the indication for that when the cleaner is started it will start in “Auto mode”.
Also when in AUTO stand by mode, the “AUTO LED”:s are fully lightened to show that when the
cleaner is turned on, it will start in AUTO mode.
If turned off when running in AUTO mode, the power bar shall show “walking light”, and the “AUTO”
LED:s shall be turned on.
If turned off in manual mode, the last indicated power shall start to flash with 1Hz. The “AUTO”
LED:s shall always be turned off, both when running in manual mode or when in stand by for manual mode.
3.6.1 Reprogramming RF remote controller
-
Press ON/OFF button on cleaner and keep it pressed while inserting the main plug.
EN Publication
number
599 71 19-22
Rev. 01
02/2009
PR - 32/42


