background image

11

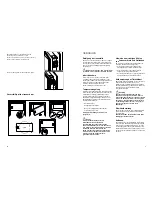
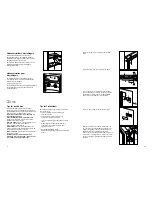
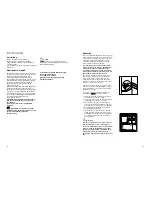
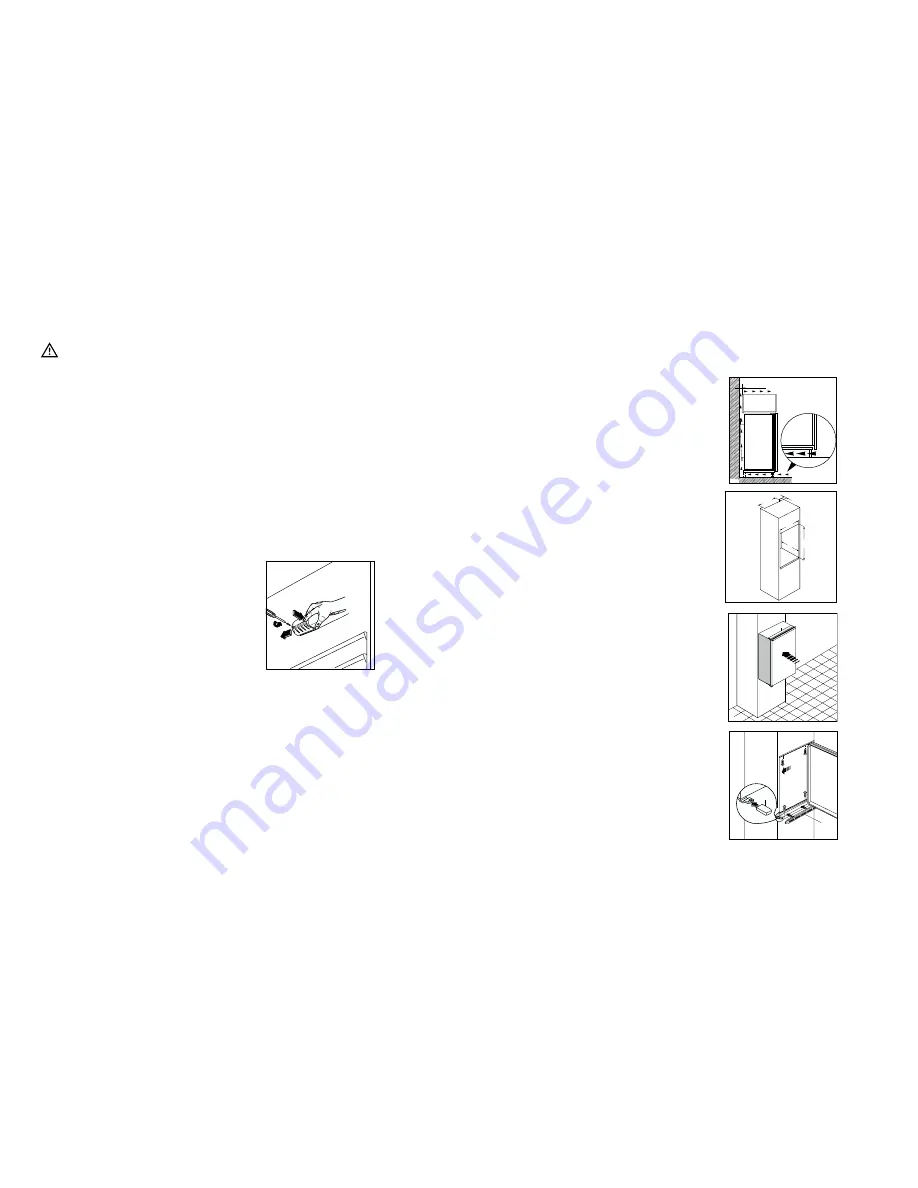
Türanschlagwechsel

Zur Transportsicherung wurde die Gerätetür an
beiden Anschlagseiten befestigt. Je nach
Türanschlag, Scharnierstift auf einer Seite oben und
unten entfernen.

Tür öffnen und Gerät gegenüber der Bandseite an
die Möbelseitenwand anrücken. Gerät mit den 4 bei-
liegenden Schrauben befestigen.

Belüttungsgitter (C) und Scharnierabdeckung (D)
aufstecken.

D727

C

D

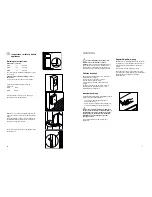
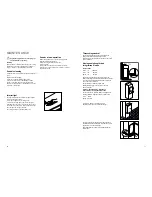
Montageanleitung für den
integrierten Einbau

Nischenmaße

Höhe (1)

1225 

mm

Tiefe (2)

550 

mm

Breite (3)

560 

mm

Zur Transportsicherung wurde die Gerätetör an
beiden Anschlagseiten mit Scharnierstiften befestigt.
Je nach Türanschlag, Scharnierstift auf einer Seite
oben und unten entfernen.

Aus Gründen der Sicherheit muß eine
Mindestbelüftung gesichert sein, wie aus der
Abb.hervorgeht.

Achtung: Die Ventilations - Öffnungen
müssenimmer saubergehalten werden.

Ferner ist auch am hinteren Einbauschrankteil ein
Lüftungskamin mit filgenden Massen notwendig:

Tiefe

50 mm

Breite

540 mm

50 mm

min.

200 cm

2

200 cm

2

min.

D567

Gerät in die Nische einschieben bis die
Anschlagleiste (A) unten am Möbel anliegt.

A

D022

PR0

540

50

3

2 1

18

MAINTENANCE

Unplug the appliance before carrying out

any maintenance operation.

Warning

This appliance contains hydrocarbons in its cooling
unit; maintenance and rechanging must therefore
only be carried out by authorized technicians.

Periods of non-operation

When the appliance is not in use for long periods,
take the following precautions:
remove the plug from the wall socket;
remove all food;
defrost and clean the interior and all accessories;
leave the door ajar to allow air to circulate to prevent
unpleasant smells.

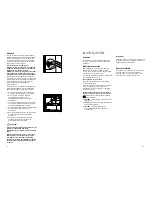
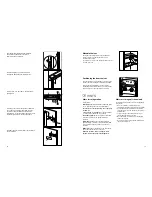
Interior light

The light bulb inside the refrigerator compartment
can be reached as follows:
- unscrew the light cover securing screw.
- unhook the moving part as shown in the figure.
If the light does not come on when the door is open,
check that it is screwed into place properly. If it still
does not light up, change the bulb.
The rating is shown on the light bulb cover.

D411

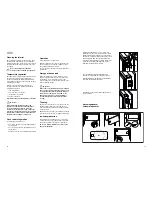
Periodic cleaning

Clean the inside with warm water and bicarbonate of
soda.

Rinse and dry thoroughly.

Clean the condenser (black grill) and the
compressor at the back of the appliance with a
brush or a vacuum cleaner. This operation will
improve the performance of the appliance and save
electricity consumption.

Summary of Contents for ERN 2220

Page 1: ...K ü h l G e f r i e r s c h r a n k f r i d g e f r e e z e r GEBRAUCHSANWEISUNGEN INSTRUCTION BOOK 2222 301 81 ERN 2220 ELECTROLUX HOME PRODUCTS OPERATIONS EUROPE ...

Page 2: ...UR FÜR GEFRIERSCHRÄNKE Einbaugeräte ausgenommen ein optimaler Aufstellungsort ist der Keller Keine Elektrogeräte z B Eismaschinen in das Gerät stellen Störungen Kundendienst Sollte die Installation des Gerätes eine Änderung der elektrischen Hausinstallation verlangen so darf diese nur von Elektro Fachkräften durchge führt werden Eventuelle Reparaturen dürfen nur von einem Kundendienst oder sonstig...

Page 3: ...chen Einaufgetautes Produkt darf nicht wieder eingefroren werden Für das Aufbewahren bzw das Einfrieren der Lebensmittel sind die Anweisungen des Herstellers zu befolgen In allen Kühl und Gefriergeräten bedecken sich im Laufe der Zeit alle kälteführenden Teile mit einer Reif bzw Eissicht Diese Schicht wird je nach Modell automatisch oder mit der Hand abgetaut Die Reifsicht niemals mit Metallgegens...

Page 4: ...4 PE LD PP für Polypropylen PS für Polystyrol BESTANDTEILE AUS PLASTIK Zur einfacheren Entsorgung und oder Recycling ist ein Großteil der Materialien dieses Gerätes gekennzeichnet um ihre Identifizierung zu ermöglichen PS SAN ABS 02 PE 05 PP 06 PS Warnungen und wichtige Hinweise 2 Hinweise zur Verpackungsentsorgung 4 Gebrauch Reinigung der Innenteile Inbetriebnahme Temperaturregelung Hinweise zum ...

Page 5: ...istungen des Kühlschrankes zu erreichen beachten Sie bitte folgendes Keine warmen Speisen oder dampfenden Flüssigkeiten in den Kühlschrank einstellen Geruchverbreitende Lebensmittel müssen abgedeckt oder eingewickelt werden Die Lebensmittel müssen so eingelagert werden daß die Kälte um sie frei zirkulieren kann GEBRAUCH Aufbewahrung der Tiefkühlkost Nach einem längeren Stillstand oder bei der erst...

Page 6: ...nd sollen sie nicht in den Kühlschrank gegeben werden Höhenverstellung der Abstellregale Zur Einlagerung von Lebensmittel Packungen verschiedener Größe sind die Abstellregale der Innentür höhenverstellbar Hierzu wie folgt vorgehen das Abstellregal stufenweise in Pfeilrichtung drücken bis es frei wird dann in der gewünschten Höhe wieder anbringen Höhenverstellbare Abstellregale Der Abstand zwischen...

Page 7: ... Befestigungsschraube der Lampenabdeckung Heben Sie den beweglichen Teil ab indem Sie wie in der Abbildung gezeigt darauf drücken Sollte sich die Beleuchtung beim Öffnen der Türe nicht einschalten ist zu überprüfen ob die Glühbirne fest eingeschraubt ist wenn die Störung dennoch bestehen bleibt die defekte Glühbirne durch eine neue Birne gleicher Leistung ersetzen Die maximale Leistung ist am Leuc...

Page 8: ...in zurückgelegt Achtung Benutzen Sie niemals Metallgegenstände um die Reifschicht abzukratzen damit eine Beschädigungen des Gerätes vermieden werden kann Benutzen Sie kein mechanisches oder anderes Mittel für einen schnelleren Abtauprozeß mit Ausnahme der vom Hersteller empfohlenen Ein Temperaturanstieg der Tiefkühlkost während des Abtauens könnte die Aufbewahrungsdauer verkürzen D037 21 INSTALLAT...

Page 9: ...sche Daten können Sie auf dem Typschild feststellen Das Typschild befindet sich links unten an der Seitewand 20 CUSTOMER SERVICE AND SPARE PARTS If the appliance is not functioning properly check that the plug is firmly in the wall socket and the mains power switch is on there is an electricity supply find out by plugging in another appliance the thermostat knob is in the correct position If there...

Page 10: ...ter drains out through a trough into a special container at the back of the appliance over the motor compressor where it evaporates It is important to periodically clean the defrost water drain hole in the middle of the refrigerator compartment channel to prevent the water overflowing and dripping onto the food inside Use the special cleaner provided which you will find already inserted into the d...

Page 11: ...Möbel anliegt A D022 PR0 540 50 3 2 1 18 MAINTENANCE Unplug the appliance before carrying out any maintenance operation Warning This appliance contains hydrocarbons in its cooling unit maintenance and rechanging must therefore only be carried out by authorized technicians Periods of non operation When the appliance is not in use for long periods take the following precautions remove the plug from ...

Page 12: ... lie over the rear ones D338 HINTS Hints for refrigeration Useful hints Meat all types wrap in polythene bags and place on the glass shelf above the vegetable drawer For safety store in this way only one or two days at the most Cooked foods cold dishes etc these should be covered and may be placed on any shelf Fruit and vegetables these should be thoroughly cleaned and placed in the special drawer...

Page 13: ... temperature how often the door is opened the quantity of food stored location of appliance A medium setting is generally the most suitable Important If the ambient temperature is high or the appliance is fully loaded and the appliance is set to the lowest temperatures it may run continuously causing frost to form on the rear wall In this case the dial must be set to a higher temperature to allow ...

Page 14: ...l the storage temperature in the freezer compartment cannot be guaranteed therefore it is advisable to use the food stored as soon as possible Frozen food must not be re frozen once it has been thawed out Manufacturers storage recommendations should be strictly adhered to Refer to relevant instructions The inner lining of the appliance consists of channels through which the refrigerant passes If t...

Reviews: