
12
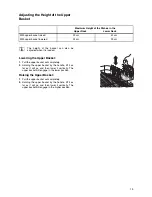
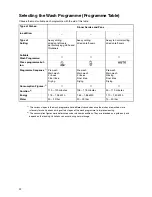
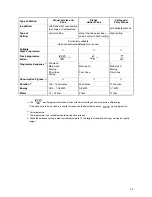
Set the water softener manually and electronically to
the desired water hardness:
3
If the water softener is electronically set at
“1” for the purpose of using detergent that
includes special salt, the special salt indica-
tor is deactivated.
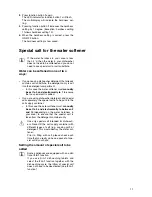
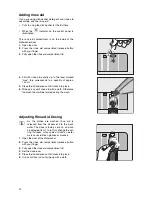
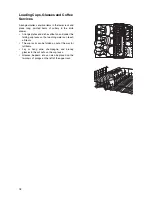
Adding special salt
If you are using dishwasher detergent and special
salt separately, add the special salt:
•
Before using the dishwasher for the first time.
•
When the
t
indicator
for special salt is illumi-
nated on the control panel.
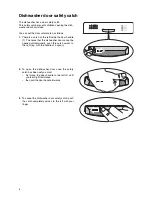
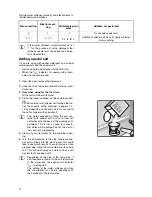
1.
Open the door, remove the lower rack.
2.
Undo the lid on the salt container by turning it anti-
clockwise.
3. Only when using for the first time:
fill the salt container with water.
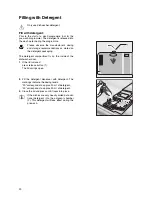
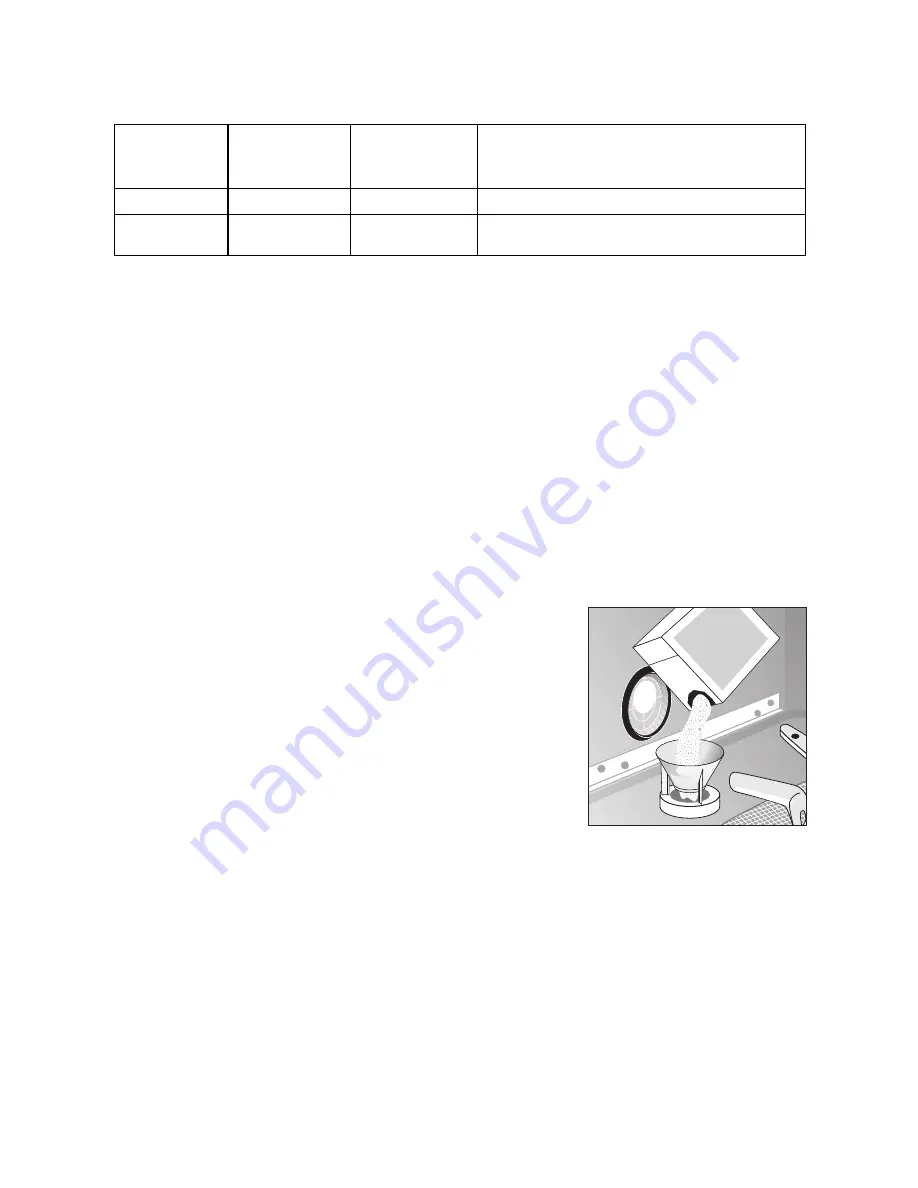
4.
Place the funnel supplied on the container open-
ing.
Fill the container with special salt through the fun-
nel; the capacity of the container is approx. 1.0-
1.5 kg depending on the grain size. Do not overfill
the salt container with special salt.
3
The water expelled by filling the salt con-
tainer with special salt runs out of the salt
container onto the base of the washing com-
partment. This is not a cause for concern,
the water will be pumped out at the start of
the next wash programme.
5.
Clean any salt remnants on the container open-
ing.
6.
Turn the lid clockwise to the stop, otherwise spe-
cial salt will leak into the wash water, this could
lead to poor wash results. To avoid this run a rinse
program after filling the salt container with special
salt. This will wash away salt water and any salt
crystals that have been spilt.
3
Depending on the size of the salt grains, it
can take several hours for the salt to dissolve
in the water and the special salt indicator
t
to extinguish.
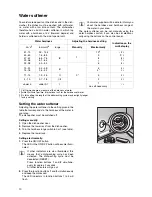
The setting of the water softener and thus
the consumption of salt are dependent on
the hardness of the local water.
Manual setting
Electronic set-
ting
Multi-display indi-
cator
Addition of special salt
0
1
I l
Do not add special salt.
0 - 1
2 - 10
2 l
to
10 l
Addition of special salt via salt supply container
(factory setting)
SALE
SAL
T
SALZ
SEL


