background image

Compartment  

 A:

Compartment  

A:


With each wash cycle.

(Follow the user instructions!)

Mechanical indicator  

C. 

Mechanical indicator  


C.

Electric indicator on control panel (if provided).

Check the rinse aid level

(On models with water softener system only.) 

Check the regeneration 

salt level

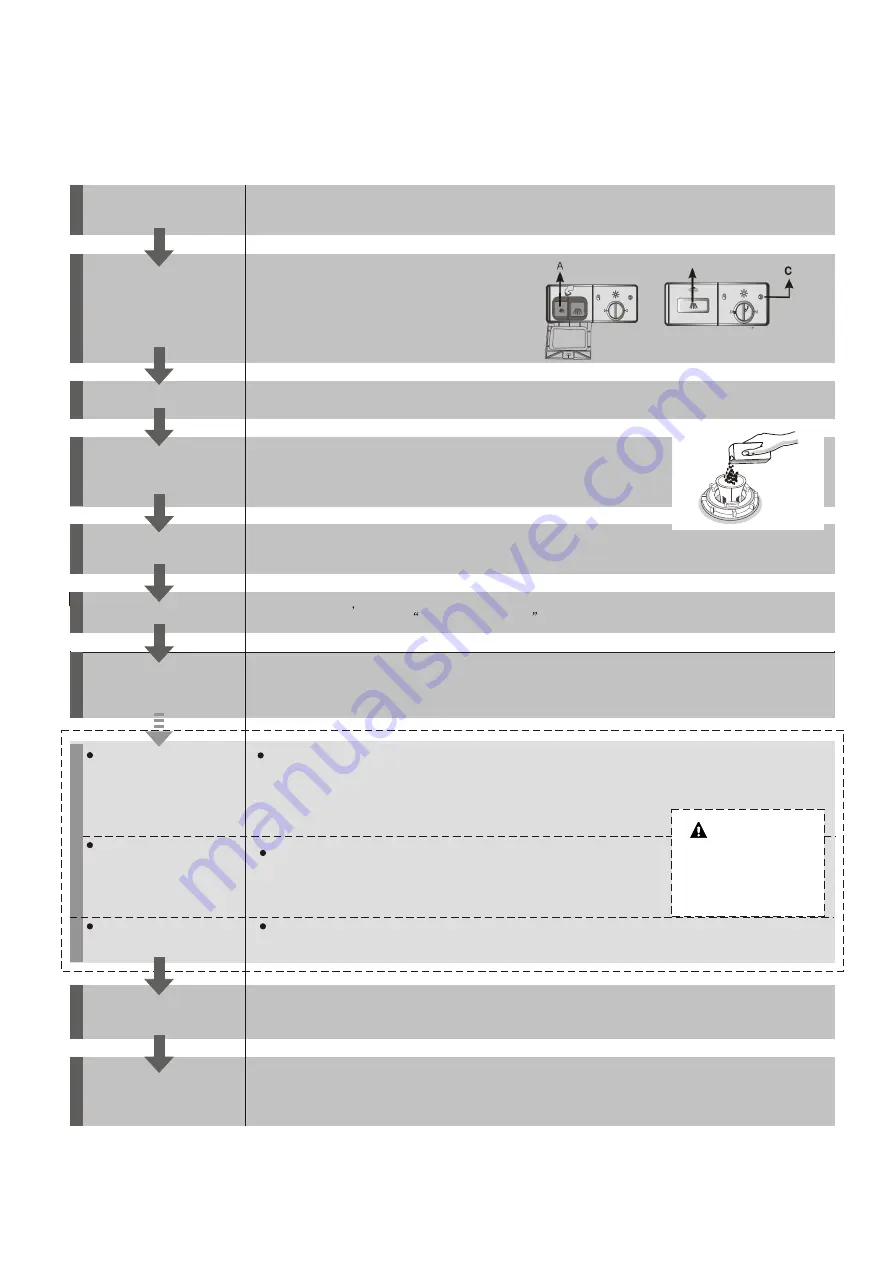
Load the baskets

Select a programme

Running the dishwasher

Switch off the appliance

Turn off the water tap,
unload the baskets

Fill the detergent dispenser

Warning: wait a few minutes (about 15 minutes) before unloading the dishwasher to avoid handling 
the dishes and utensils while they are still hot and more susceptible to break. 
They will also dry better.Unload the appliance, starting from the lower basket.

Changing the programme

Add forgotten dishes in the 
dishwasher.  

Scrape off any large amount of leftover food. Soften remnants of burnt food in pans, 
then load the baskets. Refer to the dishwasher loading instructions.

Close the door

Press the programme button until  the selected programme lights up.

( See the  section entitled

Operation instruction

)

When the working cycle has finished, the buzzer of  the dishwasher will sound 8 times, then stop. 
Turn off the appliance using the Power button.

If the appliance is switched
off during a wash cycle.  

Open the door carefully. 
Hot steam may escape 
when the door is opened!

WARNING! 

If the appliance is switched off during a wash cycle, when switched
on again, please re-select the washing cycle and operate the dishwasher
according to the original Power-on state ). 

   
Switch on the appliance

   
Press the Power switch button to switch on the appliance, Open the door.

For detailed operating method read the corresponding content on the instruction manual.

Since the appliance is standing by, it will power off automaticly after 30 minutes without any operation.

T urn on the water tap and  press the Start/Reset button. The machine will start working 
after about 10 seconds.  

1. A running cycle can only be modified if it has been running for a short time. Otherwise the detergent 
may have already been released and the water already drained. If this is the case, the detergent 
dispenser must be refilled. 
2. Press the Start/Reset button  more than 3 seconds to cancel the running programme. 
3. Select a new programme.
4. Restart the dishwasher.

1.Press the start/Reset button to stop the machine.
2.Open the door.
3.Add the forgotten dishes.
4.Close the door, then press the  Start/Reset button, the dishwasher will 
start running again  after  10  seconds.

QUICK OPERATION GUIDE

2

Electric indicator on control panel. 

 Fill the salt into the softener by the number of 

cycles the dishwasher has run.   

Summary of Contents for ESF6010BW

Page 1: ...ESF6010BW Compact Dishwasher TH เครืองล างจานแบบตังโต ะ คู มือการใช งาน User manual ...

Page 2: ...ead this manual before using the dishwasher it will help you to use and maintain the dishwasher properly Pass it on to any subsequent owner of the appliance Keep it to refer to it at a later date This manual contains sections on safety Instructions Operating Instructions Installation Instructions and Troubleshooting Tips etc Before calling for service To review the section on troubleshooting Tips ...

Page 3: ...switched off during a wash cycle Open the door carefully Hot steam may escape when the door is opened WARNING If the appliance is switched off during a wash cycle when switched on again please re select the washing cycle and operate the dishwasher according to the original Power on state Switch on the appliance Press the Power switch button to switch on the appliance Open the door For detailed ope...

Page 4: ...his appliance is for indoor use only for household use only To protect against the risk of electrical shock do not immerse the unit cord or plug in water or other liquid Please unplug before cleaning and maintenance the appliance Use a soft cloth moisten with mild soap and then use a dry cloth to wipe it again When using your dishwasher follow the precautions listed below WARNING WARNING EARTHING ...

Page 5: ...uivalent For plastic items n check the manufacturer s ot so marked recommendations Use only detergent and rinse additives designed for an automatic dishwasher Never use soap laundry detergent or hand washing detergent in your dishwasher Children should be supervised to ensure that they do not play with the appliance The door should not be left open since this could increase the risk of tripping If...

Page 6: ...f the power supply cable and make the door closing device unusable Cardboard packaging is manufactured from recycled paper and should be disposed in the waste paper collection for recycling By ensuring this product is disposed of correctly you will help prevent potential negative consequences for the environment and human health which could otherwise be caused by inappropriate waste handling of th...

Page 7: ... when the power is on 3 Start Pause Button Press this button to start or pause the dishwasher the process pilot lamp will be blinking when starting button simultaneously to lock the program and the Child lock pilot lamp will be on 2 Washing Program Selector Press a wash program button which you want to chose and the washing program pilot lamp will be on 6 OPERATION INSTRUCTION 4 Child lock functio...

Page 8: ...which may have been split remaining of the bottom of the machine for any period of time which may cause corrosion NOTE NOTE A Remove the basket and then unscrew and remove the cap from the salt container B Before first wash add 1lt of water in the salt container of your machine C Place the end of the funnel supplied into the hole and introduce about 1kg of salt D After filling the container screw ...

Page 9: ...y status Without any operation in five seconds the machine will exit from set mode the machine is into standby status 1 German degree of measurement for the water hardness 2 millimol internationel unit for water hardness Note Note B Fill the Rinse Aid Dispenser B Fill the Rinse Aid Dispenser The rinse aid is released during the final rinse to prevent water from forming droplets on your dishes That...

Page 10: ...ace the cap before you close dishwasher door Clean up any rinse aid split during filling with an absorbent cloth to avoid excessive foaming NOTE NOTE Detergents with its chemical ingredients are necessary to remove dirt crush dirt and transport it out of the dishwasher Most of commercial quality detergents are suitable for this purpose C Function of Detergent C Function of Detergent Attention Only...

Page 11: ...penser conventional alkaline detergents with caustic components low alkaline concentrated detergents with natural enzymes Normally new pulverised detergent is without phosphate The water softener function of phosphate is not given In this case we recommend to fill salt in the salt container even when the hardness of water is only 6 dH If detergents without phosphate were used in case of hard water...

Page 12: ...tant Bonded cutlery items or dishes Pewter or copper items crystal glass Steel items subject to rusting Wooden platters Items made from synthetic fibres Some types of glasses can become dull after a large number of washes Silver and aluminium parts have a tendency to discolour during washing Glazed patterns may fade if machine washed frequently Are not suitable Are of limited suitability Don t put...

Page 13: ... not necessary to rinse the dishes under running water Place objects in the dishwasher in following way 1 Items such as cups glasses pots pans etc are face down 2 Curved items or those with recesses should be loaded at a slant so that water can run off 3 All utensils are stacked securely and can not tip over 4 All utensils are placed in the way that the spray arms can rotated freely during washing...

Page 14: ...item extend through bottom Always load sharp utensils with the sharp point down WARNING For personal safety and a top quality clean place the silverware in the basket For personal safety and a top quality clean place the silverware in the basket They do not nest together They do not nest together Place silverware with handles down Place silverware with handles down But place knives and other poten...

Page 15: ...tly soiled pans For heaviest soiled crockery and normally soiled pots pans dishes etc with dried on soiling Use for rinsing dishes and glasses that will not be wash right away For lightly soiled crockery and glass 150 185 160 13 100 1 25 0 82 1 35 0 01 0 7 13 8 13 3 10 5 Pre wash 45 Wash 60 Rinse Rinse Rinse 65 Drying Pre wash Wash 45 Rinse 65 Drying Wash 45 Rinse 65 Drying Pre wash 45 Wash 65 Rin...

Page 16: ... end of the Wash Cycle At the end of the Wash Cycle A forgotten dish can be added any time before the detergent cup opens Add forgotten dishes Close the door After the spray arms stop working you can open the door completely 2 3 Open the door a little to stop the washing 1 4 5 6 Otherwise the detergent may have already been released and the appliance may have already drained the wash water If this...

Page 17: ...tly removes food particles from the wash water allowing it to be re cyclated during the cycle For best performance and results the filter assembly must be regularly For this reason it is a good idea to remove the larger food particles trapping in the filter after each wash cycle by rinsing the filter and cup under running water To remove the filter assembly pull on the cup handle in the upward dir...

Page 18: ...s shown in the figures in the last page and reinsert the entire assembly in the dishwasher positioning in its seat and pressing downward The entire filter assembly should be cleaned once a week When cleaning the filters don t knock on them Otherwise the filters could be contorted and the performance of dishwasher could be debased WARNING WARNING NOTE NOTE To clean the edge around the door you shou...

Page 19: ...rom the surface of the interior use a cloth dampened with water with a little vinegar or a cleaning product made specifically for dishwashers After Every Wash Remove the Plug No Solvents or Abrasive Cleaning Moving the Appliance Seals When it is not in need for a long time The installation of the pipes and electrical equipments should be done by professionals Warning Electrical Shock Hazard Discon...

Page 20: ...ts or wall The dishwasher is equipped with water supply Position the appliance in the desired location The back should rest against the wall behind it and drain hoses that can be positioned to the right or the left to facilitate proper installation Cold Water Connection Connect the cold water supply hose to a threaded 3 4 inch connector and make sure that it is fastened tightly in place If the wat...

Page 21: ... the hose must be at a height lower than75cm and must not be immersed in water to avoid the back flow of it The special plastic hose support must be solidly fastened to the wall to prevent the drain hose from moving and allowing water to spill outside the drain Attention Attention MAX 750mm A Counter Front Drain pipe NOTE The top of the hose must be less than 750mm 40mm B PLEASE HANG UP THE DRAIN ...

Page 22: ...ing things should be checked before starting the dishwasher 1 The dishwasher is level and fixed properly 2 The inlet valve is open 4 The wires are tightly connected 5 The power is switched on 6 The inlet and drain hoses are knotted 7 All packing materials and printings should be taken out from the dishwasher Attention Attention The content of this manual is very helpful to the users After installa...

Page 23: ...ing dishwasher salt Check the lip Ensure the fix is fine Interrupt the programme and rearrange the items which are obstructing the spray arm Interrupt the programme and rearrange the items of crockery This has no influence on dishwasher function if in doubt contact a suitably qualified plumber Stained tub interior Detergent with colourant was used Make sure that the detergent is the one without co...

Page 24: ...er This also lowers cleaning performance Choose a programme with a long washing time Water drainage is more difficult with these items Cutlery or dishes of this type are not suitable for washing in the dishwasher The programme was not powerful enough Not enough detergent was dispensed Item are blocking the path of spray arms The filter combination in the base of wash cabinet is not clean or is not...

Page 25: ...24 TECHNICAL INFORMATION Model ESF6010BW ...

Page 26: ...45 22 345 2 6 7 8 9 345 9 7 88 7 45 8 7 8 0 7 345 8 08 222 345 8 2 9 0 9 8 0 7 6 0 9 8 8 0 9 8 A 9 9 8 4 1 7 80 8 8 0 A 1 6 8 22 9 B A 117 8 345 8 6 2 0 2 1 8 345 2 345 2 22 6 C 22 0 82 0 C 2 9D A E 7 C 345 0 82 0 345 0 82 0 6 8 2 E F ...

Page 27: ...26 ...

Page 28: ......

Reviews: