


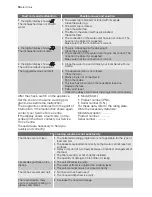


Fault code and malfunction
Possible cause and solution
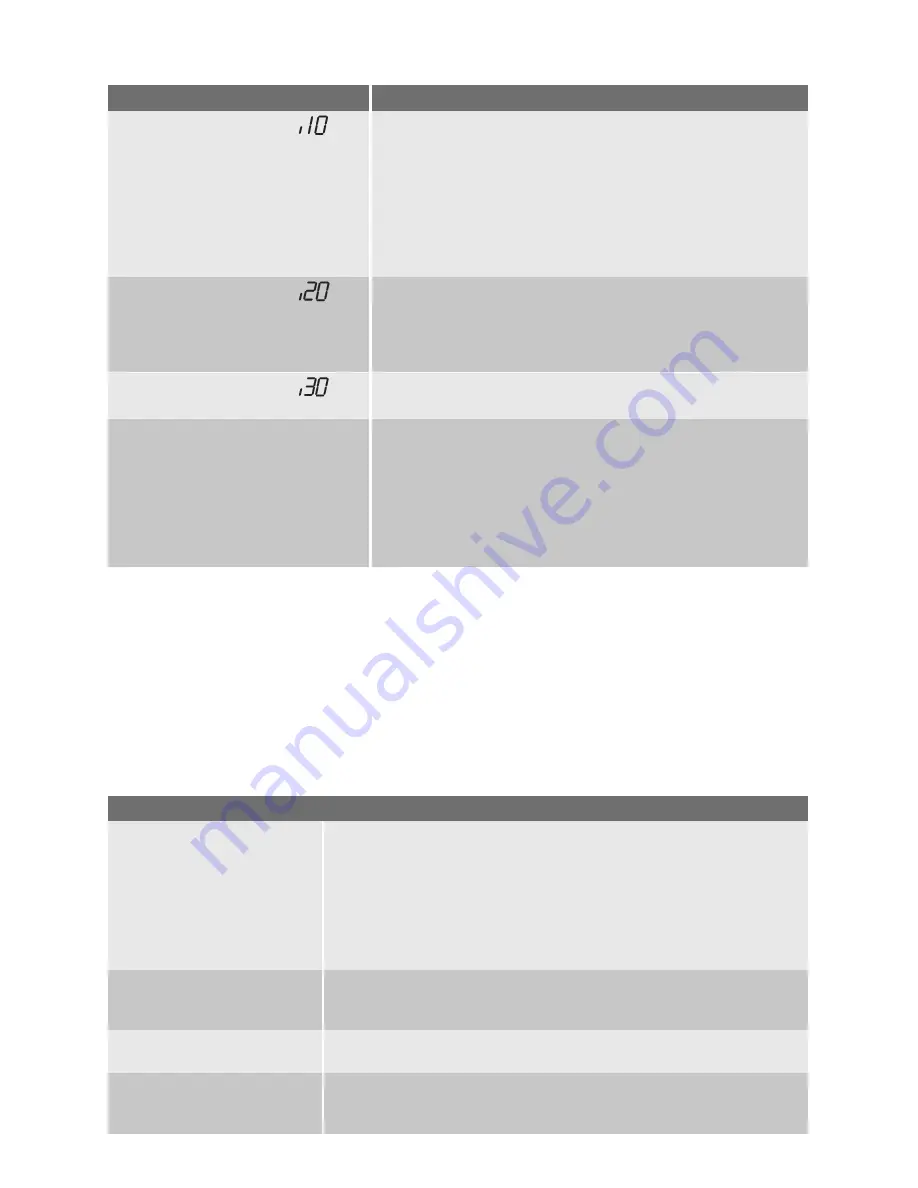
• the digital display shows
The dishwasher does not fill with
water
• The water tap is blocked or furred with limescale.
Clean the water tap.
• The water tap is closed.
Open the water tap.
• The filter in the water inlet hose is blocked.
Clean the filter.
• The connection of the water inlet hose is not correct. The
hose can be kinked or squashed.
Make sure that the connection is correct.
• the digital display shows
The dishwasher will not drain
• There is a blockage in the sink spigot.
Clean the sink spigot.
• The connection of the water drain hose is not correct. The
hose can be kinked or squashed.
Make sure that the connection is correct.
• the digital display shows
The anti-flood device operates
• Close the water tap and contact your local Service Force
Centre.
The programme does not start
• The appliance door is not closed.
Close the door.
• Mains plug is not connected in.
Put in the mains.
• The fuse has blown out in the household fuse box.
Replace the fuse.
• Delay start is set.
Cancel the delay start to start the programme immediately.
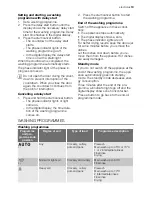
After the check, switch on the appliance.
Set the knob on the same washing pro-
gramme as before the malfunction.
The programme continues from the point of
interruption. If the malfunction shows again,
contact your Service Force Centre.
If the display shows a fault code, not de-
scribed in the chart, contact your Service
Force Centre.
These data are necessary to help you
quickly and correctly:
• Model (Mod.)
• Product number (PNC)
• Serial number (S.N.)
For these data, refer to the rating plate.
Write the necessary data here:
Model description : ..........
Product number : ..........
Serial number : ..........
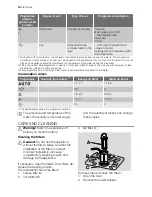
The cleaning results are not satisfactory
The dishes are not clean
• The selected washing programme is not applicable for the type of
load and soil.
• The baskets are loaded incorrectly so that water cannot reach all
surfaces.
• Spray arms do not turn freely because of incorrect arrangement of
the load.
• The filters are dirty or not correctly installed.
• The quantity of detergent is too little or missing.
Limescales particles on the
dishes
• The salt container is empty.
• The water softener is adjusted on a wrong level.
• The salt container cap is not closed correctly.
The dishes are wet and dull
• No rinse aid has been used.
• The rinse aid dispenser is empty.
There are streaks, milky
spots or a bluish coating on
glasses and dishes
• Decrease the rinse aid dosage.
16
electrolux
Summary of Contents for ESF65050
Page 1: ...user manual Dishwasher ESF65050 ...
Page 21: ...electrolux 21 ...
Page 22: ...22 electrolux ...
Page 23: ...electrolux 23 ...


