


Remove all packaging before positioning
the machine.
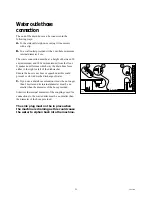
If possible, position the machine next to a water tap and
a drain.
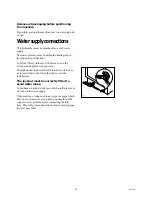
Water supply connections
This dishwasher must be plumbed into a cold water
supply.
The water pressure must be within the limits given in
the technical specifications.
Your local Water Authority will advise you on the
average mains pressure in your area.
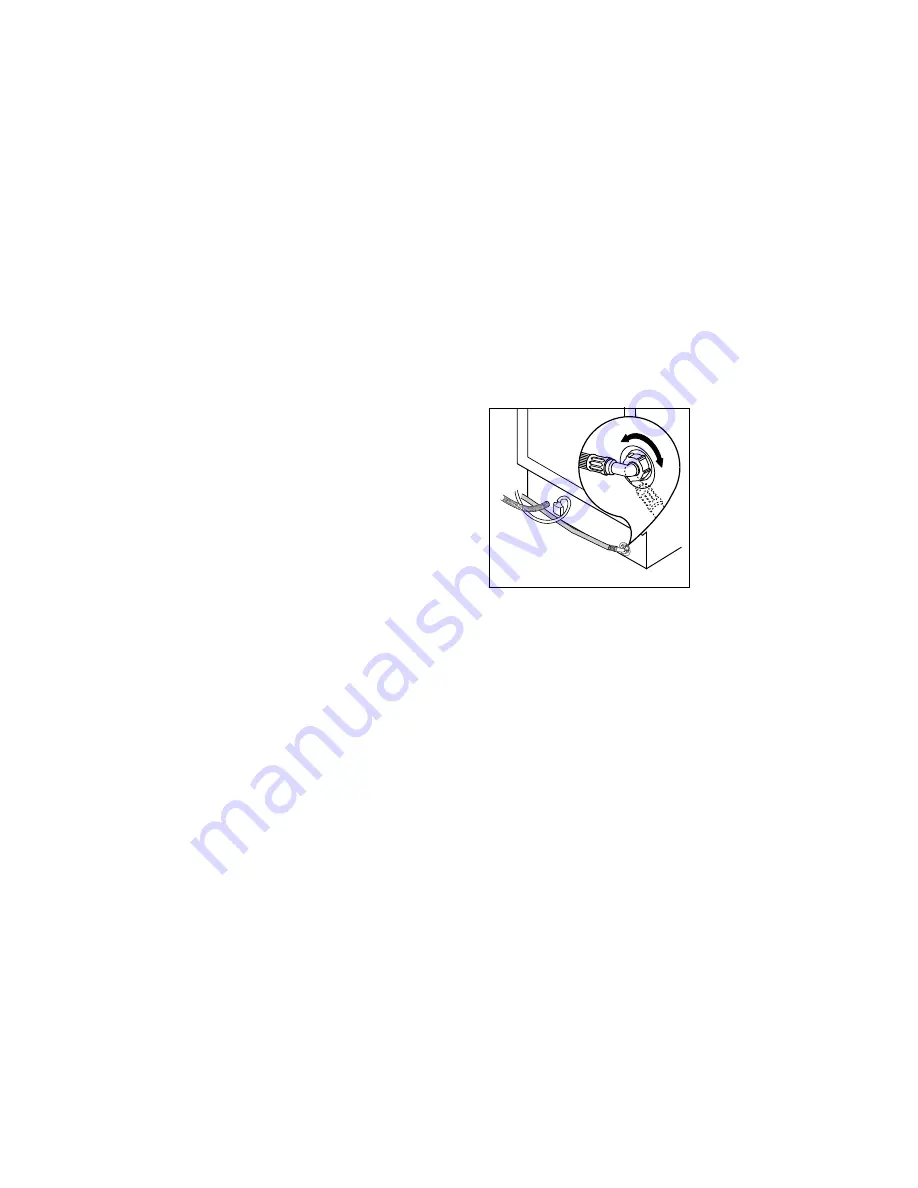
The dishwasher features fill and drain hoses which can
be turned either to the left or the right to suit the
installation.
The locknut must be correctly fitted to
avoid water leaks.
Avoid bends or kinks in the hose which could prevent or
slow down the water supply.
If the machine is connected to new pipes or pipes which
have not been used for a long time, you should run the
water for a few minutes before connecting the inlet
hose. This will prevent deposits of sand or rust clogging
the inlet hose filter.
24
PWA01UK
CA06
Summary of Contents for ESI 604
Page 1: ...152991 81 0 GB D i s h w a s h e r INSTRUCTION BOOK Model ESI 604 0 0398 ...
Page 31: ......
Page 32: ......


