background image

ELECTRICAL CONNECTION

WARNING:

THIS APPLIANCE MUST BE EARTHED.
The manufacturer declines any liability 
should this safety measure not be 
observed.

If the plug that is fitted to your appliance is not
suitable for your socket outlet, it must be cut off and
the appropriate plug fitted.

Remove the fuse from the cut off plug.
The cut off plug should then be disposed of to
prevent the hazard of shocks in case it should be
plugged into a 13amp socket in another part of your
home.

Important

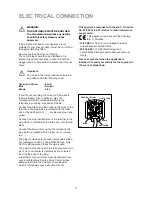
The wires in the mains lead are coloured in 
accordance with the following code:

Green and Yellow

- Earth

Blue

- Neutral

Brown

- Live

If you fit your own plug, the colours of the wires in
the mains lead of your appliance, may not
correspond with the markings identifying the
terminals in your plug, proceed as follows:

Connect the Green and the Yellow (earth) wire to the
terminal in the plug which is marked with the letter
«E» or the earth symbol 

, or coloured green and

yellow.

Connect the blue (neutral) wire to the terminal in the
plug which is marked with the letter «N» or coloured
black.

Connect the brown (live) wire to the terminal in the
plug which is marked with the letter «L» or colured
red.

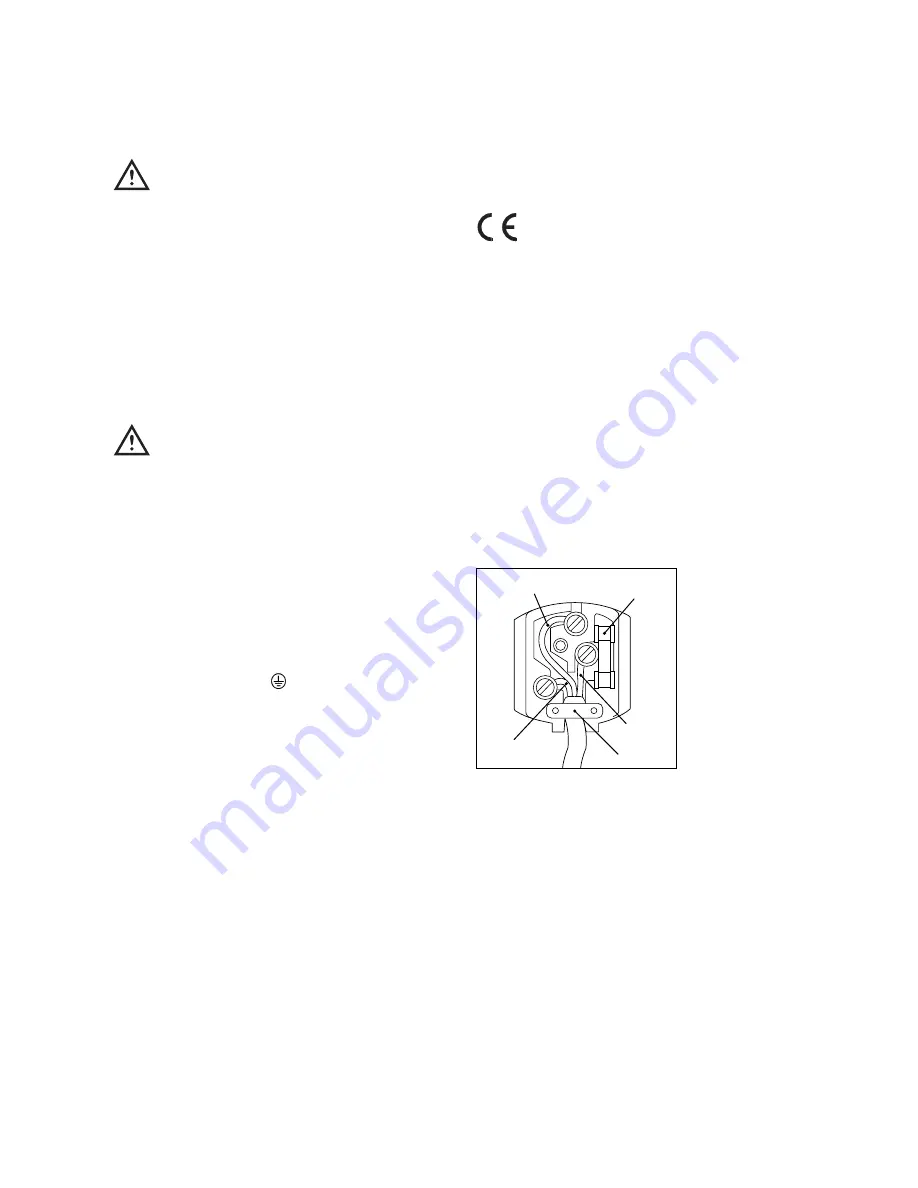
The plug moulded onto the lead incorporates a fuse.
For replacement, use a 13amp BS1362 fuse. Only
ASTA or BSI approved fuses should be used.

The plug must not be used if the fuse cover/carrier is
lost. The cover/carrier is indicated by the coloured
insert at the base of the plug.
A replacement cover/carrier must be obtained from
your local Electrolux Service Force Centre whose
address is listed in the Customer Care Booklet
which accompanies your instruction manual.

This appliance complies with the E.E.C. Directive
No. 87/308 of 2.6.87 relative to radio interference
suppression.

This appliance complies with the following 
E.E.C. Directive:

- 73/23 EEC of 19.2.73 (Low Voltage Directive)

and subsequent amendments.

- 89/336 EEC of 3.5.89 (Electromagnetic 
- Compatibility Directive) and subsequent amend-

ments.

Please ensure that when the appliance is
installed it is easily accessible for the engineer in
the event of breakdown.

17

D207

GREEN & YELLOW

13 AMP. FUSE

BROWN

CORD CLAMP

BLUE

13 AMP

Summary of Contents for EU 6338 T

Page 1: ...2222705 02 I N F O I N S T R U C T I O N B O O K L E T EU 6338 T FREEZER ...

Page 2: ...tor 7 Thawing 7 Ice making 7 Normal Operating Sound 7 Health and safety guidelines 8 Defrosting 8 Maintenance and Cleaning 9 Internal cleaning 9 External cleaning 9 When the appliance is not use 9 Something not Working 10 Service and Spare Parts 11 Customer Care Department 11 Guarantee Conditions 12 Electrolux Service Force 13 Instructions for the Installer Technical Specifications 15 Installation...

Page 3: ...n flames and sources of ignition thoroughly ventilate the room in which the appli ance is situated Child Safety Do not allow children to tamper with the controls or play with the product There is a risk of suffocation Keep packaging material away from children During Use This appliance is designed for domestic use only specifically for the storage of edible foodstuffs only It is not intended for c...

Page 4: ...DESCRIPTION OF THE APPLIANCE 4 1 2 3 4 5 6 Freezer calendar recommended storage times for frozen foods Freezer controls Compartment for freezing fresh food Freezer food storage ...

Page 5: ...this control use a small coin Warning light red If the temperature warning light lights up it indicates that the temperature within the freezer has reached a level where safe food storage is no longer ensured When the freezer is first switched on the warning light will stay on until the temperature has dropped to a safe level for the storage of frozen food Temperature alarm device Your freezer is ...

Page 6: ...ood storage When you first start the freezer or if the freezer has been out of use for some time we advise you to run your appliance for at least two hours in the fast freeze mode before storing frozen food To obtain the best performance from this appliance we strongly recommend that you make sure that the commercially frozen foodstuffs were adequately stored by the retailer and furthermore be sur...

Page 7: ...y should either be eaten as soon as possible or thrown away Alternatively if the food is uncooked and has not been completely defrosted it can be cooked and then refrozen Defrosted cooked food must never be refrozen Ice making Fill the ice tray with water to the top of each ice cube compartment and place it in the freezer To release the ice cubes twist the tray along its length Never use a sharp i...

Page 8: ... store food uncovered The best way to defrost food is to put it in the refrigerator to thaw slowly Ensure that food placed in the freezer is dated and labelled and used in date order to ensure that food is consumed at its best It is important that food is used before its best before date Always wash your hands with soapy water and dry them with a clean towel before handling food Keep work surfaces...

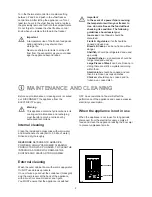
Page 9: ...arp metal tools to scrape off frost from the evaporator as you could dam age the appliance beyond repair MAINTENANCE AND CLEANING Before any maintenance or cleaning work is carried out DISCONNECT the appliance from the ELECTRICITY supply Warning This appliance contains hydrocarbons in its cooling unit maintenance and recharging must therefore only be carried out by authorised technicians Internal ...

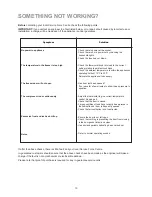
Page 10: ...ient conditions Check the ambient temperature is within the appliances operating limits of 10 C to 32 C Relocate the appliance if necessary Has door just been opened If so leave for a few minutes to allow the air pressure to equalise Adjust the thermostat to give correct temperature control See page 5 Check that the door is closed Large quantities of food have recently been placed in the cabinet a...

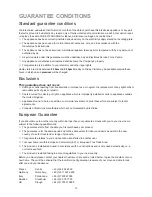
Page 11: ...king and have the model number and purchase date to hand Please note that it will be necessary to provide proof of purchase for any in guarantee service calls In guarantee customers should ensure that the checks under the heading Something Not Working have been made as the engineer will make a charge if the fault is not a mechanical or electrical breakdown CUSTOMER CARE DEPARTMENT For general enqu...

Page 12: ...Costs incurred for calls to put right an appliance which is improperly installed or calls to appliances outside the United Kingdom Appliances found to be in use within a commercial environment plus those which are subject to rental agreements Products of Electrolux manufacture which are not marketed by Electrolux European Guarantee If you should move to another country within Europe then your guar...

Page 13: ...13 ...

Page 14: ...14 ...

Page 15: ...ocated away from heat sources e g cookers radiators boilers direct sunlight etc This also includes locations or rooms where the ambient temperature reaches above 32 C 90 F or drops below 10 C 50 F e g conservatories You should also ensure that air can circulate freely around the back and the top of the cabinet There must also be a minimum distance beween the top of the cabinet and any overhanging ...

Page 16: ...n the opposite hole on the left hand side 5 Unscrew the foot at the base 6 of the appliance and refit it on the opposite side 6 Refit the door and the bottom hinge to the left hand side 7 Unscrew the handle 3 Refit it on the opposite side after having pierced the plugs with a punch Cover the holes left open with the plugs contained in the documentation pack When positioning the bottom hinge blade ...

Page 17: ...ral wire to the terminal in the plug which is marked with the letter N or coloured black Connect the brown live wire to the terminal in the plug which is marked with the letter L or colured red The plug moulded onto the lead incorporates a fuse For replacement use a 13amp BS1362 fuse Only ASTA or BSI approved fuses should be used The plug must not be used if the fuse cover carrier is lost The cove...

Page 18: ......

Page 19: ......

Page 20: ......

Reviews: