background image

14

Electrolux 818 37 12-00/2

Door Reversal

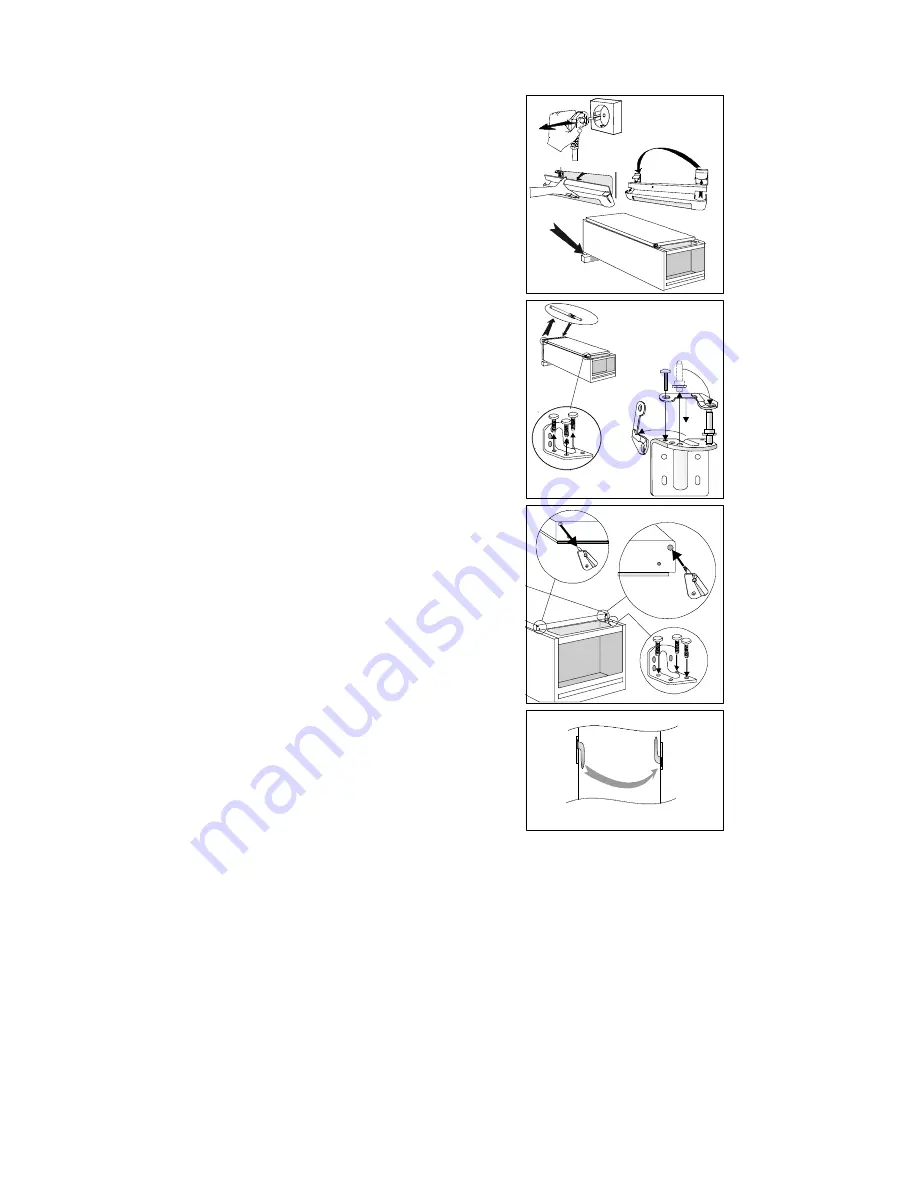
1. Close the cabinet and remove the plug from the
electrical socket.

2. Remove the ventilation grille. There is a part on
the grille that can be removed. Remove and
reposition it on the other side.

3. Put the cabinet on a wooden board when it is laid
down. Later, when raising the cabinet, it will be
easier to grip under the cabinet thanks to the board.

4. On the upper part of the cabinet. Put the hinge pin
on the other side.

5. On the lower part of the cabinet.
a. Unscrew the hinge.
b. Remove the door-closing fittings from the hinge
and put the hinge pin on the other side. Then attach
the supplied door-closing fitting.

6. a. Remove the door-closing fitting from the
bottom of the door.
b. Then secure the supplied door-closing fitting on
the other side.
c. Secure the lower hinge.
Remove any play in the door by adjusting the height
of the lower hinge with the supplied spanner. Secure
with the lock-nut.

7. Raise the cabinet and replace the ventilation grille.

8. To transfer the handle.
Unscrew the screws. Fit the handle onto the opposite
side by turning it one half circle. Press the supplied
plastic plugs into the holes to which the handle was
previously fitted.

9. Put the cabinet in position. Check that the
appliance is level. See the section "Positioning the
cabinet".

Electrical connection

Connect the cabinet to a grounded electrical outlet.
Voltage: 230 V.
Fuse: 10 A.
Refer to the rating plate on the left inside the
cabinet.

1

2

3

4

5 a

5 b

a

b

c

6

8

Summary of Contents for EUC3403

Page 1: ...818 37 12 00 2 INSTRUCTION BOOK GEBRAUCHSANWEISUNG NOTICE D UTILISATION GEBRUIKSAANWIJZING EUC3403 NL FR DE F r e e z e r G e f r i e r Co n g é l a t e u r V r i e s GB ...

Page 2: ... break The cabinet is heavy The edges and projecting parts of the cabinet may be sharp Be careful when moving the cabinet and always use gloves Child Safety Pay attention so that small children do not gain access to the operating controls or the inside of the cabinet Scrapping old cabinets When discarding the cabinet hand it over to a recycling station For more information call your local city off...

Page 3: ...Freeze is operating E Alarm shut off button Used to turn the audible alarm off Red warning lamp Flashes when one of the alarms in the cabinet has been triggered Before use GB Position and clean the cabinet as explained in the section Installation Before inserting the power plug into the outlet and switching on the cabinet for the first time leave it standing upright for about 4 hours Otherwise the...

Page 4: ...e Setting the temperature and the button simultaneously and hold them down for about 5 seconds As confirmation the sound will buzz with a short signal The thermometer is now set for display of warmer food products To return to normal display repeat the same process As confirmation the buzzer will give off a loud signal Information It is very important to press the buttons at exactly the same time ...

Page 5: ...n the temperature inside the freezer again falls below 11 C the audible alarm stops The temperature display and the red warning lamp will flash to indicate than an alarm was triggered When the alarm shut off button is pressed the display then displays the warmest temperature inside the cabinet during the alarm phase and the display stops flashing By referring to the temperature display indication ...

Page 6: ... food frozen at home Fatty and salty food should not be kept frozen for more than three months Cooked food and low fat food may be kept up to about six months Lean food and berries can be kept for approximately one year Cabinet interior Freezer drawers The freezer drawers make it possible to quickly and easily find the food package you want To gain space the drawers can be removed and the products...

Page 7: ...re being transfered to the freezer Avoid unnecessary frosting in the cabinet by packing all foodstuffs into airtight packages before placing them in the freezer Carefully follow the advice on freezing products in the section Using the freezer This will prevent wasting energy Do not set the temperature too low in the freezer A suitable temperature is in the range of 18 C to 20 C Defrost the freezer...

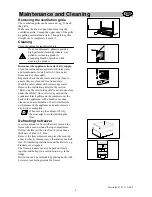
Page 8: ...h warm soapy water Remove the ventilation grille see the section Removing the ventilation grille and vacuum clean under the cabinet Once or twice a year dust the condenser black grille and the compressor at the back of the appliance with a brush or vacuum cleaner as an accumulation of dust will affect the performance of the appliance and cause excessive electricity consumption When moving the cabi...

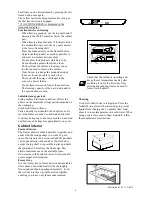
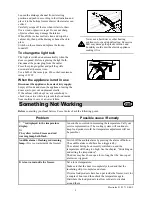
Page 9: ...er heating appliances to speed up defrosting Excessive heat may damage the plastic interior and humidity could enter the electric appliance making it live Something Not Working GB Before contacting your local Service Force Centre check the following point Problem Possible cause Remedy is displayed in the temperature display Or The yellow Action Freeze and red warning lamp both flash An error has o...

Page 10: ...cking sound from the thermostat can be heard when the compressor switches on and off The sound level varies depending on the operation of the cabinet If you feel the sound level is incorrect Make sure the pipes at the back of the cabinet not touch each other Carefully bend them if they do If the cushion spacers between the cabinet wall and pipes come loose put them back in place again Carefully fo...

Page 11: ...uring the guarantee period repairing the same defect repeatedly is not conclusive or if the repair costs are considered disproportionate in agreement with the consumer the defective appliance may be replaced with another appliance of the same value In this event we reserve the right to ask for a financial contribution calculated according to the length of time it has been used 13 A repair under gu...

Page 12: ... that it is in good condition and free of any transport damage Notify the dealer immediately of any damage Hand the packaging over for recycling For more information contact your local city office or the dealer Do not allow children to play with the packaging The plastic film can cause suffocation Remove the transport supports Remove the transport supports placed along the door sides Some models a...

Page 13: ...e adjustment spanner supplied there is good air circulation around the cabinet and that the air channels below and behind the cabinet are not blocked The ventilation space above the cabinet must be at least 4 cm The ventilation space can either be a directly above the cabinet or b behind and above the top cupboard In this case the space behind the cupboard must be at least 50 mm deep Cabinet is pl...

Page 14: ...closing fitting 6 a Remove the door closing fitting from the bottom of the door b Then secure the supplied door closing fitting on the other side c Secure the lower hinge Remove any play in the door by adjusting the height of the lower hinge with the supplied spanner Secure with the lock nut 7 Raise the cabinet and replace the ventilation grille 8 To transfer the handle Unscrew the screws Fit the ...

Reviews: