


Press the On/Off button to activate
the appliance again.
The display shows the end of the last
programme.
Turn the programme dial to set a new
cycle.
If the dial is rotated to the "Reset"
position , the appliance automatically
turns off in 30 seconds.
If you set a programme or an
option that ends with water
in the drum, the Stand-by
function doesn't deactivate
the appliance to remind you
to drain the water.
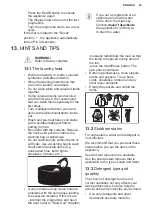
13. HINTS AND TIPS
WARNING!
Refer to Safety chapters.
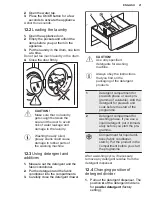
13.1 The laundry load
• Divide the laundry in: white, coloured,
synthetics, delicates and wool.
• Obey the washing instructions that
are on the laundry care labels.
• Do not wash white and coloured items
together.
• Some coloured items can discolour
with the first wash. We recommend
that you wash them separately for the
first times.
• Turn multilayered fabrics, wool and
items with painted illustrations inside
out.
• Wash and pre-treat heavy soil stains
with a suitable detergent before
putting in drum.
• Be careful with the curtains. Remove
the hooks and put the curtains in a
washing bag or pillowcase.
• Do not wash laundry without hems or
with cuts. Use a washing bag to wash
small and/or delicate items (e.g.
underwired bras, belts, tights,
shoelaces, ribbons, etc. ).
• A very small load can cause balance
problems with the spin phase leading
to excessive vibration. If this occurs:
- interrupt the programme and open
the door (refer to "Daily Use" chapter);
-manually redistribute the load so that
the items are spaced evenly around
the tub;
-press the Start/Pause button. The
spin phase continues.
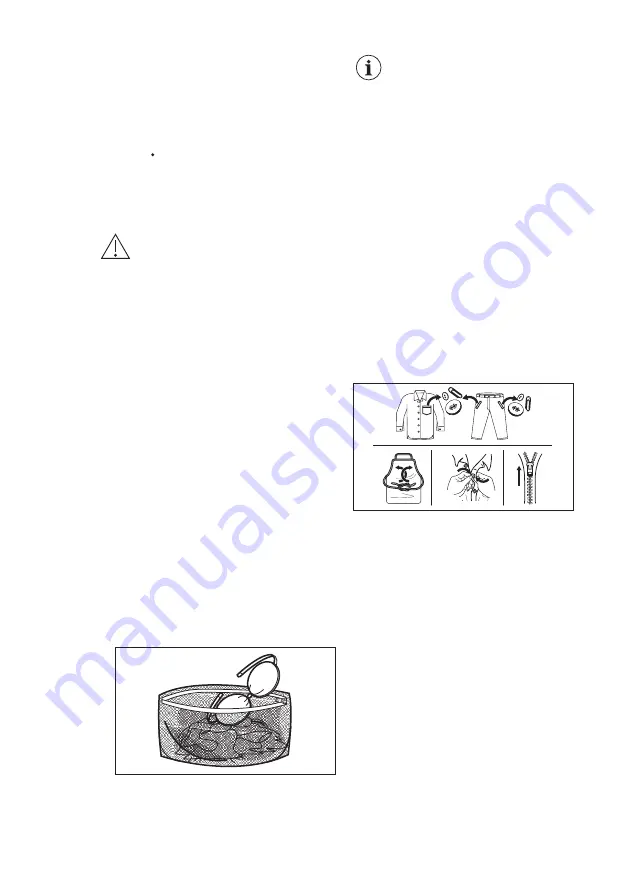
• Button up pillowcases, close zippers,
hooks and poppers. Tie up belts,
cords, shoelaces, ribbons and any
other loose elements.
• Empty the pockets and unfold the
items.
13.2 Stubborn stains
For some stains, water and detergent is
not sufficient.
We recommend that you pre-treat these
stains before you put the items in the
appliance.
Special stain removers are available.
Use the special stain remover that is
applicable to the type of stain and fabric.
13.3 Detergent type and
quantity
The choice of detergent and use of
correct quantities not only affects your
wash performance, but also helps to
avoid waste and protect the environment:
• Use only detergents and other
treatments specially made for
ENGLISH
25
Summary of Contents for EW6S5426E6
Page 1: ...EW6S5426E6 EN Washing Machine User Manual ...
Page 39: ......


