background image


Use and safety

Clean the machine properly prior to its fi rst use

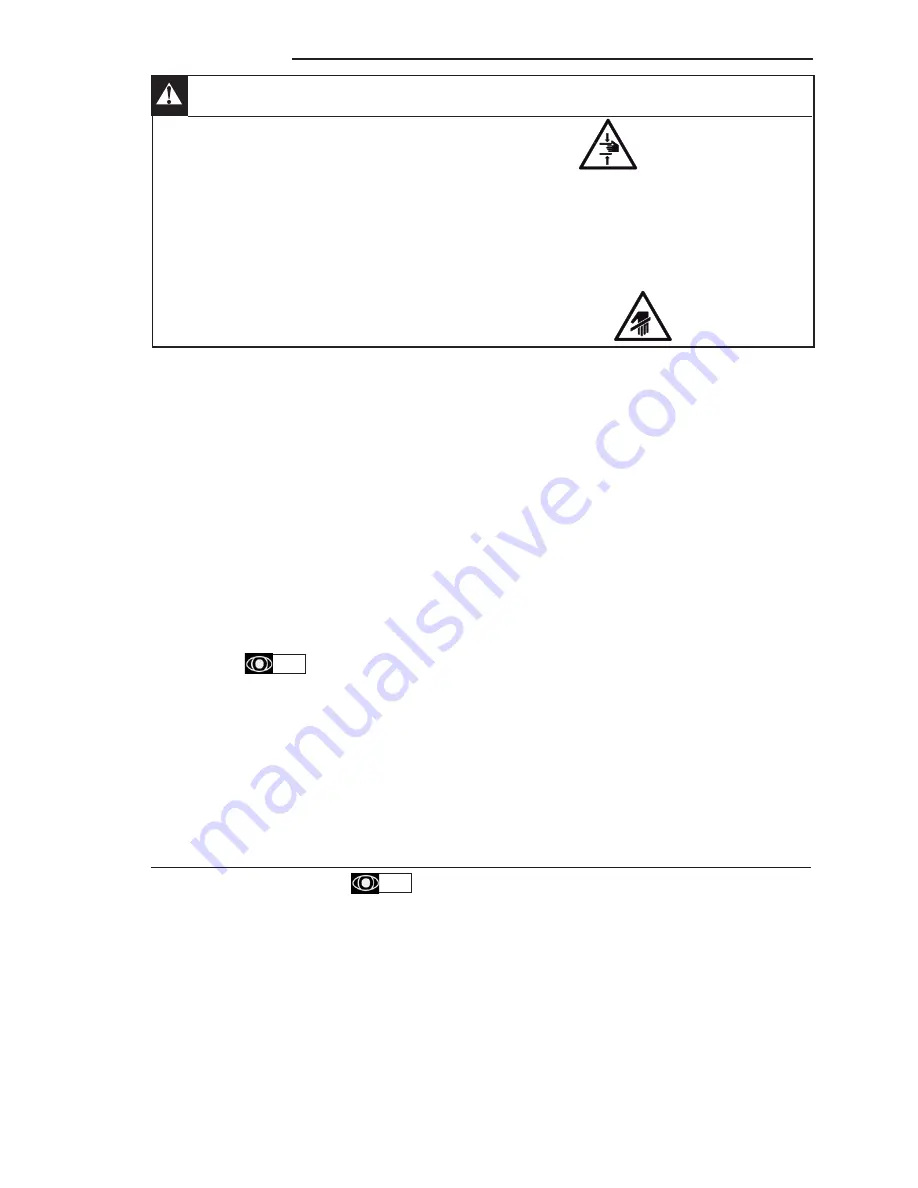
Uncontrolled closure of the lid or ram press involves a risk of crushing the fi ngers.

Never put a hand in the ejection area while the machine is in operation; risk of injury. It is strictly forbidden to put the safety systems 
out of action or modify them: Risk of permanent injury!!!!

Check that the safety devices operate correctly each time before using (see paragraph on «safety system adjustments»). Never 
put a hand, a hard or frozen object in the appliance

For health and safety reasons, always use a washable or disposable strong head covering that covers the hair completely.

ATTENTION: All operations, whether using, cleaning or maintenance, present risks of cuts; never force and always keep 
hands a reasonable distance from cutting edges.

Always use appropriate protective equipment when carrying out these operations.

ATTENTION!!

3.

1

 OPERATION - SAFETY

•   The user's safety is assured by:

-   The motor stopping on releasing the lid.

-   The need to have the bowl in position before it will start

-  The need to press on the On button after each stoppage 

("voltage loss’’ device).

-   The braked stoppage of the motor before accessing the rotor.

-  Operation by sustained pressure to check the progress of 

work.

-   The automatic locking of the rotating rotor through its bayonet 

system.

-   The dimension of the centre pourer hole providing the means 

for the addition of products in OPERATION.

-   The design of the bowl (no-leak shaft).

-  The easy removal of the bowl, the lid and its seal, the rotor 

and the scraper for cleaning them.

•   Control panel 
 1-speed 

model


A

   ON button.


B

   OFF button.


  ON button by sustained pressure.

 2-speed 

model


  ON button at low speed.


B

   OFF button.


C

   ON button by sustained pressure at low speed.


D

   ON button high speed.


E

   Display of the speed selected

3.

1

Variable speed model
A

  ON button at the selected speed.

 OFF  button.

 ON button by sustained pressure at the selected speed.

 Display of the selected speed

 To increase the speed


To decrease the speed

•   The food processor can be started up if:

-  The bowl is properly in place
-  The locking pin is correctly engaged (see § 3.3)
-  The lid is correctly locked.

a) Continual operation:

Press button 

A

 or 

D

.

For the variable-speed model, the speed can be increased or 
reduced while running or when at a stop by using the buttons 

F

 or 

G

.

b) Operation by sustained pressure:

Press button C and hold down. This provides the means for 
controlling the progress of fi ne work.

c) Stop

Press button B

Note:
Do not stop the food processor by releasing the lid.

3.

2

3.

CHOICE OF EQUIPMENT

•  The food processor / emulsifi er is fi tted as standard with a 
bowl-lid scraper and a very hard stainless steel dual-knife rotor 
(smooth knives for the single speed models and micro-toothed 
knives for the 2-speed and variable speed models).

Note: Optional rotors suitable for other work (see table §3.5). 
PLEASE CONTACT US.

•  Usage as a food processor / mixer is possible by removing 
the scraper from the existing lid or by using a second lid with 
no scraper for the following types of work:

-   Minced meat, vegetables, etc.

-   Grinding and reduction to powder.

-   Kneading dough.

K45-55-70 GB 01 08

3

Summary of Contents for K45 1-Sp

Page 1: ...Cutter émulsionneur 4 5 L 5 5 L et 7 L Food processor Emulsifier Trituradora emulsionadora 03 2009 N 32350 C Manuel d utilisation User manual Manual de utilización FR US ES ...

Page 2: ...K45 K55 K70 US 06 08 1 1 2 3a 3 3 3 3a 2 1 3 1 3 3b K45 31 03 2006 K45 31 03 2006 K45 31 06 2008 K45 31 06 2008 3 2 K45 31 03 2006 K45 31 03 2006 K45 31 03 2006 A B C D E F ...

Page 3: ...K45 K55 K70 US 06 08 3 3 3 3c K45 31 03 2006 K45 31 03 2006 3 4 ...

Page 4: ... transporting installing commissioning using maintaining repairing or dismant ling the machine should consult this manual and read it carefully before proceeding with the various operations in order to avoid any incorrect or inappropriate handling that might be result in damage to the machine or put people s safety at risk It is just as important that the Manual should always be available to the o...

Page 5: ...in the country of installation If an adapter is used on the socket a check must be made that the electrical characteristics of this adapter are not lower than those of the machine Do not use multiple plugs The AC power supply to the machine must comply with the following conditions Maximum voltage variation 5 Maximum frequency variation 1 on a continuous basis 2 over short periods ATTENTION the el...

Page 6: ...removal of the bowl the lid and its seal the rotor and the scraper for cleaning them Control panel 1 speed model A ON button B OFF button C ON button by sustained pressure 2 speed model A ON button at low speed B OFF button C ON button by sustained pressure at low speed D ON button high speed E Display of the speed selected 3 1 Variable speed model A ON button at the selected speed B OFF button C ...

Page 7: ... seal N onto the bowl E and lock it with the handle C The appliance is ready for use 3 3 STARTING UP Before starting any work always check the cleanliness of the rotor R the bowl E the lid B and its seal N the scraper P and its handle A and the drive shaft L To remove the lid Release the lid using the handle C Open the lid as far as the rear stop Withdraw the locking pin Withdraw the lid Use the n...

Page 8: ... 600 g 600 g 1 kg emulsion max Micro toothed 1 kg 1 5 kg 2 5 kg Garlic and min Smooth 200 g 300 g 300 g parsley max Smooth 1 kg 1 5 kg 1 2 kg 1 8 kg 1 8 kg 2 5 kg Shortcrust pastry min Micro toothed 350 g 160 g 350 g 160 g 350 g 160 g max Micro toothed 1 3 kg 1 7 kg 2 5 kg Dough min Either 160 g 160 g 160 g 60 flour max Either 2 kg 2 4 kg 3 kg Almonds or min Micro toothed 100 g 100 g 200 g Hazel m...

Page 9: ...t be kept abso lutely clean Fault finding 5 1 IF THE APPLIANCE WILL NOT START CHECK THAT The machine is plugged in properly The socket is correctly supplied with electric power The lid is locked properly see 3 3 The pin is pushed in properly see 3 3 If the food processor stops while in use The motor temperature sensor has tripped Wait a few minutes before restarting Reduce the volume of product 5 2...

Page 10: ...e machine it is recom mended that these are discharged by connecting their terminals using an insulated conductor for example a screwdriver See electrical wiring diagrams at the end of this manual Wire colour identification Power circuit black Control circuit red Motor A red B green C yellow D white E blue F black G orange H purple I grey J brown K pink Phases L Single phase L1 L2 L3 Three phase Ne...

Reviews: