background image

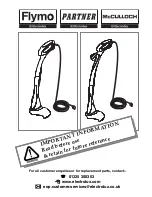
IMPOR

TANT INFORMA

TION

Read before use 

& retain for future reference

For all customer enquiries or for replacement parts, contact:-

01325 300303

www.electrolux.com

eop.customer.services@electrolux.co.uk

Summary of Contents for Mini Trim

Page 1: ...IMPORTANT INFORMATION Read before use retain for future reference For all customer enquiries or for replacement parts contact 01325 300303 www electrolux com eop customer services electrolux co uk ...

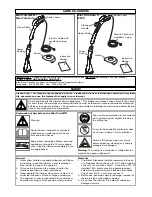
Page 2: ...roperly this trimmer can be dangerous This trimmer can cause serious injury to the opera tor and others the warnings and safety instructions must be followed to ensure reasonable safety and efficiency in using this trimmer The operator is responsible for following the warning and safety instruc tions in this manual and on the trimmer Explanation of Symbols on the Mini Trim MT21 Warning Read the us...

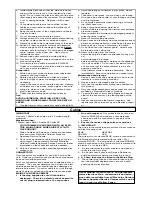
Page 3: ...immediately Excessive vibration can cause injury Maintenance and storage 1 Keep all nuts bolts and screws tight to be sure the trimmer is in safe working condition 2 Replace worn or damaged parts for safety 3 Only use the replacement cutting line specified for this product 4 Only use replacement parts and accessories recom mended by Electrolux Outdoor Products 5 To avoid the risk of injury keep fi...

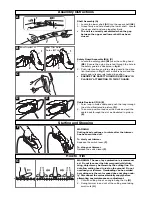
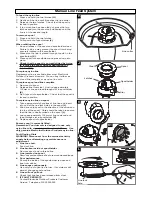
Page 4: ...op through the slot as illustrated in picture D 2 To secure position loop over the hook and pull the cable back through the slot as illustrated in picture E A 1 2 Starting and Stopping 1 2 B Mini Trim MT21 Mini Trim Auto Auto MT25 C 2 1 D E F WARNING Cutting head continues to rotate after the trimmer has been switched off To start your trimmer Squeeze the switch lever F To stop your trimmer Releas...

Page 5: ... spool is locked in position To replace nylon line on spool 1 Take approximately 5 metres of line line and insert into one of the line lock holes in the spool L 2 Wind line onto spool in the direction of the arrows on the top of the spool Care should be taken to ensure that the line is neatly coiled on the spool L 3 Leave approximately 100mm of line unwound and feed through slot in spoolholder K 4...

Page 6: ...areas of the cap and spoolholder clean Failure to do so may prevent the cap being securely located in the spoolholder 2 Replace the cap pressing firmly DOWN towards the spoolholder to ensure cap is fully located 3 Check that the cap is correctly fitted by trying to remove it without depressing the two latches To replace nylon line For your convenience it is recommended you buy spool and line compl...

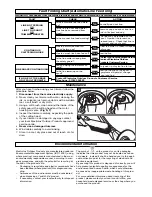
Page 7: ...s Yes LINE NOT FEEDING OR LINE TOO SHORT OR TRIMMER VIBRATES CONTINUOUS CLATTERING NOISE LINE SNAPS CONTINUOUSLY IF NONE OF THE ABOVE OR IF FAULT PERSISTS Has the motor reached full speed before use No Allow the motor to reach full speed before use Are you using the trimmer cor rectly Only use tip of nylon line to trim Is the line jamming on the spool Yes Rewind the line on the spool if symptoms s...

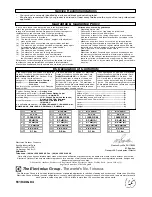
Page 8: ...rmally subject to a valid warranty claim Nylon Line Spool and Line Electric Mains Cable Caution Electrolux Outdoor Products does not accept liability under the warranty for defects caused in whole or part directly or indirectly by the fitting of replacement parts or additional parts that are not either manufactured or approved by Electrolux Outdoor Products or by the machine having been modified i...

Reviews: