background image

Operations 

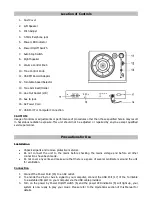
Stereo Phonograph Operation 

PLEASE NOTE - BEFORE USE 


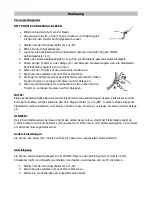
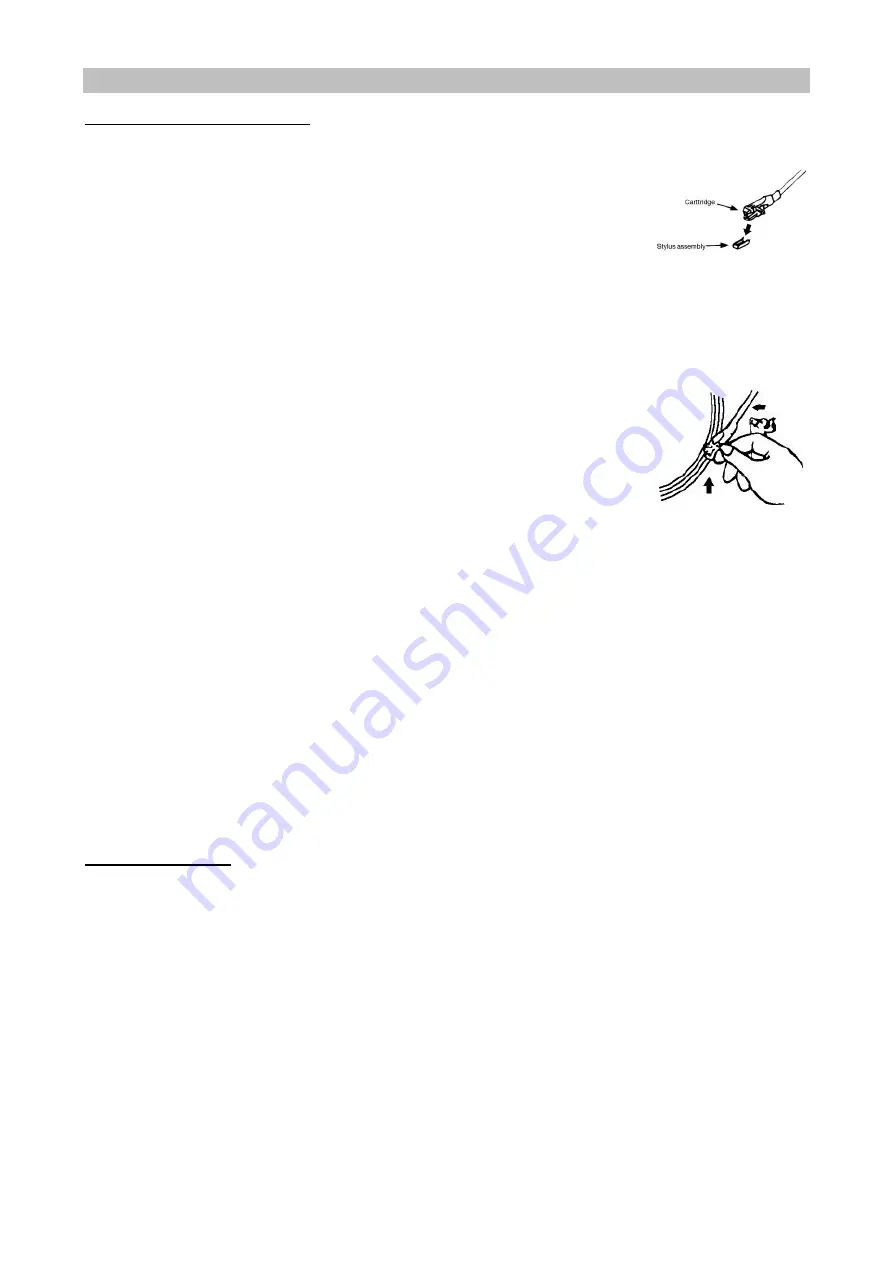
Remove the stylus protector. 


Make sure that the tone arm is unlocked and free to move from the tone 

arm rest prior to operating. Lock the tone arm again when not in use. 


1.


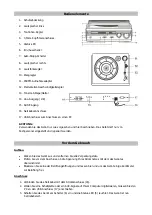
Slide the Power On/Off switch (6) to On position 

2.


Raise the turntable dust cover. 

3.


Place the record on the platter (use the 45 RPM record adaptor (11) if you are playing 45 RPM 

records). 

4.


Set the speed selector (12) to the proper position for the record you are playing. 

5.


Lift the tone arm from the rest (13) and slowly move it over the record. The platter will begin 

spinning. 

6.


Place the tone arm down onto the record in the location that you want to play. 

7.


Adjust the volume (9) to the desired level. 

8.


At the end of record, the platter will automatically stop spinning. Lift the 

tone arm from the record and return it to the rest. 

9.


To stop playing manually, lift the tone arm from the record and return it to 

the rest. 


NOTE:


Some types of records may have an auto-stop area outside the preset limit, so the turntable may stop 
before the last track finishes. In this case, set the AUTO-STOP switch (7) to the “OFF” position. This allows 

the record to play to the end, but please note that it will not stop automatically. You must manually raise the 
tone arm and place it back in the rest and then turn off the power to stop the turntable from spinning. 

 
REMARK: 

Due to Aux and Phono were designed at the same channel of this system. When Aux in jack (15) plugged by 
3.5mm stereo plug. The channel will change to  Aux automatically and turntable will stop to rotate. Please 

ensure the Aux in jack (15) without plugged by anything before playing Phono.


ANOTHER ADJUSTMENT 

You can adjust the tone sound by Tone control (10) or pitch by Pitch Adjust (3) for different music 
enjoyment.   


AUX-IN Connection 

Connect the unit to other device by connecting the Aux in jack (15) with a 3.5mm cable(not provided) and 

other end connect to the external device such as Discman/MP3 player to perform the music playback or 
encoding function etc. 

1.


Slide the Power On/Off switch (6) to On position  

2.


Volume Control Knob (9) to desired volume level. 

3.


Start to play your external device. 


Summary of Contents for Chal-tec 10006303

Page 1: ...Goldsound Plattenspieler 10006303 ...

Page 2: ...Gerät darf nur von Fachpersonal eingestellt und repariert werden Vor dem Gebrauch Aufbau Packen Sie das Gerät aus und entfernen Sie alle Verpackungsteile Prüfen Sie vor dem Anschluss ob die Spannung Ihres Stromnetzes mit dem des Gerätes übereinstimmt Blockieren Sie keine der Belüftungsöffnungen und lassen Sie rund um das Gerät einige Zentimeter zur Belüftung frei Anschluss 1 Verbinden Sie das Netz...

Page 3: ...beenden wollen heben Sie den Tonarm an und legen Sie diesen auf der Ablage ab NOTIZ Einige Schallplatten haben Bereiche die den Plattenteller automatisch stoppen lassen Falls dieses vor dem Ende der Aufnahme erfolgt stellen Sie den Auto Stopp Schalter 7 auf Off In diesem Modus stoppt der Plattenteller nicht automatisch zum Stoppen heben Sie den Tonarm an und legen Sie diesen auf der Ablage ab HINW...

Page 4: ...er Software Sie sehen ein bewegtes Wellensymbol und hören die aufgenommene Musik über die Lautsprecher am Computer 7 Am Ende der Aufnahme klicken Sie auf den gelben Stopp Button der Software 8 Klicken Sie nun auf FILE und speichern Sie die aufgenommene Datei 9 Klicken Sie auf den grünen Wiedergabe Button um die Aufnahme abzuspielen NOTIZ Die kostenlose Aufnahme Software und weitere Informationen ü...

Page 5: ...hränkungen pro Tag Monat Jahr sowie über etwa anfallende Kosten bei Abholung entnehmen Sie bitte den Informationen der jeweiligen Gemeinde Hinweise zur Batterieentsorgung Batterien dürfen nicht in den Hausmüll gegeben werden Als Endverbraucher sind Sie zur Rückgabe gebrauchter Batterien gesetzlich verpflichtet Sie können Batterien nach Gebrauch in der Verkaufsstelle oder deren unmittelbarer Nähe z...

Page 6: ...anyone except qualified service personnel Precautions for Use Installation Unpack all parts and remove protective material Do not connect the unit to the mains before checking the mains voltage and before all other connections have been made Do not cover any vents and make sure that there is a space of several centimeters around the unit for ventilation Connection 1 Connect the Power Cord 16 to an...

Page 7: ...an auto stop area outside the preset limit so the turntable may stop before the last track finishes In this case set the AUTO STOP switch 7 to the OFF position This allows the record to play to the end but please note that it will not stop automatically You must manually raise the tone arm and place it back in the rest and then turn off the power to stop the turntable from spinning REMARK Due to A...

Page 8: ...the recording click the yellow Stop button on the software control panel 8 Now click FILE and choose to save your recording file 9 Click the green Play button to playback your finished recording NOTE Free software AUDACITY licensed under the GNU general public license GPL More information as well as open source code can be found on the provided CD or on the website at http audacity sourceforge net...

Reviews: