11
EnAct
SIDE PANEL
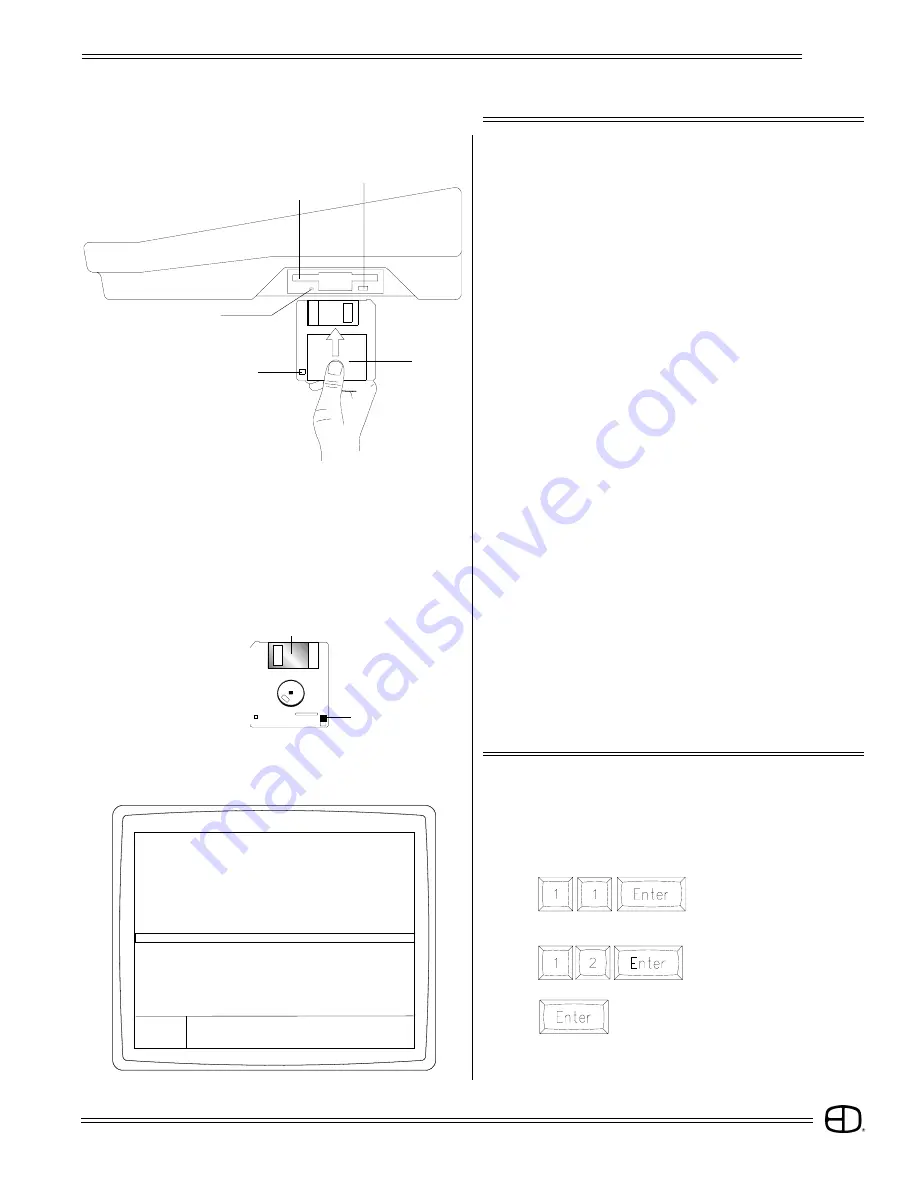
Write-protect Tab
Metal Flap
The EnAct control console is a disk-based control system.
All control information set in place by the operator is
automatically saved in random access memory inside the
console. In addition, the information can be saved and stored
off-line for future use on a 1.44MB, 3.5" high-density disk. The
disk drive is located on the right side of the console.
Access to the disk drive features is available through menu
selections on the Setup display. Follow the simple disk handling
procedures outlined below to insure proper operation. All
disks must be formatted before use. Check the label on the
disk. If the disk is not formatted, follow the instructions below.
DISK HANDLING PROCEDURE:
DISK DRIVE: 3.5" IBM format, 1.44MB.
Disks must be formatted by the EnAct console before use.
1. Insert the diskette as illustrated. Do not force it into the drive. If
the diskette will not insert easily, it is not correctly oriented.
2. To eject the diskette, push the small button on the disk drive.
3. Ensure that diskettes are handled in the following manner:
Do not expose to high temperatures.
Do not store near magnetic fields.
NOTE: Never eject a diskette while the disk drive indicator light is
on. This could result in loss of data or incomplete loading
of a show. Wait until the indicator light goes off before
ejecting.
WRITE PROTECTION:
1. Orient the diskette so that the round metal circle is pointed
toward you.
2. With the metal flap on top, the write-protect tab is located in the
lower right-hand corner.
If this tab is closed, the diskette is not Write Protected.
If the tab is open, the diskette is Write Protected, and no new
data can be written in.
Indicator Light
3.5" Disk
Eject Button
Disk Drive
Write-protect Tab
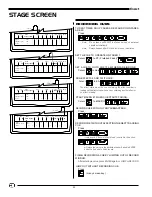
OVERVIEW
SELECT PERIPHERALS/UTILITIES MENU:
The Peripherals/UtilitiesMenu
will appear on the screen.
FORMAT A DISK
SELECT FORMAT DISK:
Press
Press
INSERT DISK TO BE FORMATTED INTO DISK DRIVE:
Press SETUP: The Main Menu will appear on the screen.
MAIN MENU
1> System
2> Cues
3> Submaster
4> Patch
5> Front Panel
6> Save to Disk Functions
7> Load from Disk Functions
8> Print Functions
9> Clear Functions
10> Time Functions
11> Peripherals / Utilities
SETUP
Version 2.3
Grandmaster FL
9:01:00
Enter:
Press
The Command Line will
respond with "Are You Sure?"
again. The console will erase any information
on the disk and format the disk for use with
the console. When completed, the command
line will prompt "Format Complete."
Press any key to select the next display.

