Section 3: Configuration
IMAGESTAR HD USER GUIDE
Page 52
I460GB issue 4
Adding Screens to the Wall Layout
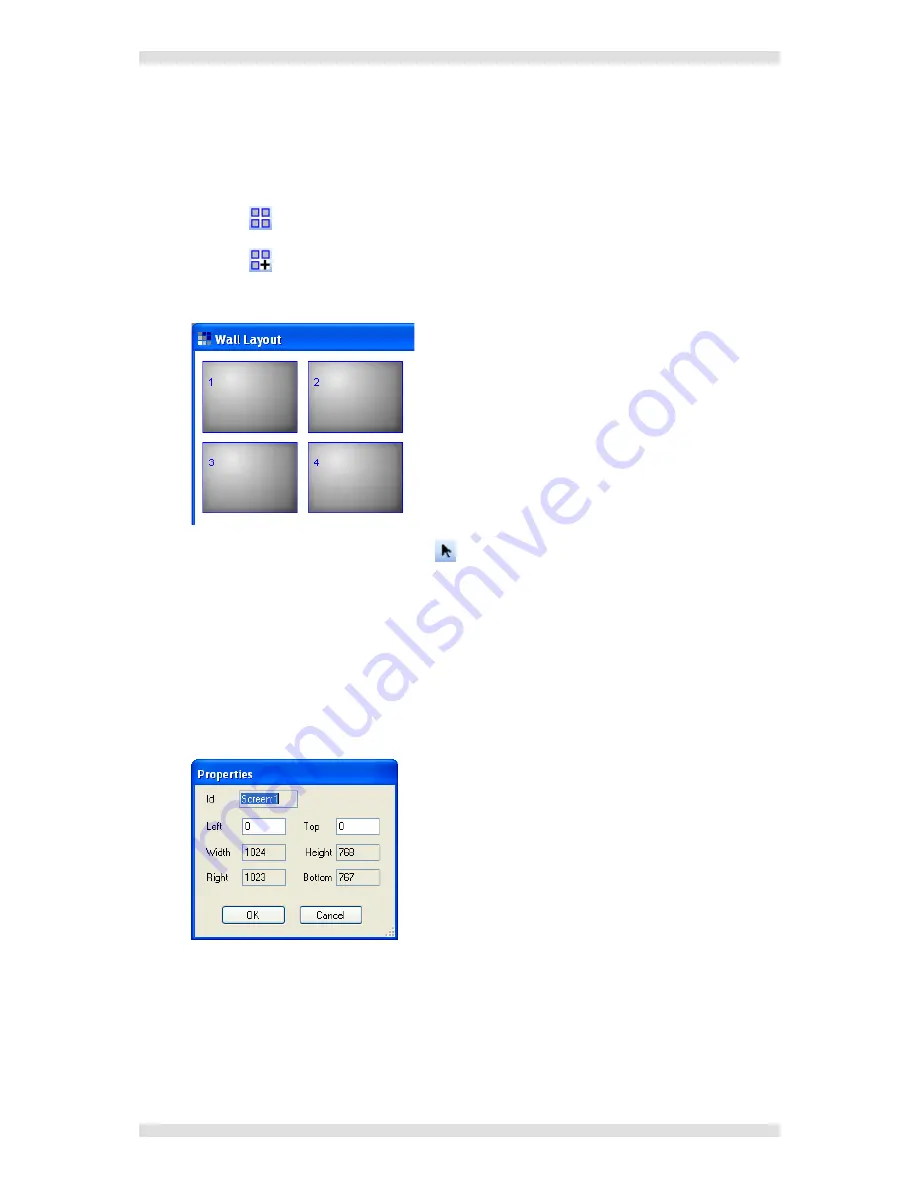
The Wall Layout provides a representation of the target display. One screen is required for each
display device in the target display and these must be positioned and aligned to match the real
display.
Click the
button to select the Screen Layer.
Click the
button to select Add Screen mode.
Click in the
Wall Layout
window – each click will add a new screen to the layout.
To turn off Add Screen mode, click the
button.
Move each screen into the required position by dragging it with the mouse or by using the
keyboard arrow keys.
NOTE
:
The arrow keys move the screen in increments of 10 pixels.
To delete a screen from the layout, click on it and press the
Delete
key (or choose
Delete
from the
Edit
menu).
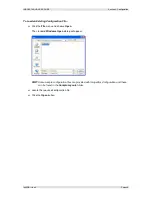
To precisely adjust a screen position, double click a screen to open its
Properties
dialog (or
choose
Properties
from the
Edit
menu).
Adjust the
Top
and
Left
pixel coordinates as required, and click
OK
.
NOTE
:
Pixel coordinates are measured from the extreme top left corner of the Wall Layout
window, i.e. Top=0, Left=0. Pixel coordinates sent to the ImageStar HD are relative to
the top-left corner of the associated source clip.
Click the
OK
button.


