background image

Summary of Contents for SAND CLOCK

Page 1: ...mbly you will start with bag 1 and end with bag 5 Bag numbers are indicated in the text by use of square brackets e g 1 The following tools and materials will be required to assemble the clock A good...

Page 2: ...500 s If you wish you can check the position of the servo motors as follows open the serial monitor in the Arduino IDE select a non empty character sequence as line ending carriage return newline line...

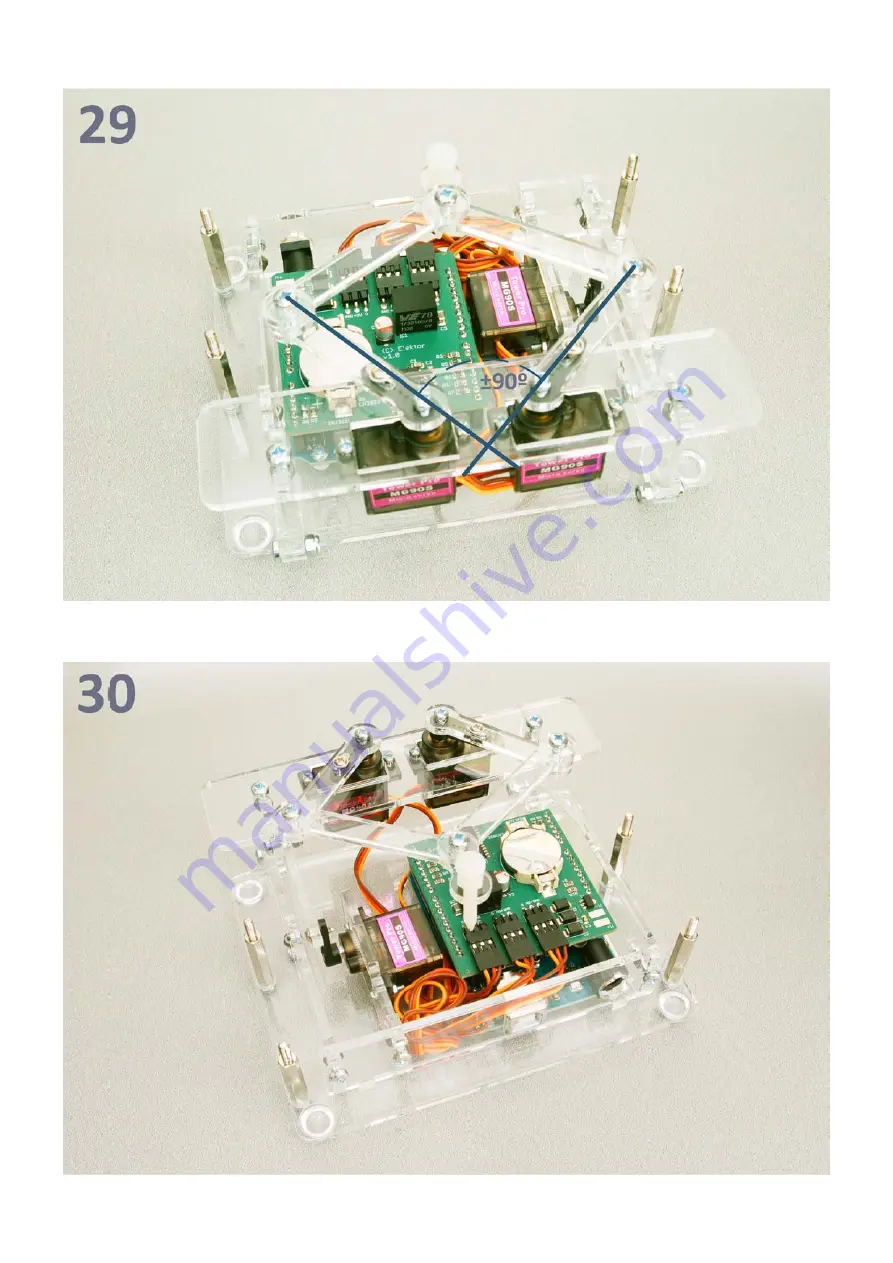
Page 3: ...e base plate nuts aren t required Now attach the frame with the lift servo mechanism to the bottom plate using two M3x10 machine screws 3 and an M3 nut 3 Finally tighten the Arduino mounting screws St...

Page 4: ...Calibration procedure The calibration procedure involves sending commands to the sketch Power on the Arduino board and connect it to your computer via USB All servos should now be at 1500 s this may...

Page 5: ...lace 14 Store the setting svspd 15 Check the pen down position in relation to the sand box Pen position 1 ps 0 30 Pen position 2 ps 0 55 Adjust the pen servo motor if needed 16 Set the pen in a neutra...

Page 6: ...eld the acrylic with small pieces of cardboard while soldering Place the sand box on top of the supports and make sure wires are not touching the rotating parts of the vibration motors Rearrange wires...

Page 7: ...Congratulations your sand clock is now finished...

Page 8: ......

Page 9: ......

Page 10: ......

Page 11: ......

Page 12: ......

Page 13: ......

Page 14: ......

Page 15: ......

Page 16: ......

Page 17: ......

Page 18: ......

Page 19: ......

Page 20: ......

Page 21: ......

Page 22: ......

Page 23: ......

Page 24: ......

Page 25: ......

Page 26: ......

Page 27: ......

Page 28: ......

Page 29: ......

Page 30: ......

Page 31: ......

Reviews: