KERCOMET 170
and
210, MULTIMIG 150
Brief operating instructions
9
11 Brief operating instructions
A detailed description can be found
in chapter. „Before start up“
Page 10 and chapter. „Start up“
Page 16.
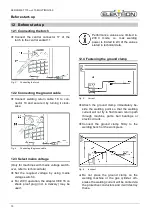
Place the inert gas cylinder on the unit and
secure it with the chain 1.
Remove the screw cap from the inert gas
cylinder and open the valve 32 briefly (blow-
out).
Connect the pressure reducer 13 to the inert
gas cylinder.
Connect the insert gas hose 5 from the unit
to the pressure reducer and open the
cylinder valve.
Insert the mains plug in the socket.
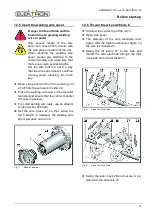
Connect welding return cable to connector
10 and the clamp to the work piece.
Insert wire feed rollers 25 into wire feed unit
in accordance with the type of welding wire
selected, set contact pressure to 2.
Connect the torch to central connector 11
and insert the relevant contact tip to se-
lected welding wire.
Insert welding wire.
Keep torch switch pressed and set main
switch 9 ON. Magnetic valve will be ac-
tivated!
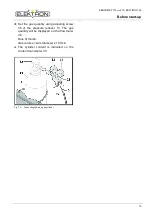
Adjust gas quantity at pressure reducer.
(Rule: wire diameter x 10 = gas quantity).
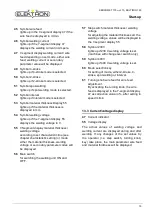
Hold down the wire feed switch 29 until the
welding
Wire
projects from the torch neck to
the gas nozzle by approx. 10 mm.
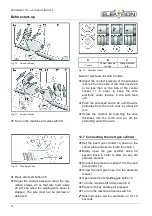
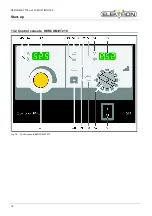
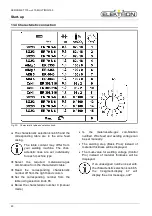
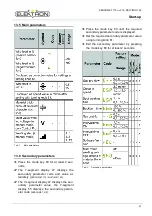
Set required material-wire-gas combination
using characteristic line switch 65.
Select the 2-stroke mode using the button
60.
Select the thickness of material to be
welded using step switch 57.
Torch switch pressed and held = welding.
Release the torch switch = welding process
completed.


