1-8
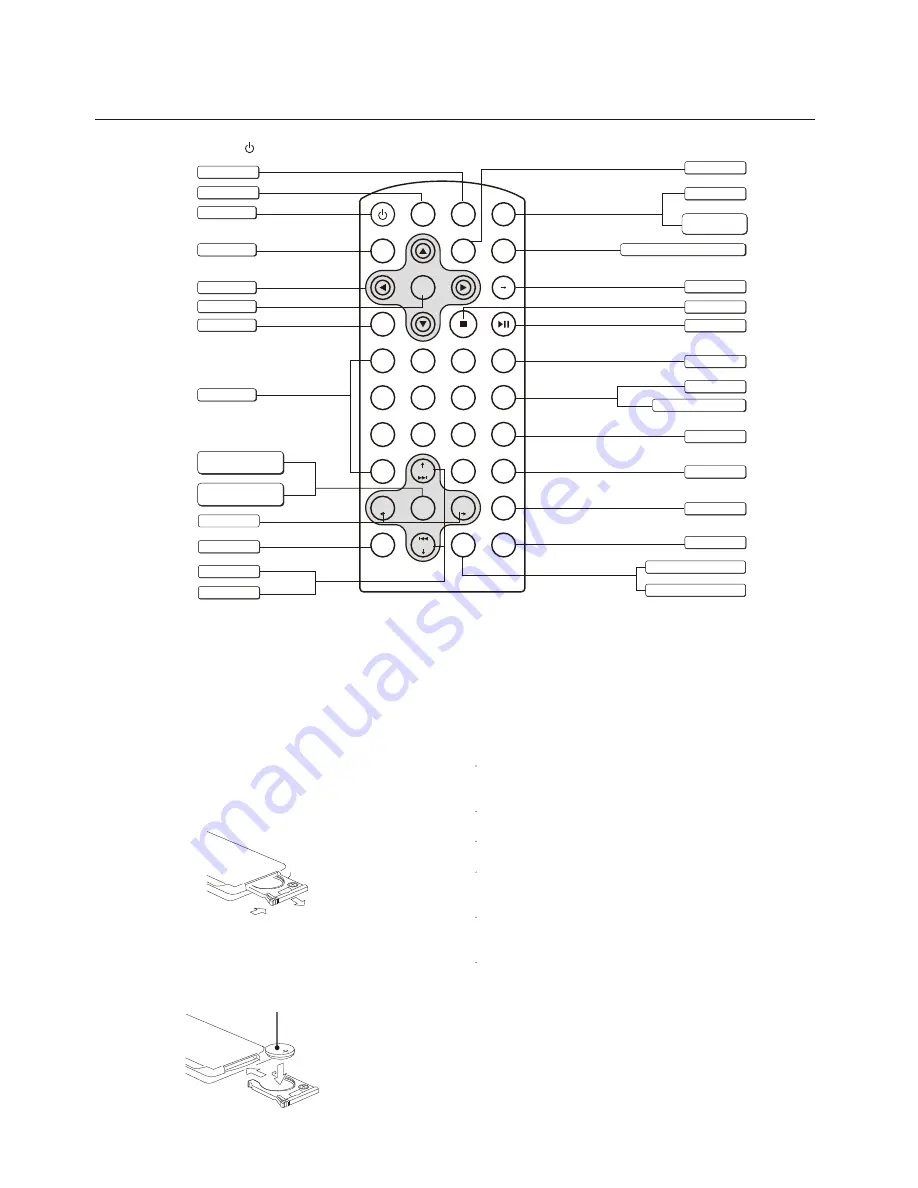
2. Insert the button-type lithium battery with the
mark facing upward.
(+)
Insert the battery holder into the
remote control.
1. Pull out the battery holder while pressing
the stopper.
Replacing the lithium battery of remote control unit.
* When the operation range of the card
remote
control becomes short or no Properly, replace
the lithium battery with a new one. Make sure
the battery polarity replacement is correct.
(CR 2025)
WARNINGS:
REMOTE CONTROLS
Store the battery in place where children cannot reach.
If a child accidentally swallows the battery,
consult a doctor immediately.
Do not recharge, short, disassemble or heat the battery
or dispose it in a fire.
Doing any of these things may cause the battery to give
off heat,crack or start a fire.
Do not leave the battery with other metallic materials.
Doing this may cause the battery to give off heat, crack
or start a fire.
When throwing away or saving the battery, wrap it in tape
and insulate;otherwise, the battery may start to give off
heat, crack or start a fire.
Do not poke the battery with tweezers or similar tools.
Doing this may cause the battery to give off heat, crack
or start a fire.
Power On/Off : Press to turn on/off the unit.
1
ABC
2
DEF
3
GHI
4
JKL
5
MNO
7
TUV
8
WXYZ
9
SPACE
6
PQRS
0
10+
+-_
MUTE
REPEAT
OSD
BAND
P/N
TITLE
ZOOM
SUB.T
DISP
PBC
MENU
SETUP
ENTER
ANGLE
GOTO
AUDIO
SRC
VOL
+
SEL
VOL
-
SEEK
+
-
SEEK
Play / Pause
Audio Mode Select
VOL/BAS/TRE/BAL/FAD
Mute
Volume
Radio Tune
Stop / Return
PBC (for VCD 2.0 or up)
Power on/off
DVD Setup
Enter
Digit Area
Zoom(DVD only)
Disc Play
(when disc inserted)
Tunre
REPEAT: Title\chapter\disk\track\index
A-B repeat
ON Screen display
Title(DVD only)
Subtitle(DVD only)
Video system PAL/NTSC/AUTO
Radio band
PROG
DVD MENU
Program
A B
Menu cursor
ON Panel display
Goto Search
Track Skip / Seek
Angle(DVD only)
Audio(DVD only)
Push more than 2 seconds
to Menu mode
Summary of Contents for MX-390DVD
Page 13: ...4 4 SET WIRING DIAGRAM ...
Page 15: ...5 2 5 2 CIRCUIT DIAGRAM KEY BOARD ...
Page 16: ...5 3 5 3 LAYOUT DIAGRAM KEY BOARD TOP VIEW LAYOUT DIAGRAM KEY BOARD BOTTOM VIEW ...
Page 19: ...6 2 6 2 CIRCUIT DIAGRAM SERVO BOARD ...
Page 20: ...6 3 6 3 CIRCUIT DIAGRAM SERVO BOARD ...
Page 21: ...6 4 6 4 CIRCUIT DIAGRAM SERVO BOARD ...
Page 22: ...6 3 6 3 LAYOUT DIAGRAM SERVO BOARD TOP VIEW LAYOUT DIAGRAM SERVO BOARD BOTTOM VIEW ...
Page 25: ...7 2 7 2 CIRCUIT DIAGRAM MAIN BOARD ...
Page 26: ...7 3 7 3 LAYOUT DIAGRAM MAIN BOARD TOP VIEW ...
Page 27: ...7 4 7 4 LAYOUT DIAGRAM MAIN BOARD BOTTOM VIEW ...


