9
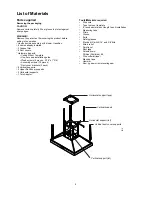
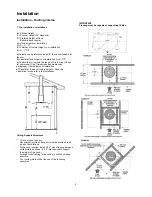
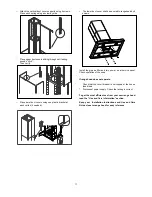
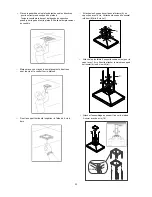
Mark with a pencil the hole locations for screws and duct
in the ceiling.
Fix the upper horizontal support with 4 wood screws.
Attach the assembly to the support fixed on the ceiling.
Assure with screws (16).
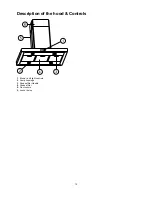
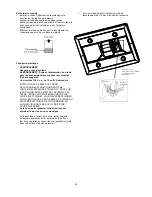
Place the template in the ceiling considering the
instructions for ceiling support structures.
Always consider the from of hood legend when
playing the templete on the ceiling. It will define the
control’s location.
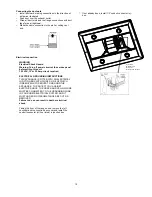
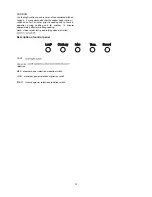
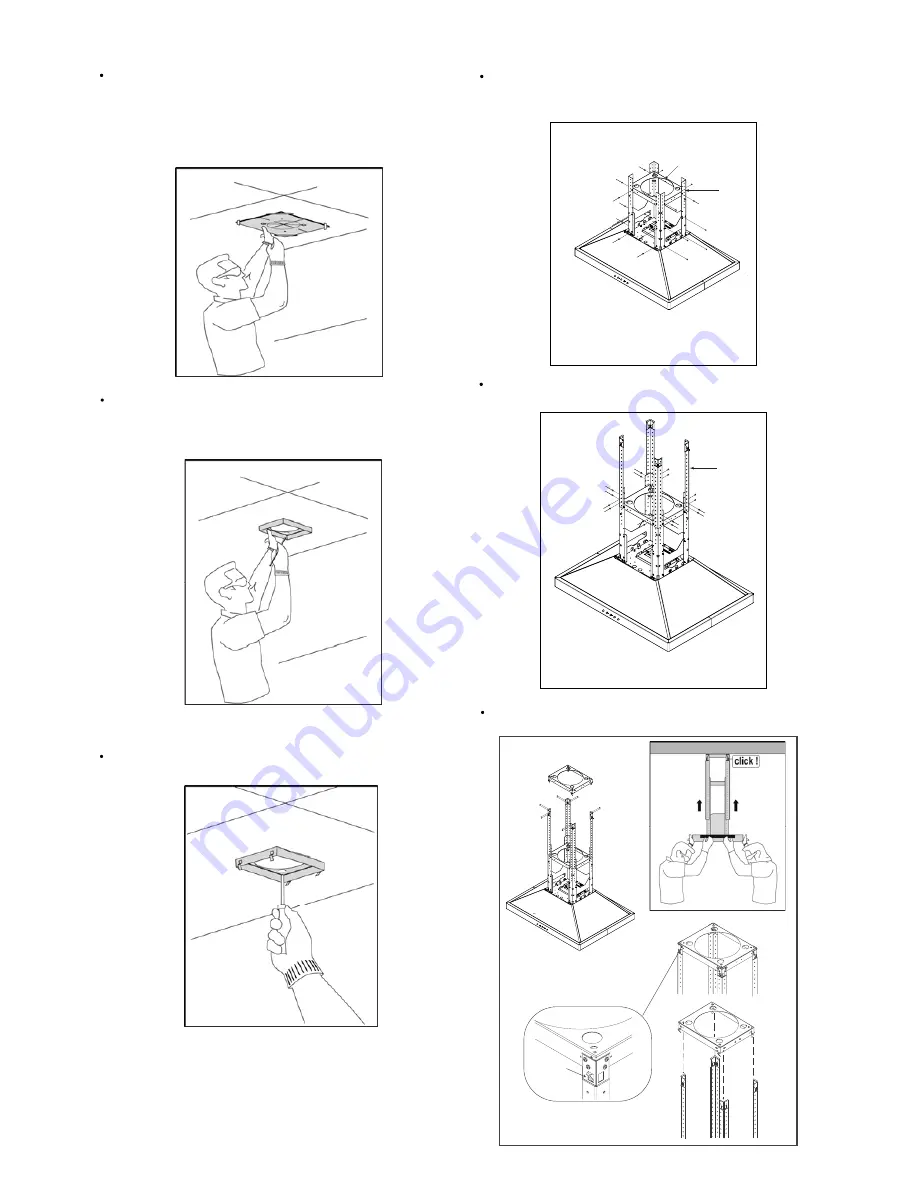
Attach the 4 lower vertical supports (A) to the hood
with 16 screws Then attach the lower horizontal
support (B) whit 8 screws (inf).
Attach the 4 upper vertical supports (sup) (c) whit 16
screws to adjust he desired distance.
click!
A
B
C
Summary of Contents for EEG636SS
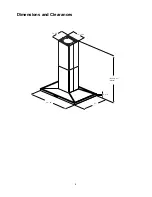
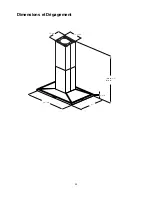
Page 6: ...6 Dimensions and Clearances Mín 30 1 5 Max 42 27 2 3 8 13 13 16 12 1 8 36 42 ...
Page 20: ...20 Dimensions et Dégagement Mín 30 1 5 Max 42 27 2 3 8 13 13 16 12 1 8 36 42 ...
Page 34: ...34 Dimensiones y Espacios libres Mín 30 1 5 Max 42 27 2 3 8 13 13 16 12 1 8 36 42 ...
Page 44: ......
Page 45: ......


